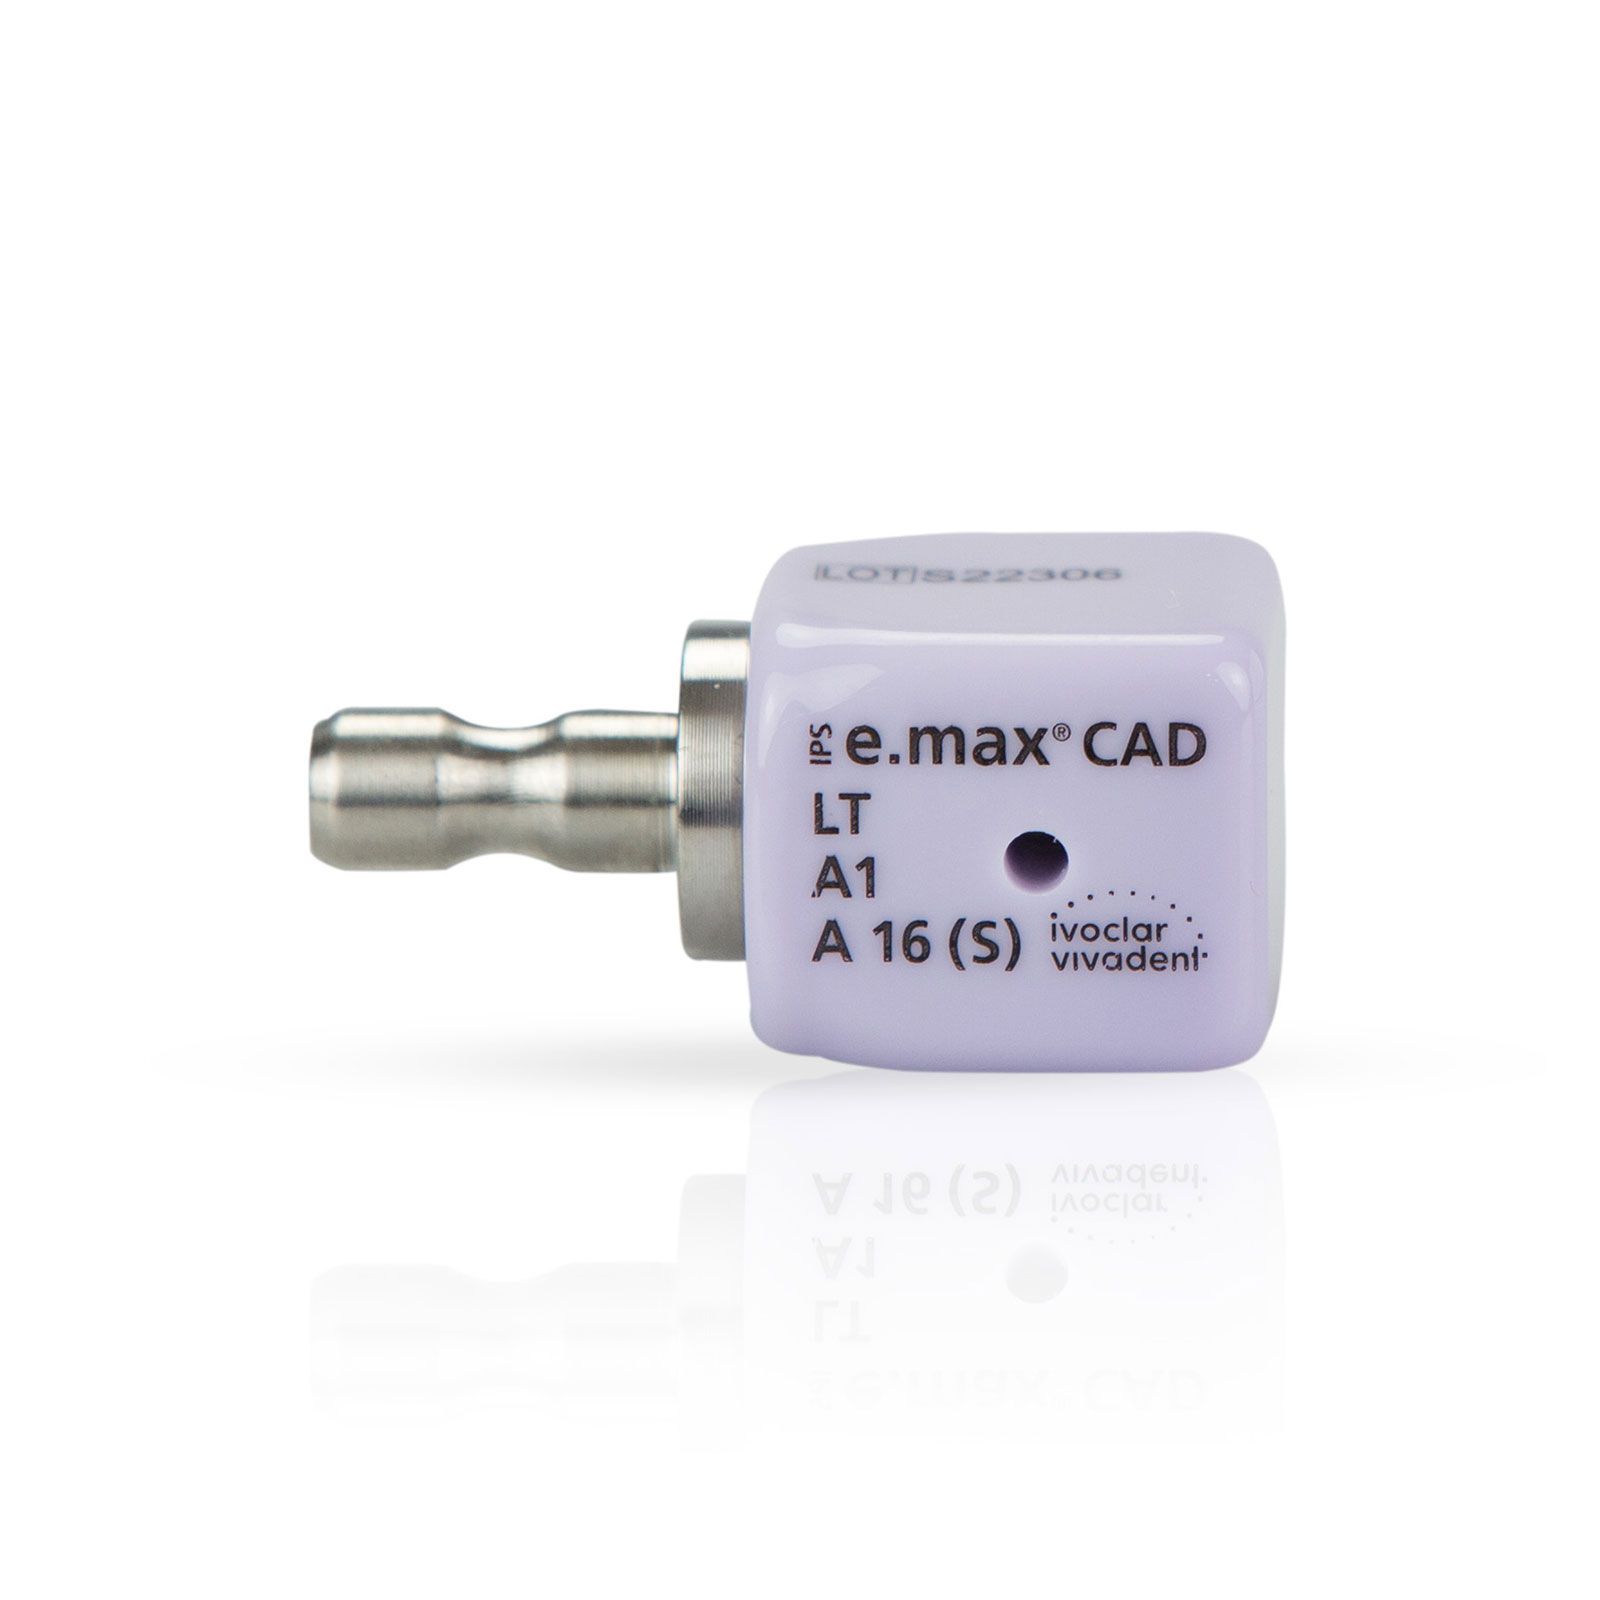
IPS e.max CAD
- High precision fit due to CAD/CAM fabrications
- Hybrid abutment crown (2-in-1) for function and efficiency-easy access to the screw
- Good compatibility with the oral soft tissue
- Strong bond due to Multilink Hybrid Abutment
Ivoclar Vivadent
800-533-6825 | ivoclarvivadent.us
Loss of a single anterior tooth is one of the most challenging clinical scenarios regularly faced. Available bone, soft-tissue architecture, implant positioning, temporization, and final restoration design and material must all be considered in an area of the mouth that has little margin for esthetic error.
When dealing with implants as well as patient management, it is best to expect twists in the proposed treatment plan before treatment has even begun. This can mean an implant that cannot be placed immediately, the patient doesn’t heal as well as anticipated, a soft-tissue problem arises, or difficulty in matching the final restoration to the surrounding natural teeth.
This report presents the treatment and restoration of a failing central incisor that was aysomatic and unknown to the patient at initial examination. Treatment planning, temporization, material selection, and final restorations are all covered.
Diagnosis
For this case, treating clinicians Dr. Eric Jones and oral surgeon Dr. Paul Korb had to work in concert to achieve the best outcome.
The patient was a 45-year-old female with a history of trauma to teeth #8 and #9, which had occurred between five and seven years prior to presentation.
She had two conventional crowns placed at the time of the trauma and was pleased with the appearance of the crowns. Upon examination, the tissue appeared slightly erythematous and darker on tooth #8. A radiographic series revealed what appeared to possibly be a lesion on tooth #8, with prior root canal therapy, a retentive post, and crown having been previously performed.
CT scan revealed a large lesion of endodontic origin that had perforated the buccal plate at the apex of tooth #8. After discussing risks, benefits, and alternatives to treatment, the patient elected to replace the tooth with a dental implant, as this likely would be more predictable than an endodontic retreat or apicoectomy.
Clinical Protocol
The primary concern prior to surgical treatment was the ability to place the dental implant at the time of extraction. Due to the compromise of the buccal plate and thin tissue, the patient was made aware an immediate implant may not be possible and instead would require a two-staged approach with grafting.
To prepare for this situation, temporization options were discussed with the patient. She was also informed that she should be fully prepared to be in a temporary for six months of healing of grafting and then approximately another four months of osseointegration and implant healing should a two-stage approach be required. In total, this would amount to a possible realm of nine to 12 months’ time without a central incisor.
To prepare for this, three treatment options were laid out for the patient: (1) creating a removable partial denture, (2) an essix-type temporization option or (3) removing the crown and creating a cantilever crown, which would involve two temporaries connected to one tooth. The issue with this final option was the uncertainty of whether the temporary material would be strong enough to make it the entire length of time of a two-stage implant approach. It could also be problematic to put excessive torque on one tooth by having a complete cantilever on the other.
The ultimate decision was to have a lab-processed acrylic temporary fabricated. The decision was also made to add a wire reinforcement from the lingual of tooth #9 and extending throughout the temporary with a wire wing extending to tooth #7. In this way, it was acting like a Maryland bridge to reinforce and eliminate any excessive cantilever effect.
After removing these two crowns and taking the impression, quick removal temporaries were fabricated in the mouth from bis-acrylic and cemented with temporary cement. The patient’s master impression was then sent to the lab and the patient was sent for surgery.
During surgery, an immediate implant was able to be placed. However, due to the lack of primary stability, the decision was made to continue with a lab-processed temporary in-lieu of immediate load temporization.
Two weeks after surgery, the patient returned for cementation of the lab-fabricated temporary above the implant. To ensure the area was cleansable, the lingual portion of the temporary was removed in the hopes that the patient could adequately clean and irrigate the site using a water flosser. The patient was then allowed to heal for four months and after returning for a follow-up appointment, her papilla showed a nearly ideal shape and emergence.
Typically, at this point, a screw retained provisional crown would be fabricated to help shape this tissue, but upon consideration, it was possible the papilla shape might not be capable of becoming better than it already was.
Considering this, the papilla was impressed to try and preserve all of the tissue that was held so well by the temporary bridge.
During placement, a triad jig was used to help ensure the correct indexing of the orientation of the abutment. A radiographic PA confirmed that the abutment was fully seated. Clinically, the use of the ceramic custom abutment transitioned from appearing like an abutment subgingivally to looking like a crown preparation matching both the contour and color of the adjacent natural tooth crown preparation. At cementation and before final clean-up, the clinicians observed how nicely the mesial papilla was preserved and that the distal had a satisfactory emergence profile. When the patient returned to the office about six months later, a regular recall was completed.
After it healed, the tissue was healthy and papilla between teeth #8 and #9 were sufficiently preserved with a high degree of symmetry. The case’s final successful result was that there was no abutment exposed or showing or show-through of any kind of metal through the thin facial tissue. The patient’s smile was healthy and esthetically beautiful to the clinician and patient.