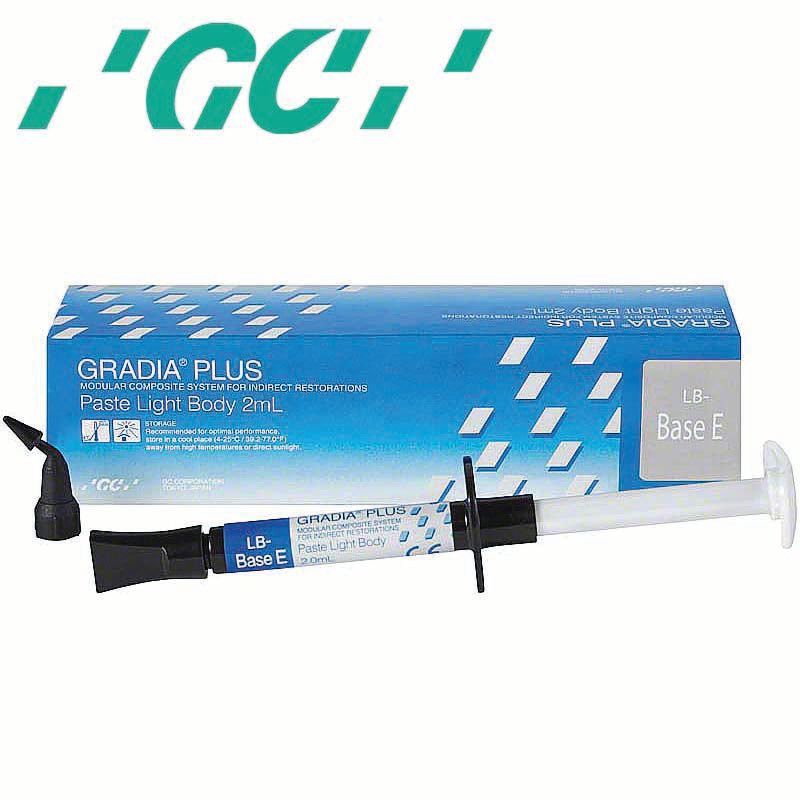
GC GRADIA Plus Paste
GC GRADIA Plus Paste
- An indirect restorative material for both anterior and posterior applications.
- Suitable or a range of clinical applications, including veneers, frame-supported crowns and bridges, implant superstructures, and metal-free inlays.
- Its ultra-fine fillers are evenly dispersed into the resin matrix, offering a high-density network. This promotes wear resistance and gloss retention.
- Available in different pastes, each tuned to its specific indication and application.
GC America
800-323-7063 | gcamerica.com
In this article, I would like to highlight a product and 2 secondary uses I have found that make it a good replacement purchase for a popular discontinued light cure gel on the market.
When I heard Triad® Gel was being discontinued by Dentsply Sirona, I began looking for a substitute. I picked up a tube of a GC product instead, and I have started using it in place of the soon-to-be unavailable gel.
The replacement product is a light cure, indirect composite, GC GRADIA® Plus, specifically the GRADIA Light Body Clear (GLB-CL) from GC America. I use 2 additional optional products from GC America that enhance its use (Figure 1).
Fingernail Ledge
I believe that it is the technical foresight into details that helps drive case success.
For example, I always add a smooth fingernail ledge to allow for easier removal of an attachment retained overdenture (Figure 2). Many patients receiving this form of treatment tend to be older and/or have compromised dexterity. The ledge should be small, and unobtrusive but provide an effective way to engage a fingernail. It’s not anything earth-shattering, but it adds up in concert with other things I do.
I complete and finish the overdenture prior to adding the ledge in the GRADIA composite resin. You can also add it before processing in wax, but it always seemed to get in the way when finishing the borders. Some labs may also prefer to add the ledge post finish in self-curing resin, but I avoid that method as it stains over time and looks unsightly.
Products I Use
- GRADIA Plus GLB-CL
- GC Acrylic Primer*
- GC OPTIGLAZE™*
*optional
The Process
- Identify the placement location of the ledge. It’s most effective when it is located directly adjacent to the attachments you wish to aid in disengagement (Figure 3).
- Selectively air abrade area for ledge placement. I use a piece of paper to stencil the area which prevents abrading the area outside ledge placement(Figure 4).
- Coat the area with a small amount of GC Acrylic Primer and cure for 20 seconds using GC StepLight, Labolight DUO in step mode, or other suitable VLC light source.
- Lay a horizontal bead (7 mm by 4 mm) of GLB-CL parallel, but well below (2-3 mm) the denture border. This placement allows for any comfort adjustments that may affect the border length and the subsequent removal of the ledge. Cure for 20 seconds using a light source specified above (Figure 5a).
- Using a carbide of choice, flatten the top half of the bead creating a ledge (Figure 5b).
- Use a 3M Scotch-Brite™ mini or similar brush to remove any sharpness created by the flattening top of the bead.
- Coat with OPTIGLAZE from GC America or polish using the preferred method (Figure 6).
Name Identification Placement in Dentures
- With inkjet, print name in a font legible and small enough to be unobtrusive. I use a #8 font size.
- Cut out the name, leaving a bit of white border for contrast, coat with OPTIGLAZE, and cure 20 seconds under a StepLight, Labolight DUO in step mode, or another suitable VLC light source (Figure 7).
- Cut a slot to accommodate the size of the name and air abrade. Dictate depth by thickness of area where name is to be placed (Figure 8).
- Coat slotted area with acrylic primer and cure for 20 seconds under step light.
- Precoat bottom of slot with GLB-CL, place name, position, and overlay GLB on top to assure complete coverage. Now cure (Figure 9).
- Smooth and finish area over the name. *Coat with OPTIGLAZE and cure (Figure 10).
*optional

