After selecting the best restorative material for a given indication, the clinician is next faced with determining the correct cementation method for that material among a confusing array of products, all with their own multistep protocols. Kuraray Noritake Dental has introduced a solution to this clinical dilemma: PANAVIA SA Cement Universal. This author has used their products, with their innovative technologies, throughout his 35 years of clinical practice.
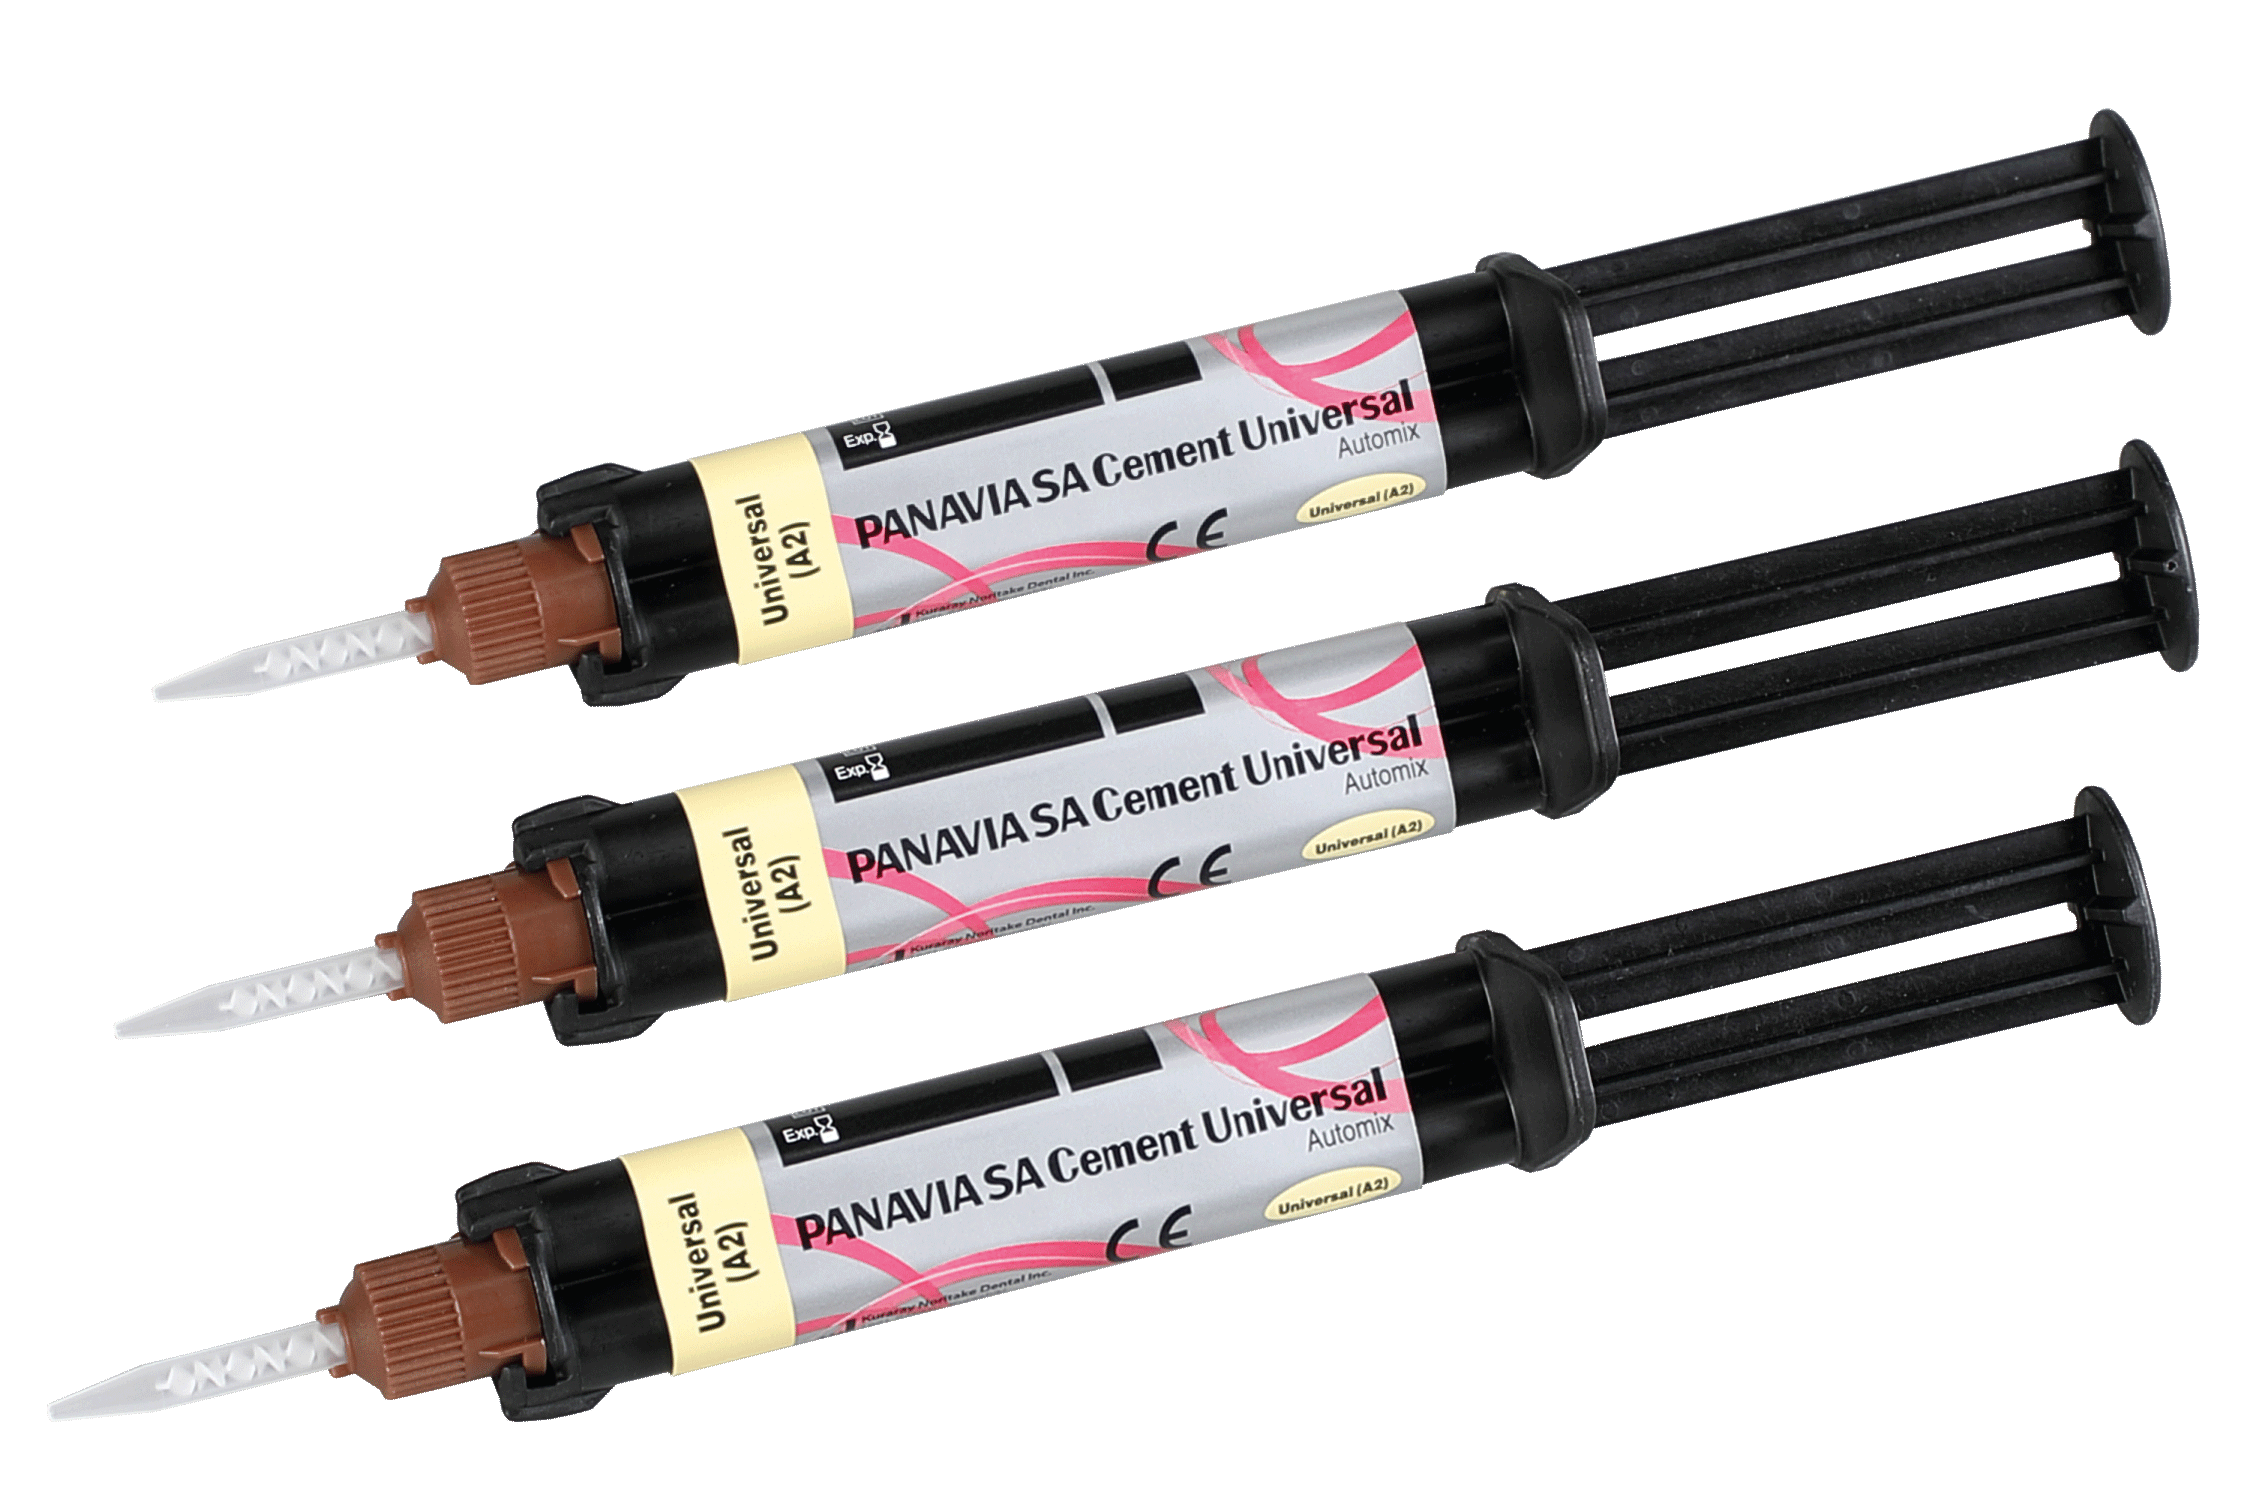
PANAVIA SA Cement Universal, the first cement with dual-monomer technology, is a self-adhesive, dual-cure resin that bonds to virtually every dental material without the need for a separate silane or primer.
PANAVIA SA Cement Universal
- Contains unique, dual-monomer technology that adheres to virtually every material
- Indicated for crowns/bridges, inlays/onlays, posts, and even adhesion bridges
- Delivers a durable chemical bond to lithium disilicate, zirconia, and composite resins
Kuraray Noritake
800-879-1676 | kuraraydental.com
The unique long carbon-chain silane monomer (LCSi) provides the adhesion to glass ceramics and composite resins without a reduction in strength. The original 10-MDP (Methacryloyloxydecyl Dihydrogen Phosphate) provides the chemical bonding to zirconia, metals, and tooth structure.
This high-functioning cement can save clinicians time by eliminating the need for any primers during cementation while creating a strong, durable bond to virtually all surfaces. Further, because the resin sets into a gel after tack curing, thorough cleanup is significantly faster and easier. This advancement in adhesion technology was used to cement a lithium disilicate (Ivoclar Vivadent’s IPS e.max) crown replacing a fractured 12-year-old porcelain fused to zirconia crown.
The method described below uses a traditional impression method with a VPS material from Kettenbach USA and stresses the importance of immediate dentin sealing prior to temporization and cementation, ensuring margins are supragingival, and includes the use of a black rubber dam.
Case Presentation
A 52-year-old man presented to the practice with a fractured porcelain fused to zirconia crown placed 12 years prior on tooth No. 19. The fracture, as well as recurrent decay, on the lingual margin was apparent on visual inspection during the oral examination and was confirmed by radiographs. The recommended treatment plan was to remove the decay and replace the fractured porcelain fused to zirconia crown with one made of lithium disilicate.
Temporary and Final Restoration
Before removing the old crown, an impression for temporization was taken using Kettenbach’s Panasil initial contact X-Light impression material in a triple tray.
The defective crown was removed using a fine red-striped diamond bur from Komet USA, after which a rubber dam was placed to finesse the preparation to have all margins supragingival for cementation. In this case, deep margin elevation was not required to have the supragingival margins desired for cementation.
After the preparation was completed (Figure 1), immediate dentin sealing (IDS) was completed on the dentin to seal it prior to temporization and final cementation (Figure 2).
After removal of the rubber dam, another VPS impression was taken, this time for the final restoration. Because the margins were kept supragingival, cord isolation was unnecessary.
To minimize distortion, prior to taking the VPS impression, Liquid Lens from Zest Dental Solutions was placed over the resin and light cured to reduce the oxygen inhibition layer on the bond created with IDS. (This step would not be required with a scanned impression.)
Next, the temporary crown was fabricated using Luxatemp, a bis-acrylic material from DMG America. Because of the IDS on the tooth being treated, a light coat of petroleum jelly was applied before the patient was instructed to bite into the triple tray containing the temporization material, which, after setting fully in the mouth, locks the temporary crown between the interproximal contacts of the adjacent teeth.
The bite was then checked for occlusion, after which the patient was sent home, and the impression was sent to the laboratory for fabrication.
Cementation
At the cementation appointment, the temporary was removed and the restoration was tried in to ensure that contacts, margins, and occlusion were correct prior to cementation. The rubber dam was then placed. (Note: The beauty of careful planning with supragingival margins is that rubber dam placement is very easy, resulting in a much cleaner environment for cementation.)
Phosphoric acid was used to etch enamel and clean resin surface on dentin (Figure 3). Hydrofluoric acid etching IPS e.max. Yellow HF etch shown is 9 percent; red HF etch is 5 percent (Figure 4).
Importantly, either the laboratory or the dentist must adhere to cementation protocols for the restoration material. With lithium disilicate, that means etching with 5 percent hydrofluoric acid for 20 seconds or an alternative is 9 percent such as Porcelain Etch from Ultradent) for 90 seconds after which it was thoroughly rinsed and air-dried. Phosphoric acid was applied to clean and activate the ceramic surface. (Note: At this point in the procedure, application of a separate primer to the intaglio was unnecessary because the LCSi silane monomer is built into PANAVIA SA Cement Universal. Because the tooth had received IDS at the earlier appointment, anesthesia would generally not be necessary for most patients.)
After the temporary crown was removed, phosphoric acid etch was used to remove any remaining debris as well as to etch the enamel and clean the resin-coated dentin surface. Again, because IDS had been performed, only phosphoric acid was used to etch enamel and clean the resin surface on the dentin.
At this point, the PANAVIA SA Cement Universal was injected directly into the etched, rinsed, and dried lithium disilicate crown (Figure 5), and the restoration was seated, using a wood stick to apply firm pressure (Figure 6). Research has indicated that this direct application provides the same degree of adhesion to glass-based ceramics and lithium disilicate as with separately applied silanes.4,5
PANAVIA SA Cement Universal is syringed directly into etched, rinsed, and dried IPS e.max crown; no separate silane is needed (Fig. 5). Seating final restoration (Fig. 6).
After confirming that the crown was properly seated, the margins were tack-cured for two to five seconds (Figure 7) with an Elipar DeepCure-S LED curing light from 3M. The curing time can vary depending on the chosen curing light and its distance from the restoration.
The final step was the removal of the excess cement, something that is especially easy with PANAVIA SA Cement Universal, which is transformed into a gel state after light curing (Figure 8). With translucent restorations, clinicians can perform additional light curing (Figure 9).
The final restoration (Figure 10) met clinician and patient expectations for form and function. Using the method described and the new dual-monomer adhesion technology found in PANAVIA SA Cement Universal, the clinician accomplished this quickly and easily.
Discussion
The goal in any restoration of this type is to have all margins fully exposed for cementation of the final restoration. Therefore, this method stresses the importance of supragingival margins, which are apparent using a rubber dam. The clinician also follows immediate dentin sealing protocols (to protect the pulp, reduce sensitivity, and increase bond strengths) prior to temporization and final cementation.
For cementation itself, PANAVIA SA Cement Universal promises to greatly simplify the often confusing and arduous process of choosing and using a cementation material. The beauty behind this cement for most clinicians is that no thinking is required - all they need to do is clean the preparation, prepare the restoration according to protocols for the material, inject the cement into the crown, place it and clean off the excess. The cleanup is superb; with a two- to five-second tack cure, it easily peels away.
With the proven original MDP found in Kuraray Noritake Dental products for decades, plus the LCSi silane monomer to enhance adhesion to glass ceramics, PANAVIA SA Cement Universal helps make cementation easier than ever before.
References
- Jayasooriya PR, Pereira PN, Nikaido T, Tagami J. Efficacy of resin coating on bond strengths of resin cement to dentin. J Esthet Restor Dent. 2003;15(2):105-113. doi: 10.1111/j.1708-8240.2003.tb00325.x.
- Okuda M, Nikaido T, Maruoka R, Foxton RM, Tagami J. Microtensile bond strengths to cavity floor dentin in indirect composite restorations using resin coating. J Esthet Restor Dent.2007;19(1):38-46. doi: 10.1111/j.1708-8240.2006.00062.x.
- Mange P. Immediate dentin sealing: a fundamental procedure for indirect bonded restorations. Esthet Restor Dent. 2005;17(3):144-154. doi: 10.1111/j.1708-8240.2005.tb00103.x.
- The silane-coupling effect of a silane-containing self-adhesive composite cement. Yoshihara K., Van Meerbeek B. et al, National Institute of Advanced Industrial Science & Technology, Japan. Biomat Research Center, University of Leuven, Belgium, International Association of Adhesion Dentistry
- Irie M, Maruo Y, Nishigawaw G, et al. Are shear-bond-strength to modern ceramics and flexural-strengths of resin-cements correlated? IADR Abstract #1833