Kahng on an efficient way to match color
Regardless of price, many patients are looking for answers to their esthetic needs. They know technology will allow them even better results than ever before. Thanks to the demand, dental professionals are always looking for better options to meet these needs.
Regardless of price, many patients are looking for answers to their esthetic needs. They know technology will allow them even better results than ever before. Thanks to the demand, dental professionals are always looking for better options to meet these needs.
Fortunately, the same technology that has created the demand also enables exciting new possibilities. One of the best restoration options for these esthetically challenging cases is metal-free zirconia. With this type of restoration, porcelain butt margins can be avoided while maintaining maximum strength in the restoration. With a milling machine in-house and the proper color in a zirconia block, a beautiful metal-free substructure can be created.
This article illustrates the technician’s steps in matching custom shade coloring for an esthetic case.
Case study

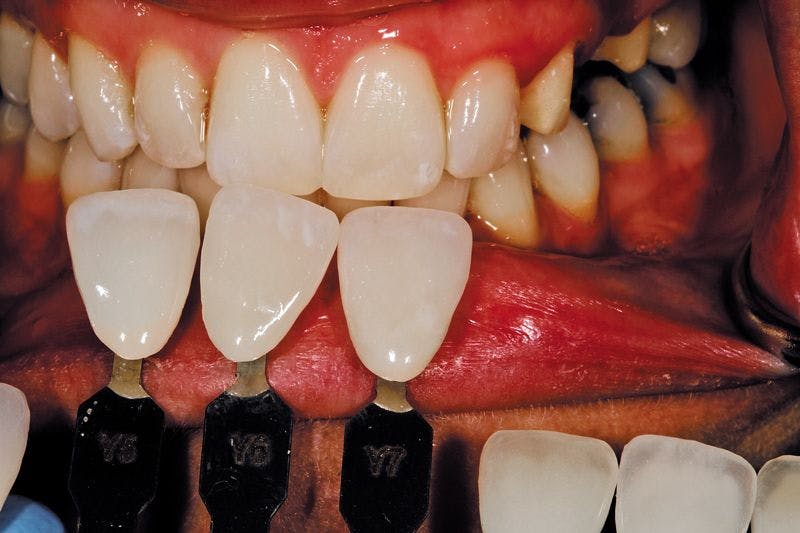


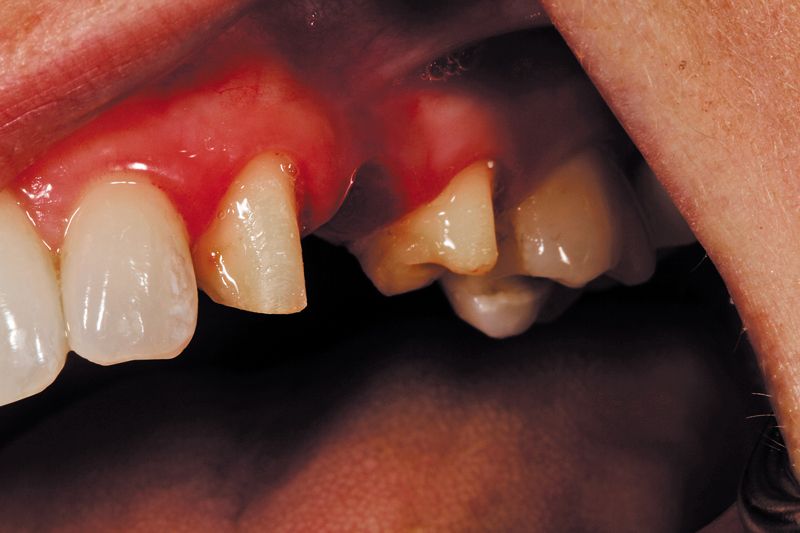

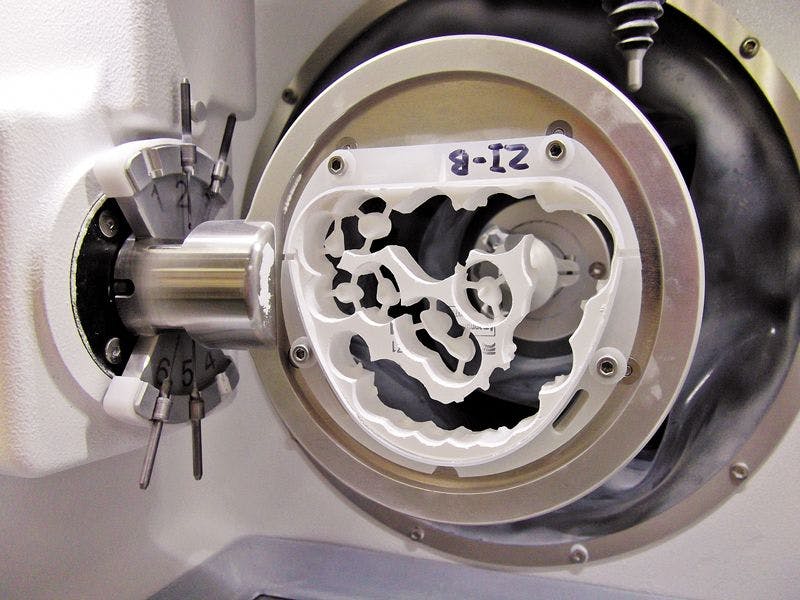

Fig. 1?Custom shade tabs were used for color matching.
Fig. 2?Fantastic prep design.
Fig. 3?Amann Girrbach Ceramill Motion Mill 2.
In Fig. 1, the patient’s initial custom shade appointment indicated 50% opacity, gingival and body color with translucency modification to the gingival, body and incisal color. The proper tool was used for custom shade taking, using three different colors -Y5, Y6 and Y7 for youthful coloration with 50% opacity, white calcification and translucency included in the porcelain tab.
01 The clinician’s prep design used an ovate pontic design that worked well with the technician’s plan of action making success more accessible (Fig. 2). The Amann GirrbachCeramill Motion 2 machine then designed and milled the zirconia with accurate 5-axis precision within the milling machine (Fig. 3).
02 After milling, the sprue was cut with rubber (Fig. 4). The sprue was then removed, and put back for the pre-shading stage (Fig. 5).
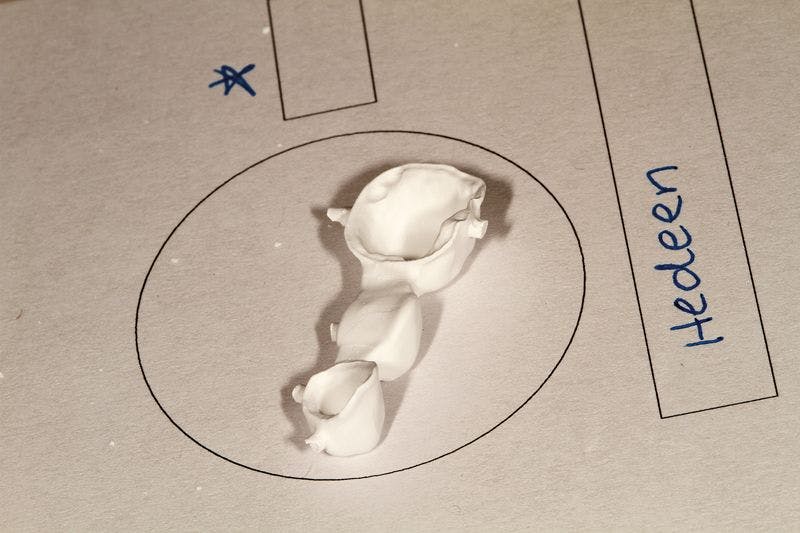
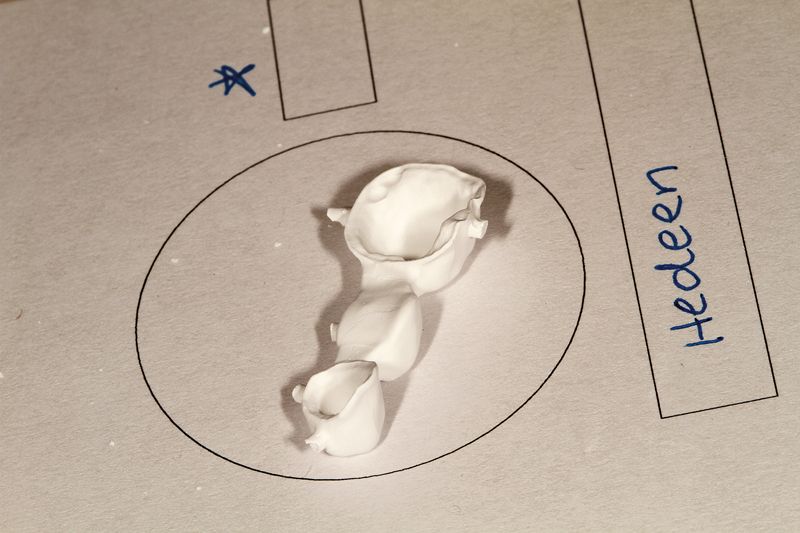


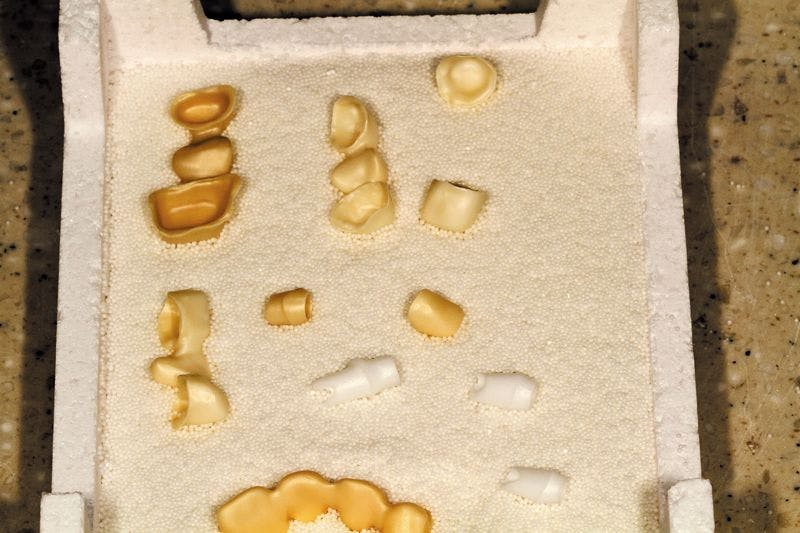

Fig. 4?Sprue cut with rubber.
Fig. 5?Pre-shading stage.
Fig. 6?After sintering.
03 After sintering, the color difference can be observed (Fig. 6). At the same time, implant abutments can be created for a four-unit bridge, which is both efficient and cost-saving because one zirconia block is used for the whole process.
04 For proper, 50% opacity, GC One Body porcelain (GC America) with one color for one powder layering was used (Fig. 7). After firing at 810°C, the three-unit bridge had the appearance featured (Fig. 8).
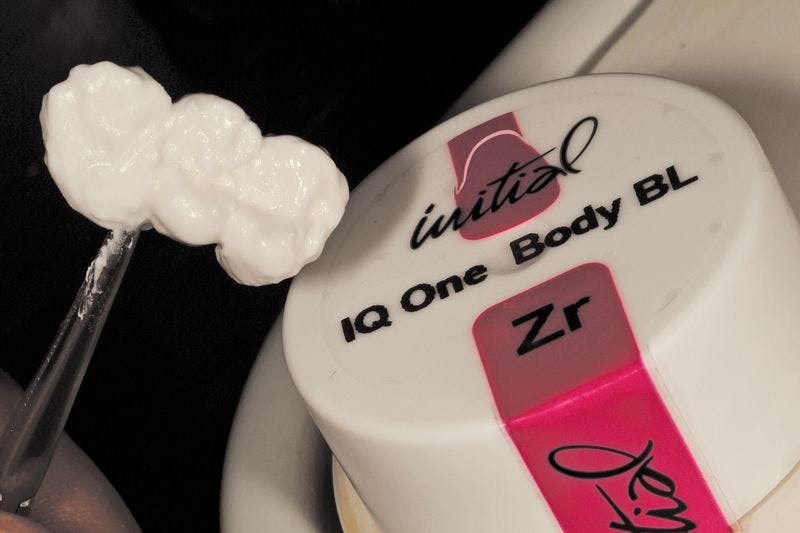


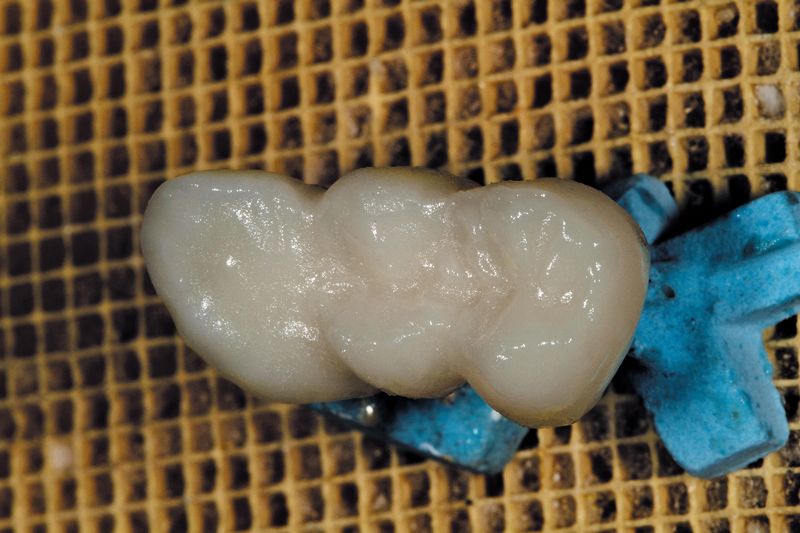
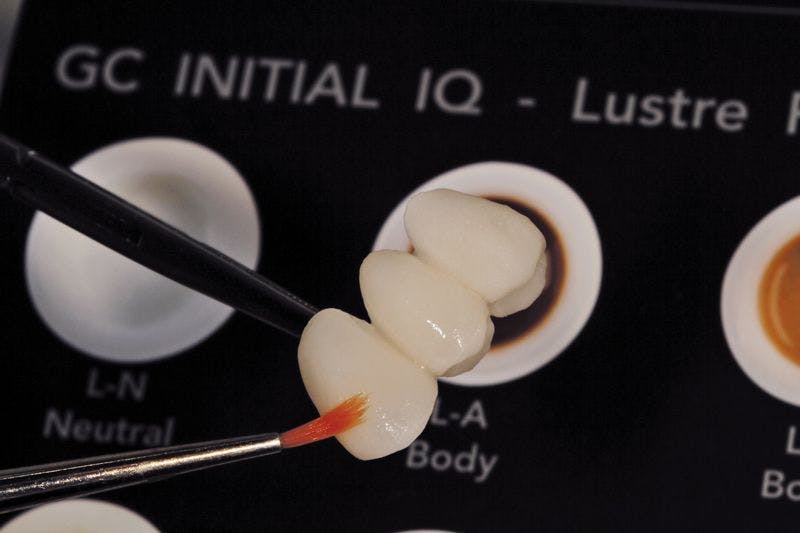

Fig. 7?50% Opacity, GC One Body One Color Porcelain
Fig. 8?After fire.
Fig. 9?After contour, apply lustre paste.
05 After contouring, lustre paste was applied and fired at 780°C. From the gingival 1/3 and the body an incisal illusion was created by using a brown coloring in this stage (Fig. 9). For 3 units, the amount of lustre paste color differed because there are more units involved (Fig. 10). In the mirror image the gingival 1/3 cervical color is bright while the pre-molar color is darker in shade. Interproximally, they are the same (Fig. 11). By using various lustre paste colors, a different coloration within the restoration was created that was not monochromatic in color. This does not follow the “A1/A2 coloring” seen in most restorations, but the goal is a natural, life-like restoration, which is never monochromatic in appearance.
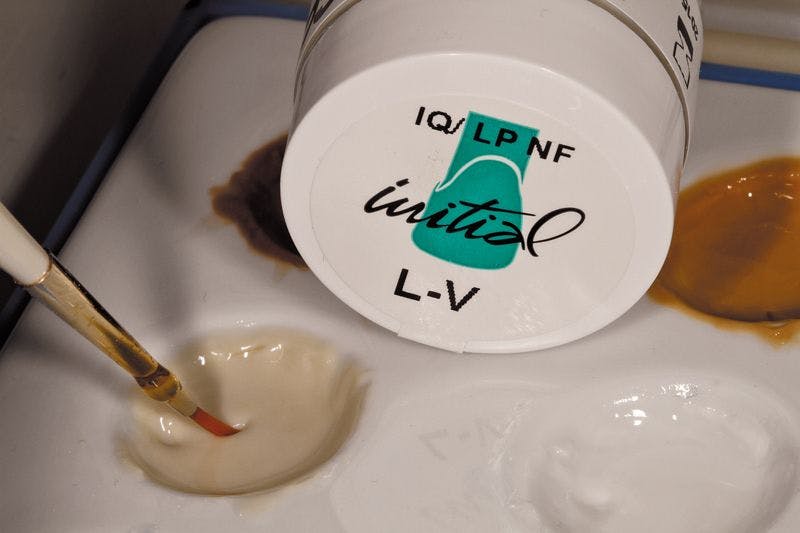


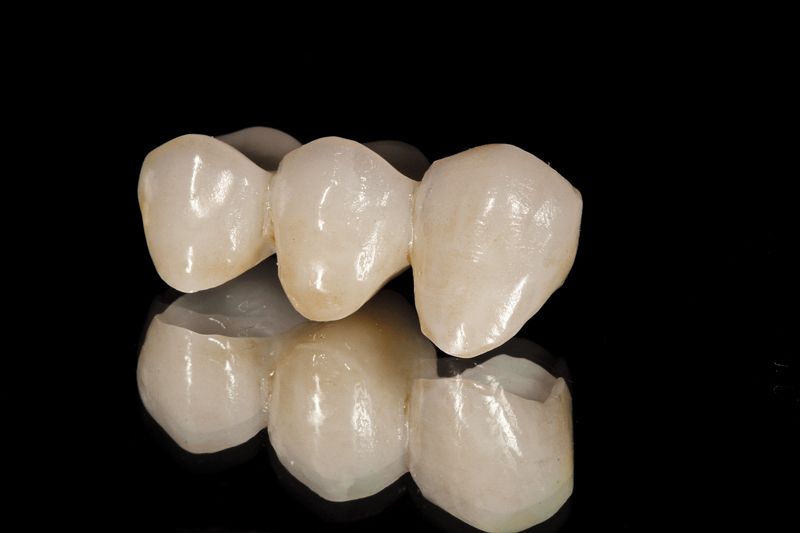
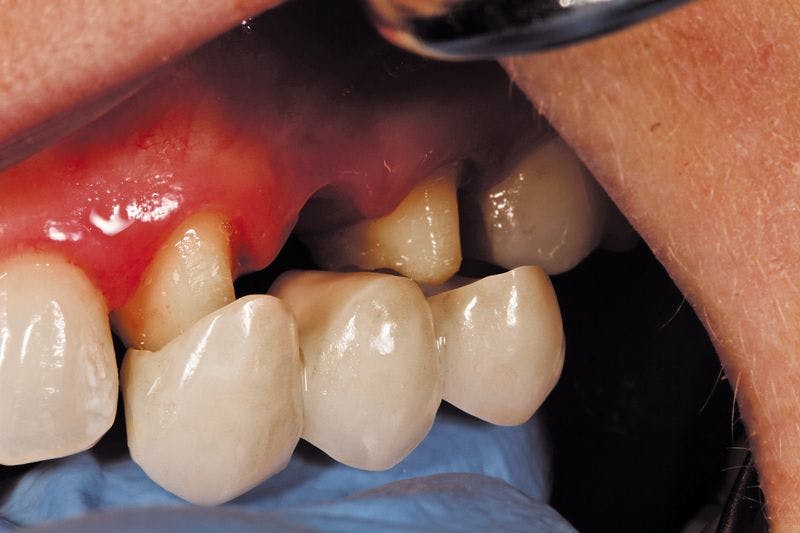

Fig. 10?Incisal illusion.
Fig. 11?Mirror image.
Fig. 12?Try-in the mouth.
06 During a try-in the mouth (Fig. 12), the white horizontal lines, and the brown, orange tones were checked to make sure they had been naturally mimicked. Half-way into the mouth a photo was taken to give a different view of the mouth, partly closed (Fig. 13). It was then thought the restoration might require a little more stain, which could be examined more closely in the mouth (Fig. 14). A decision was then made to try and see how the appearance changed. Ultimately, it was decided that there was too much translucency so the stain was removed before baking the restoration.

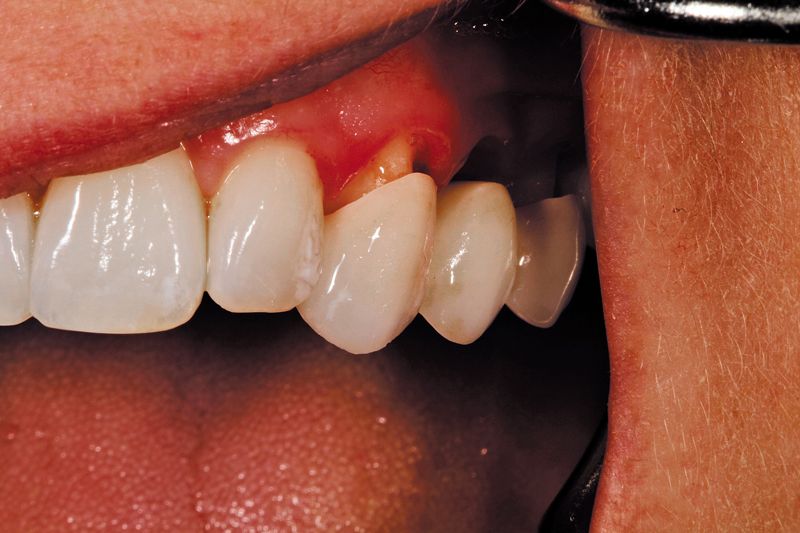
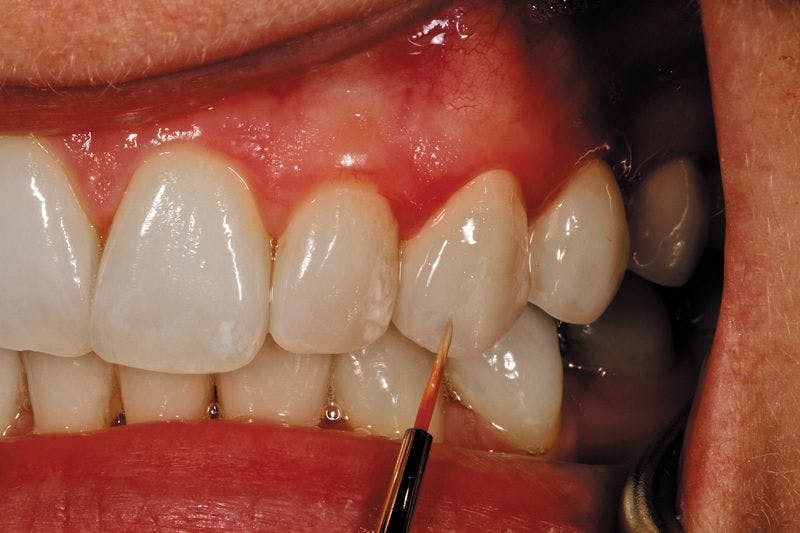


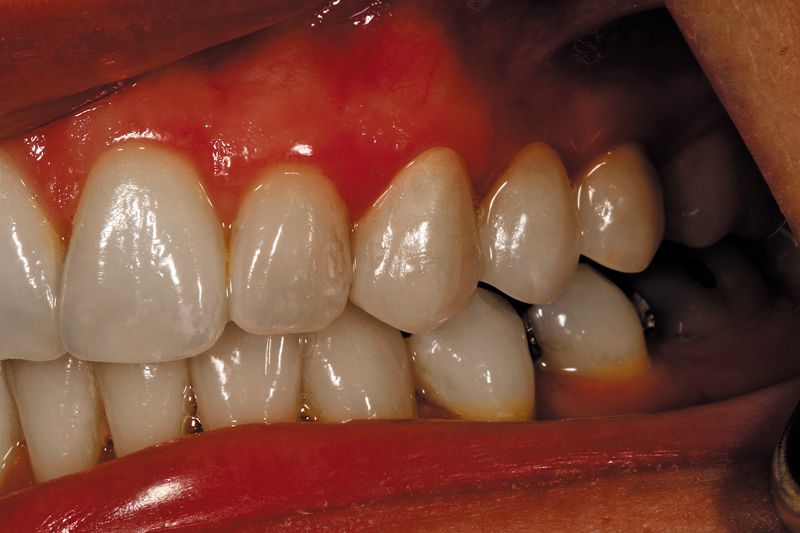
Fig. 13?Half-way try-in the mouth.
Fig. 14?Extra stain applied, then removed.
Fig. 15?Immediate try-in.
07 An immediate try-in reveals a natural looking restoration with beautiful tissue (Fig. 15). The dentist in the case is a periodontist and took special care of the tissue for the patient. The color, balance and design are all in alignment.
Closing thought
The important point in this case is not to worry about custom shading. There are many solutions and a lot of answers for those who seek them. The use of multi-layering can yield excellent results but many times it is unnecessary. The one-body color achieved with GC Lustre Paste is all that is needed for these esthetic accomplishments. Once one is able to figure out the opacity of the adjacent dentition and identify the color characteristics between the teeth, they can likely get the final results they seek with this product-at least 40% of the time. Not only are the results beautiful, the technique is efficient and effective. Both the patient and clinician will be pleased with the results, thus reaching the final goal successfully.
This article originaly appeared in the April 2013 issue of Dental Lab Products. For more great behind-the-scenes articles like this, click here or on the magazine below to subscribe: