Bench Mastery: Improved ceramic veneer restoration [VIDEO]
Value is key in imitating the natural tooth to achieve a lifelike result. In esthetic anterior restorations, the dental technician is ideally involved right from the beginning-even more so, if a diagnostic wax-up, or mock-up, is required to visualize the treatment outcome. However, some situations in everyday practice may make it impossible for the dental technician to be part of the treatment at an early stage and such a case is described in the report below.
Value is key in imitating the natural tooth to achieve a lifelike result. In esthetic anterior restorations, the dental technician is ideally involved right from the beginning-even more so, if a diagnostic wax-up, or mock-up, is required to visualize the treatment outcome. However, some situations in everyday practice may make it impossible for the dental technician to be part of the treatment at an early stage and such a case is described in the report below.
Webinar: Learn the real value of 3D printing in the dental lab
Pre-operative situation
1. The female patient visited the practice for emergency treatment. In an accident, the incisal edges of the central incisors had broken off. Primary treatment consisted in covering the fractured teeth with a temporary. The esthetic appearance of the temporary restoration was of secondary importance at this stage (Fig. 1). After initial treatment, it was time to initiate the next stage: final treatment planning. A decision was taken to use two pressed ceramic veneers for the permanent restoration.
Check out this video with images from the restoration ...
In the lab
2. Being able to talk directly to the patient is an advantage to the dental technician when designing an esthetic restoration. This enables the technician to respond individually to the patient and to gain a better understanding of the patient’s desires and expectations. In this case, the patient told us that she had quite prominent incisors and the temporaries were not reflecting her natural smile. Unfortunately, pictures or models of her original oral situation were not available. She also informed us that the two anterior teeth slightly overlapped each other, possibly due to crowding in the upper anterior region and the difference in width of the incisors.
3. The initial situation on the model resembled the case of a minimally invasive veneer restoration; only the enamel surfaces were in need of replacement. In this case, adapting the shape and structure of the anterior teeth was not as much a challenge as recreating their shade and value. The patient presented very bright teeth with a great deal of depth. The teeth seemed to be shining from the inside because of their high opalescence.
4. Figure 2 shows that the patient’s tooth shade could not be determined with standard shade tabs such as the Chromascop or A-D shade guides; the natural teeth seemed to absorb the light, without appearing gray or dark in shade.
5. With this situation in mind, I remembered a shade guide that we usually have lying way back in the “shade tab” drawer: the Ultimate shade guide. Originally meant to reflect bleached teeth, the Ultimate shade guide consists of nine shade tabs. Although our patient never had her teeth bleached, tab no. 4 exactly showed the brightness and depth that matched her teeth (Fig. 3).
Click here to keep reading about the restoration process.
Shade selection with dental photographs
6. Digital photography and image editing has changed shade selection in recent years. Today, I cannot imagine doing without these helpful tools. Adobe Photoshop and Google’s Picasa have become the standard software programs for image editing in our day-to-day work. While the pictures are taken with a fixed set of parameters, they are routinely processed, including white balance, exposure and more. By “playing” with the images, or with the value of the tooth, I can visualize various value zones and obtain an impression of the inside of the tooth, almost like “looking” into it. Picasa is a fast and easy-to-use image editing software. Inside the menu, it contains a “shadow” slider, which increases contrast and lowers brightness. Figure 4 shows the image after editing. Compared to Figure 3, the effects, details, translucence as well as the light absorbing and reflecting zones are clearly visible.
Check out this video with images of the restoration process ...
Ingot selection
7. Selecting an appropriate ingot is essential for a successful outcome when working with pressed ceramics. The new IPS e.max® Press Impulse range enables users to realize lifelike results in a rational manner. These ingots are value-based rather than shade-based like conventional ingots. The Impulse range includes Opal ingots, which enable users to replace enamel without individual layering. This is particularly convenient in very thin veneers or in “extremely” white teeth, as in the case described here.
8. How can we imitate these white teeth with their expressive inherent shade characteristics? The Opal ingots were the answer to this question. Although these ingots are originally intended only for the replacement of enamel, they are ideally suited for situations like ours. The Opal 1 and Opal 2 ingot shades (IPS e.max Press Impulse) allow the press ceramic technique to be used even with a difficult initial situation (Fig. 5).
9. After we selected a matching shade tab, we encountered another issue: The shade tab consists of 3 mm of incisal material over a layer of bright dentin. By contrast, the space available in the present situation would only allow for a veneer with a maximum thickness of 0.8 mm. In view of the bright shade and limited space, reproducing the apparent effect of depth presented an additional challenge. We selected an Opal 2 ingot. As we had to extend the incisal edge a little bit and make sure that the incisal preparation line did not show through, we felt that this was a safe choice.
Click here to see the final restoration and learn more about the product.
10. The veneers were to be pressed in their full anatomical contour and then customized with the staining technique. The wax pattern was created in line with the envisaged restoration; some areas were slightly overcontoured (Figs. 6 to 8). Sprueing, investing and pressing were performed according to the manufacturer’s directions.
Recent Article: Bench Mastery: Treating the Dental-Phobic Patient [VIDEO]
Check out this video with images of the restoration process ...
11. Since the ingot selected (IPS e.max Impulse Opal 2) is very translucent, the shade of the natural tooth abutment (die) was mimicked to achieve the desired shade in the final restorations (Fig. 9). Light-curing IPS Natural Die material is ideally suited for this purpose. This tooth-colored composite is utilized to prepare a die, facilitating the work with HT or Value and Opal ingots. Rubber wheels as well as green and diamond impregnated stones were employed for finishing the restorations (shape, morphology) and for creating the surface texture. Figure 10 shows the veneers with the Essence material (IPS e.max Ceram) applied onto them. The added shade tab indicates that we are very close to the desired final shade and we are also right on target to meet the most formidable challenge of this case: the value.
12. Before the veneers were tried in on the patient, her natural teeth (abutments) were wetted with fluid (Vaseline or try-in paste)-without fluid, the air between the restoration and the natural tooth structure would block the light and adversely affect the evaluation of the shade.
13. Usually, I finalize the surface structure at the finishing stage, paying attention to matching the smoothness levels to the natural teeth. The glaze was applied in a thin layer and slightly “underfired.” Generally, I prefer a manual final polishing (Fig. 11). Once polished, the veneers were checked for their accuracy of fit, shape and function on the model. When we assessed the shade-or value-of the veneers, we were left with a positive feeling (Fig. 12). We then sent the restorations to the dental practice.
Conclusion
This case was challenging. The value in particular required a special approach. We had to recreate the apparent depth, or inherent interplay of shades, without dropping the value (Figs. 13 to 15). I was looking forward to hearing back from the dental practice and was pleasantly surprised to learn that the veneers had been successfully incorporated. The IPS e.max Press Impulse Value ingots facilitated the esthetic design of the restorations due to their inherent fluorescence and opalescence. In sum, we now can use the press ceramic technique to achieve a successful outcome even in a challenging situation like this.
IPS e.max Press Impulse

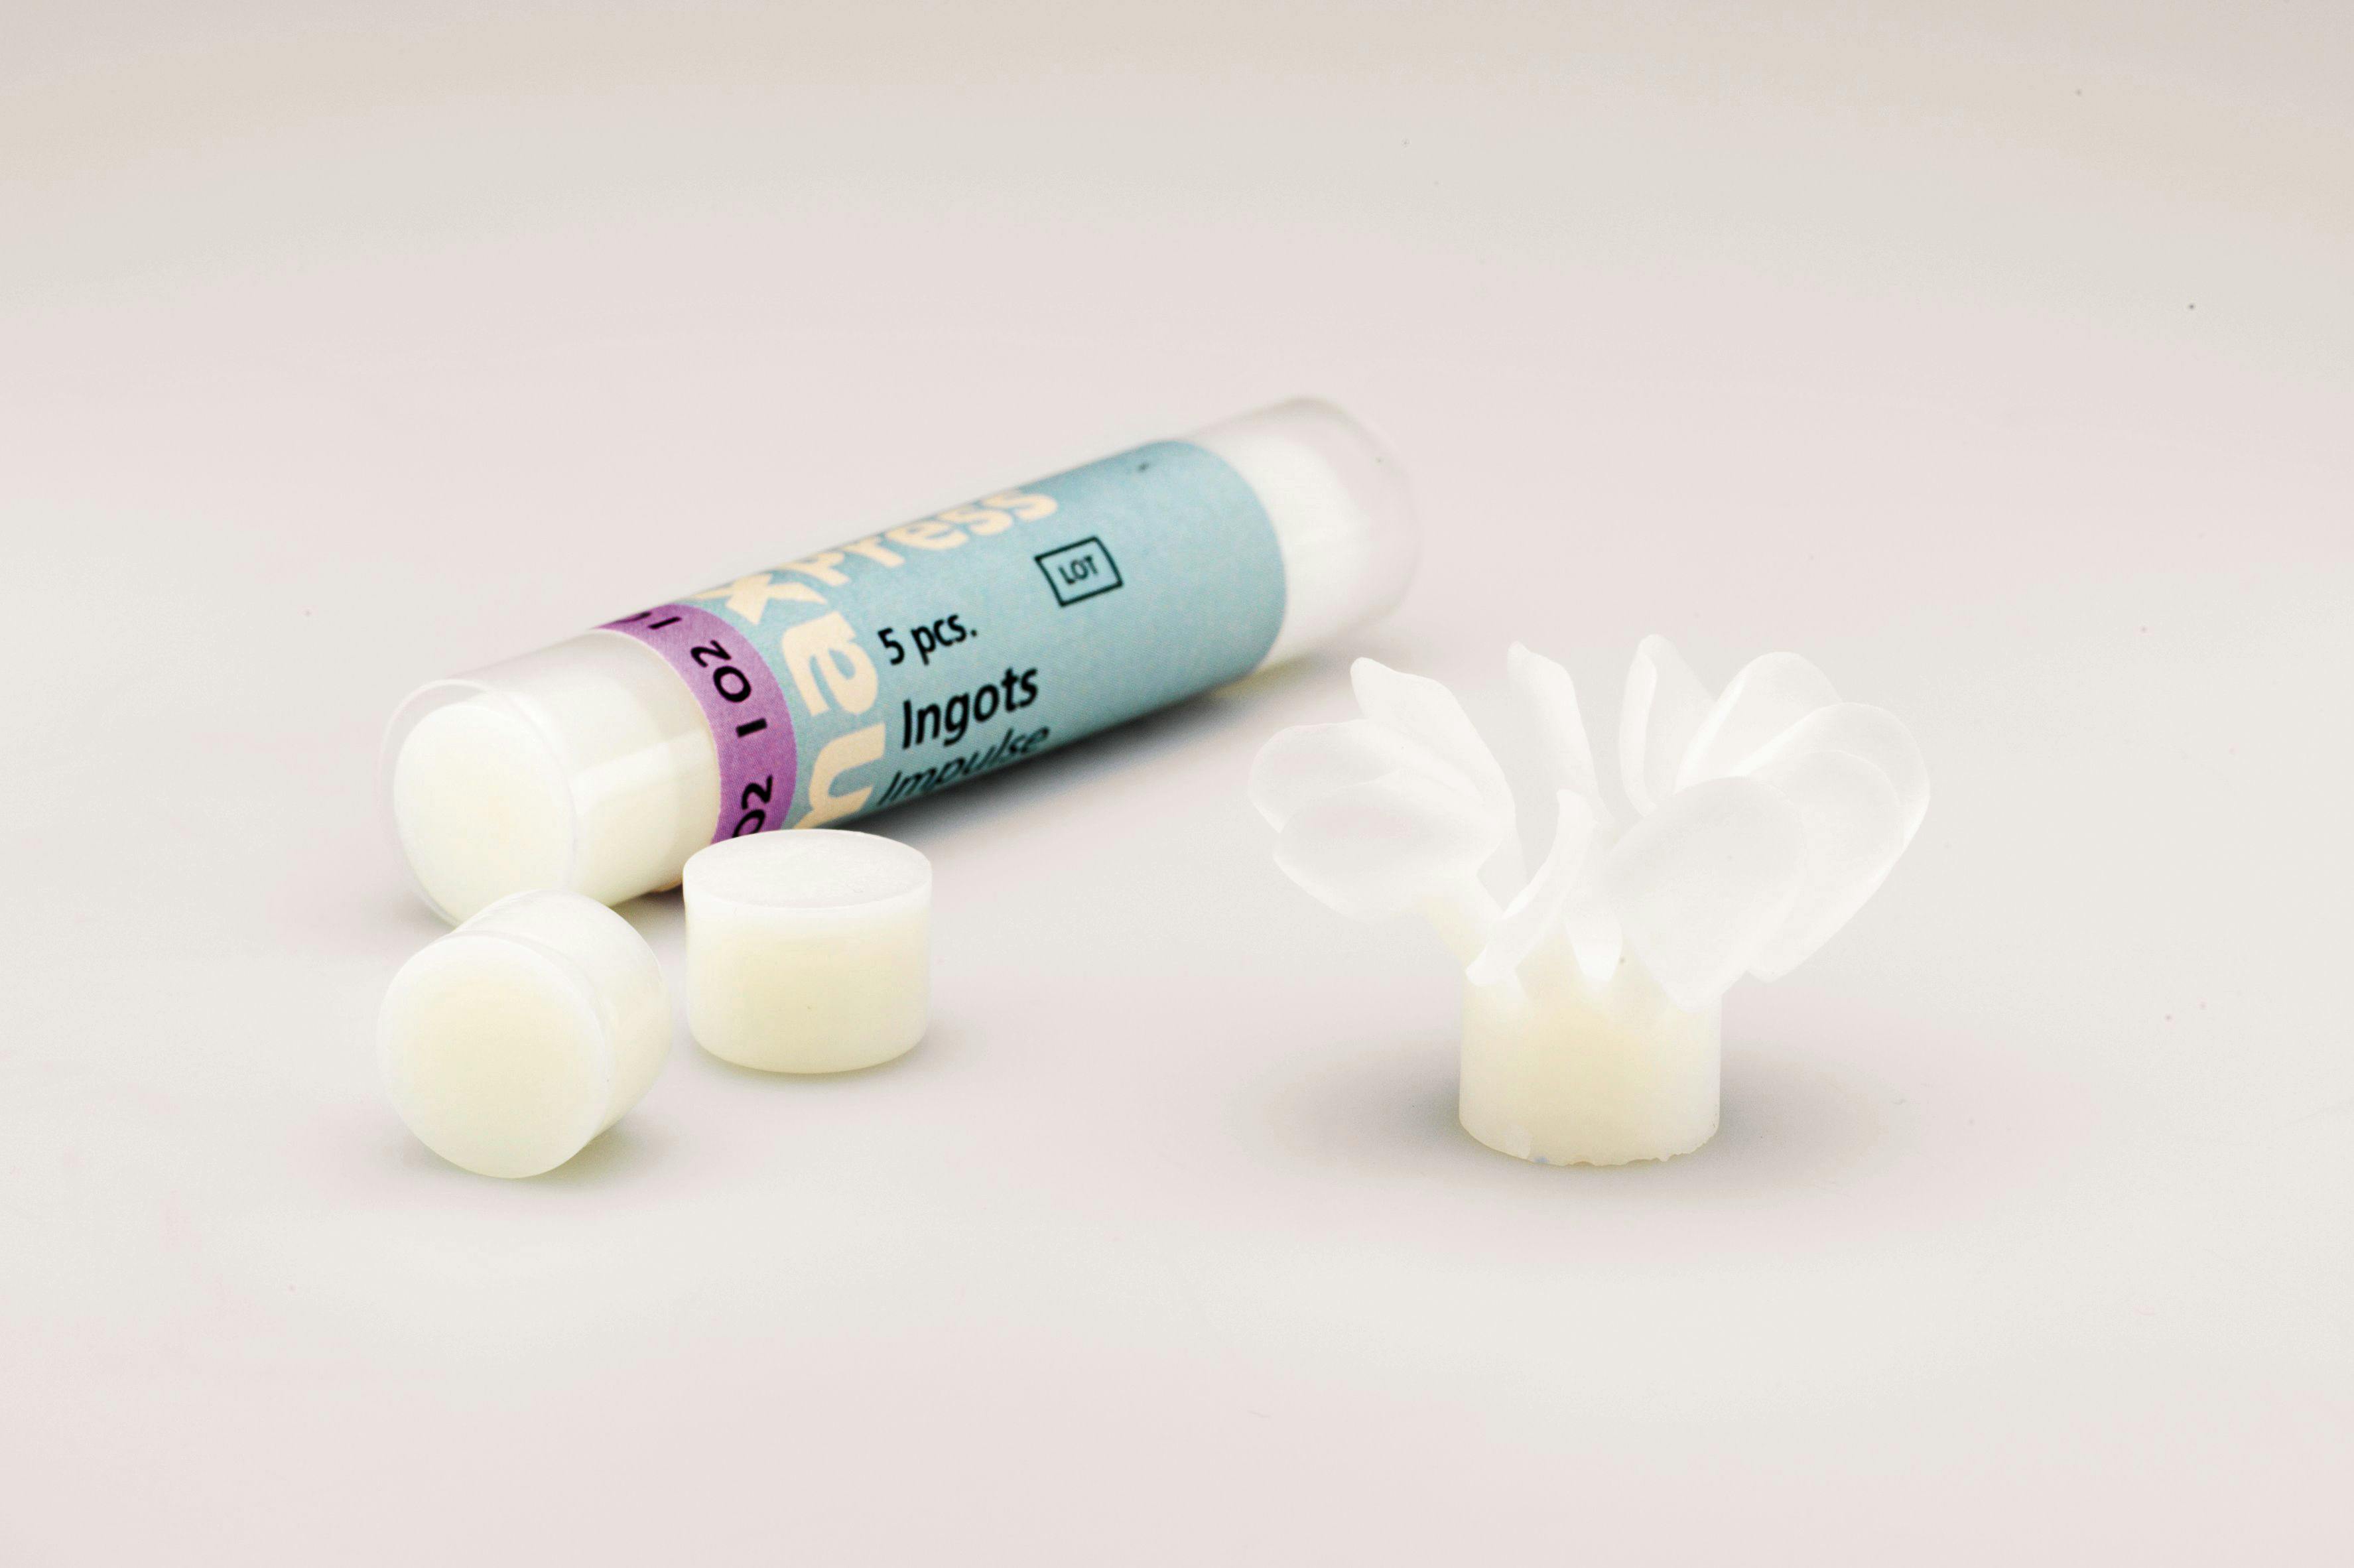
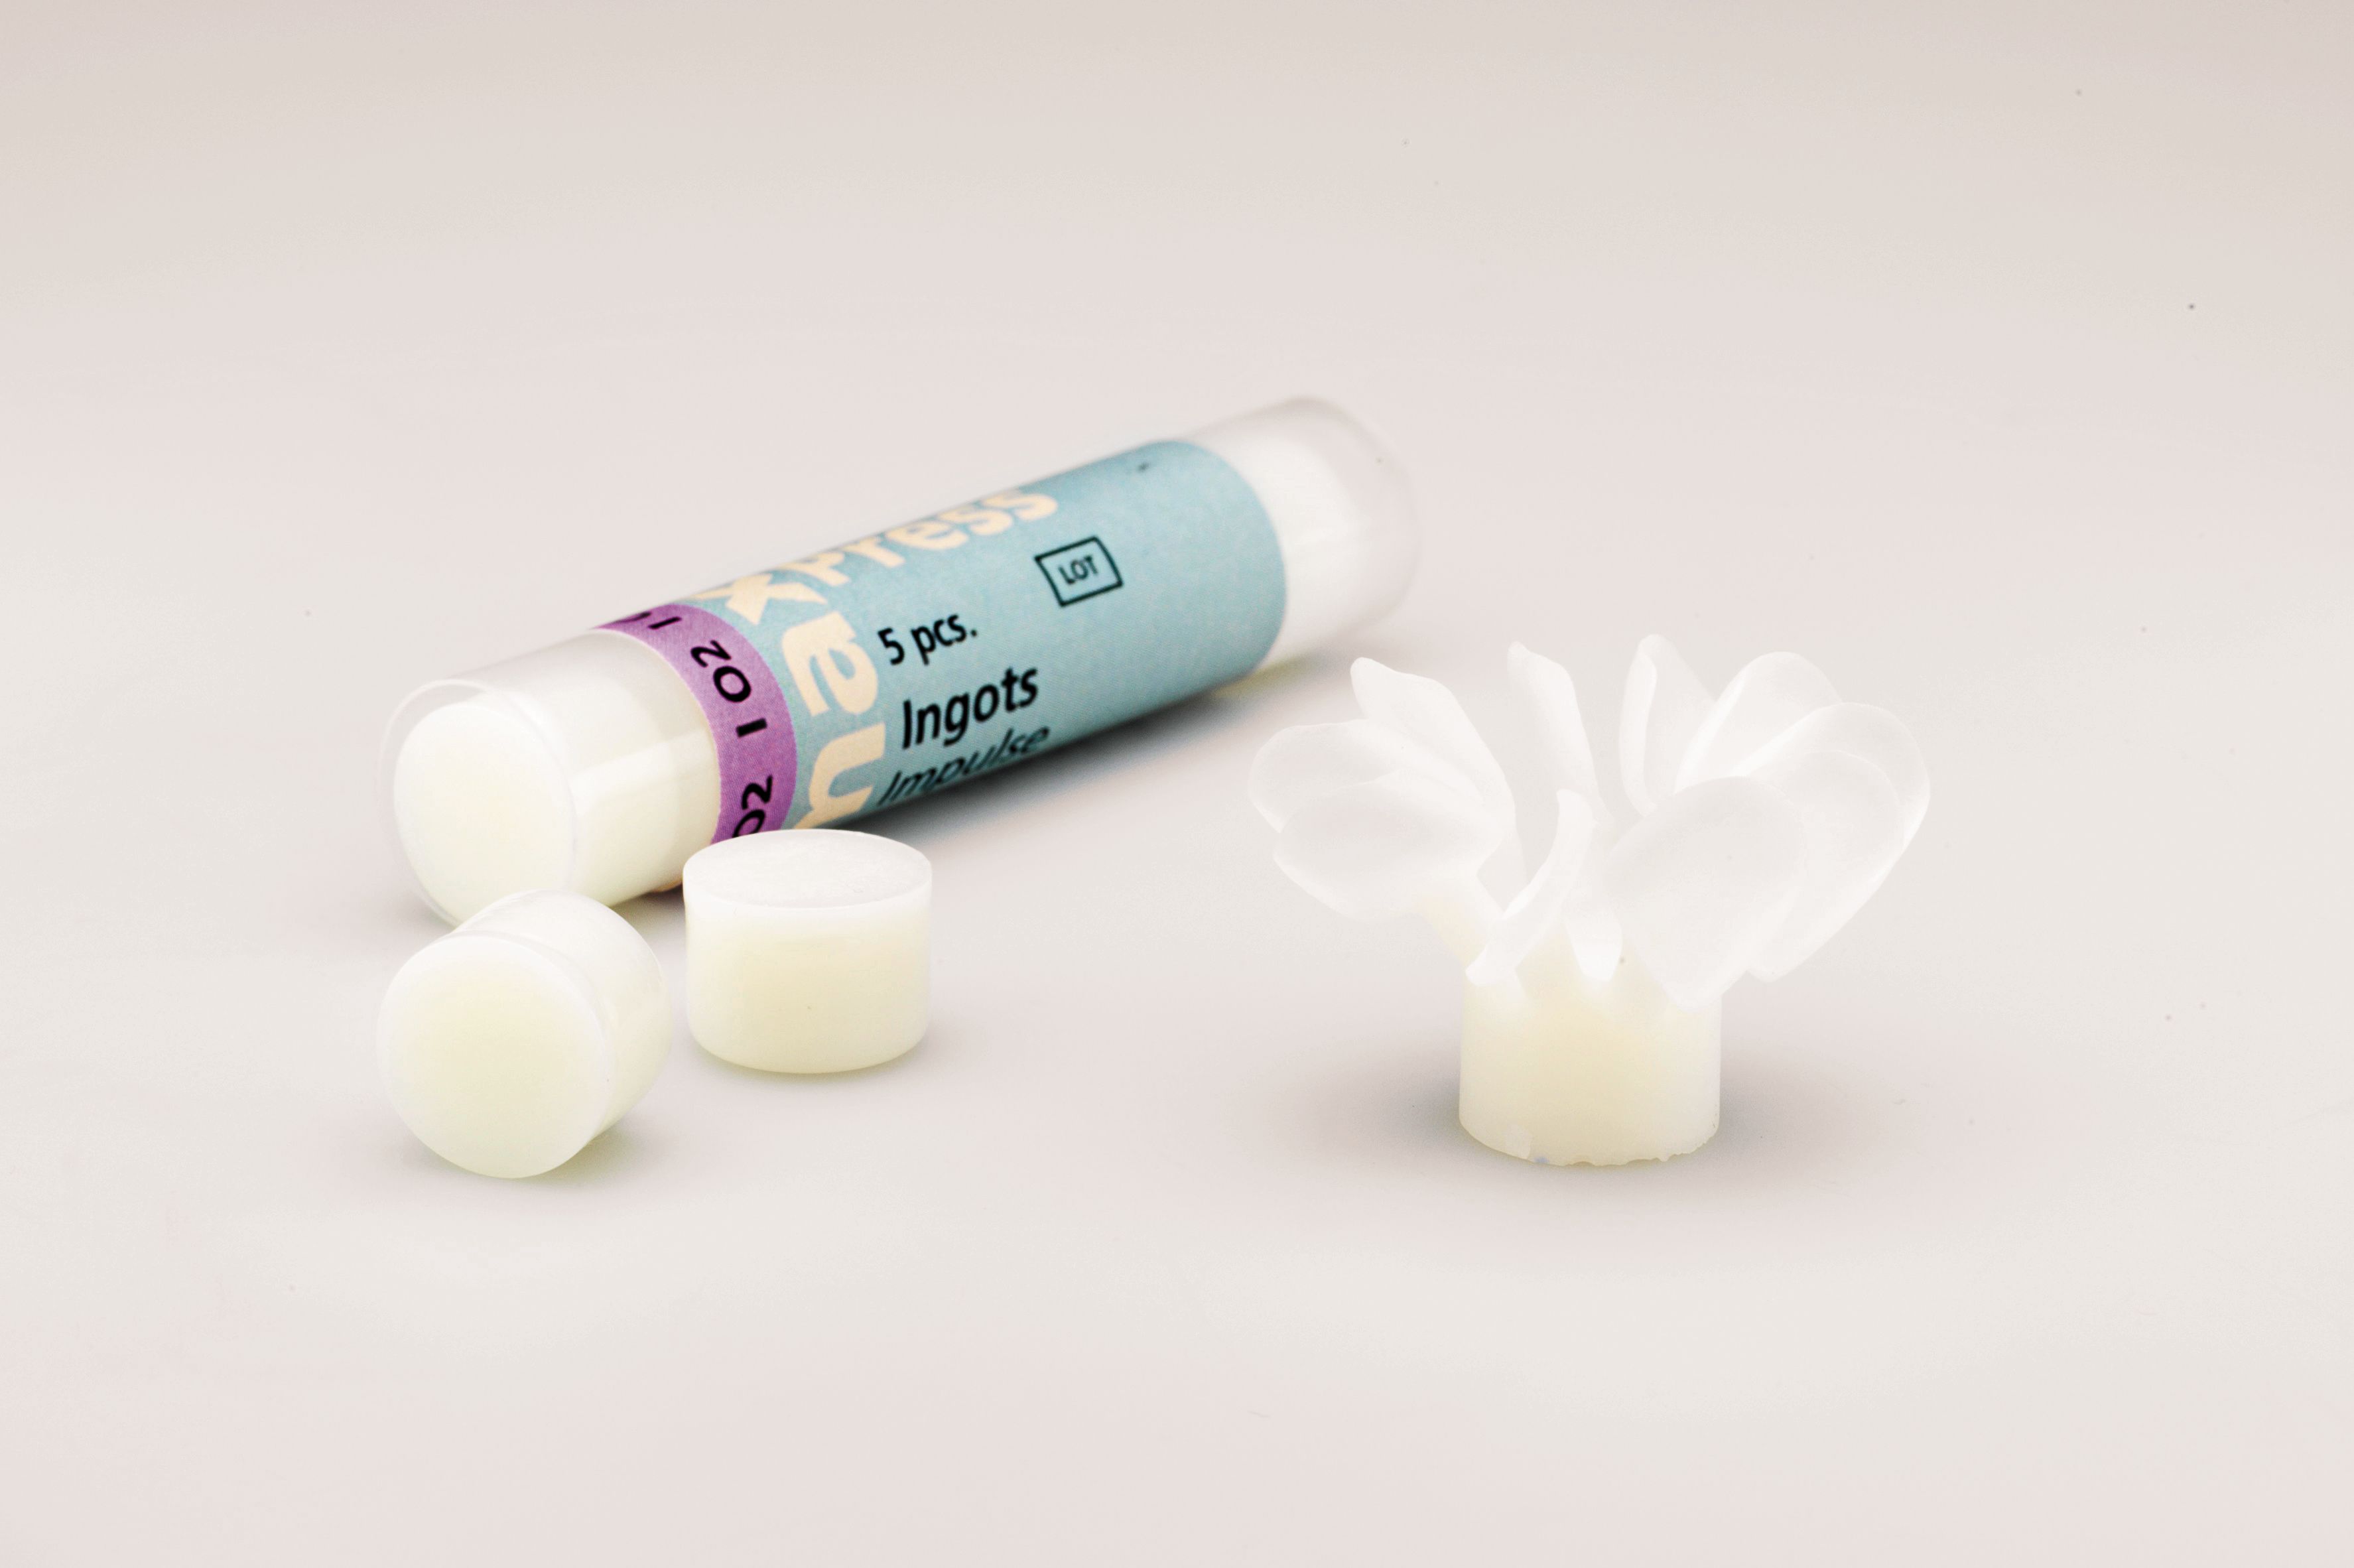
Press Impulse ingots use values instead of shades to ensure excellent esthetics.
Features:
- Available in three value (Value 1, 2, 3) and two opal shades (Opal 1, 2)
- Allows different brightness effects
- Demonstrates lifelike opalescent effect
- Based in lithium-disilicate
This article originally appeared in the February 2014 issue of Dental Lab Products. For more technique new and other great lab products, click here to subscribe to DLP's newsletter.


