The Top 10 techniques of 2016
Digital Esthetics looks at the top 10 most-viewed step-by-step technique articles of 2016.
Here at Digital Esthetics, step-by-step techniques are our bread and butter. We think there's no better way to showcase all of the technology and trends we cover than to see how real dental professionals are working day-to-day.
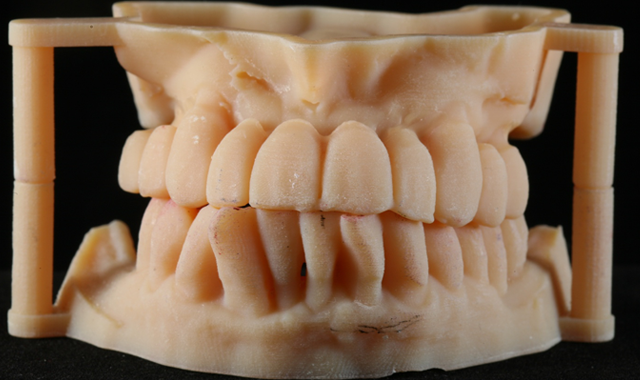
So with that in mind, we compiled this list of the 10 most-viewed how-tos we ran this year. Our readers (in other words: you!) have shown us that there's a real hunger for technique showing how all of this technology can actually be put into every day uses. In this list, you'll see techniques involving implants, 3D printers, temporary materials, technology that allows work across continents and more.
Above all, you'll see how technology is truly changing and innovating the dental workflow. These shifts aren't just designed to make things more automated-they're designed to make your jobs easier, your workflow more efficient and your patient care even better.
Click the next button to see the list!

Technique: An alternative approach to long-term temporaries
By Luke S. Kahng, CDT
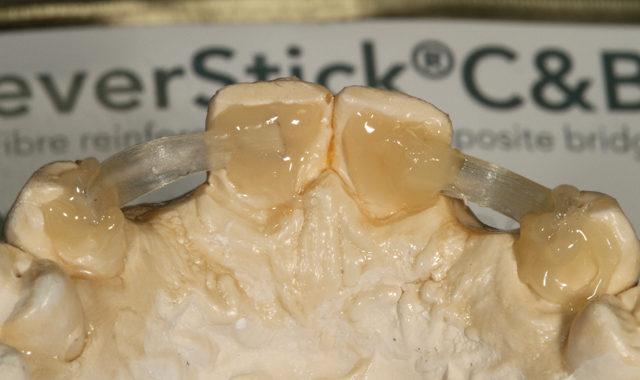
Our case study involves a female patient who was missing her lateral teeth, numbers 7 and 10. An implant had been placed on number 10 because the patient sought longevity in the treatment plan. She also wanted esthetically pleasing provisionals for cosmetic reasons since she would be wearing the restorations long-term-for six-to-nine months.
Must-read: Understanding the reality of the digital workflow
Our purpose for this article is to demonstrate the best method for fabricating this type of excellent long-term temporization. This type of work is done through the fixed department and is cosmetic in nature.
Check out the whole case by clicking here.


Technique: Using a 3D printer for model work
By Luke S. Kahng, CDT
Dental laboratory techniques are changing, growing more digital and moving toward the electronic age at a rapid pace, as most technicians know. Everything happens at a lightning-fast pace and it can be overwhelming and hard to keep up.
Related technique: An integrated surgical guide step-by-step
How do we decide what to do? How much money should we spend on the equipment? What should we buy first?
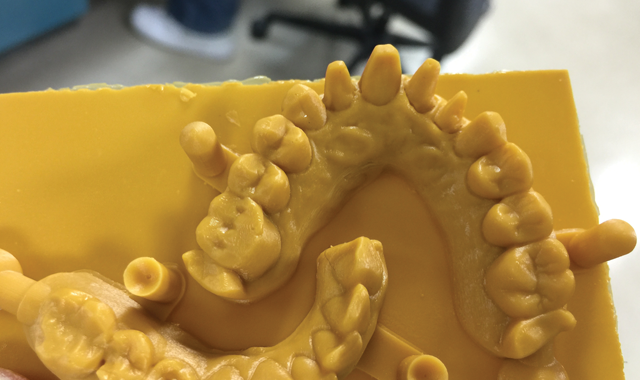
The author will, in this case study, demonstrate the value he has found in one such piece of equipment and the benefits he believes all dental technicians would reap from purchase of the same. It’s a good value for the money.
Click here to read the whole technique!


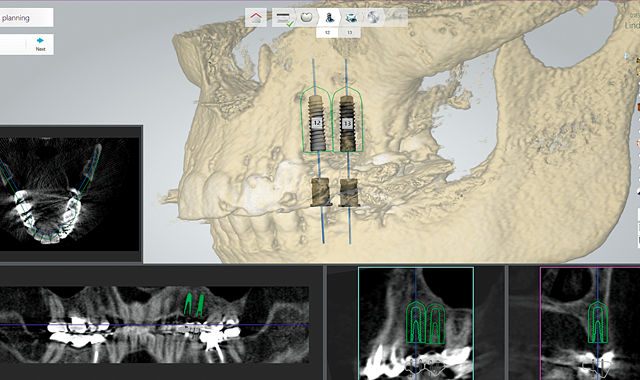
Step-by-step: How to digitally plan implants and design surgical guides
By Bob Cohen CDT, Information provided by CAP
Like many new technologies introduced into the dental market, guided implant surgery has been slow to catch on. The reasons are many: cost, learning curve of complex software and time to do the virtual plan, to name a few. More recently, placing implants using a surgical guide has become much more popular. We now have faster, more powerful computers, better software and an increased number of CBCT scanners in dental offices. As a result, guided implant placement is more viable and economically feasible than ever before.
Technique: An alternative approach to long-term temporaries
Recently, 3Shape launched a new software module called Implant Studio. This end-to-end solution is built for guided surgery, merging surface scans and CBCT (or CT) scans. Subsequent digital CAD design of the final restoration follows by planning implant placement. Utilizing the combination of the design of the final restoration, the CBCT and surface scans enable a best-in-class plan. This top-down digital workflow is both simple and precise and eliminates the need for manufacturing an appliance prior to and solely for use for the CBCT scan.
Click here to go step-by-step.


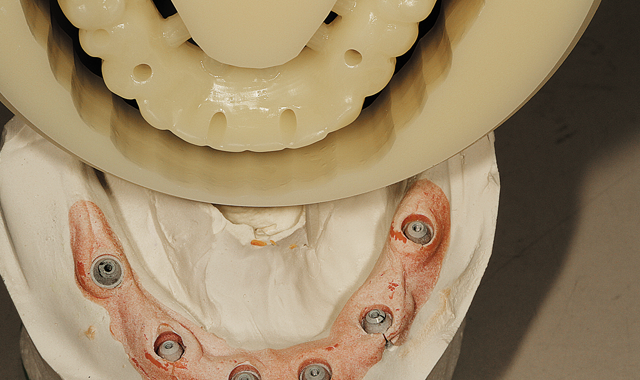
Step-by-step: Fabricating temporaries with PMMA material
By Luke S. Kahng, CDT
We used to fabricate our temporaries with acrylic by hand, and, for higher end long-term bridges, we would often use composite. This particular case study will explain what PMMA (defined by webopedia.com as “short for polymethylmethacrylate or, more correctly, Poly (methyl methacrylate), PMMA is a clear plastic acrylic material that can be used as a replacement for glass”) is and how we can successfully use the material in the dental world.
We can utilize technology, especially for implants, to create long-term temporaries through the use of a CAD/CAM machine. A good example of what we can use the material for is with a full-mouth implant case scanned and then copy scanned with a wax try-in already set up.
To check out the full workflow, click here.


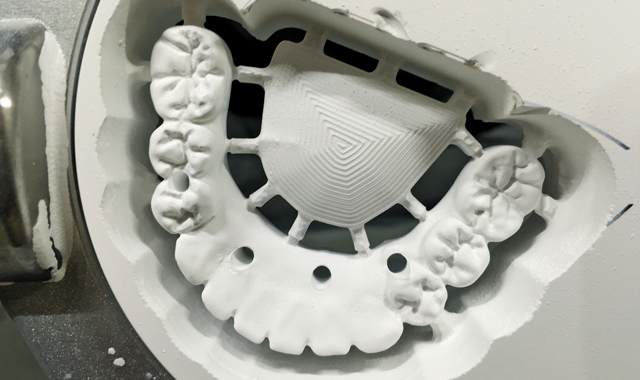
Step-by-step: A better screw-retained zirconia prosthesis
By Luke S. Kahng, CDT
For some time now, we have been fabricating screw-retained dentures with great success for the dentist and the patient alike. Using the All-on-4 technique and placement of four-to-six implants, we've created a new and better solution for edentulous patients in need of a denture.
There are two types of restorations we can generate for our patients in need of such service: Traditional Denture or Zirconia Prosthesis. Below we will discuss the pros and cons of the two solutions.
Learn how this prosthesis was created by clicking here.


ADVERTISEMENT


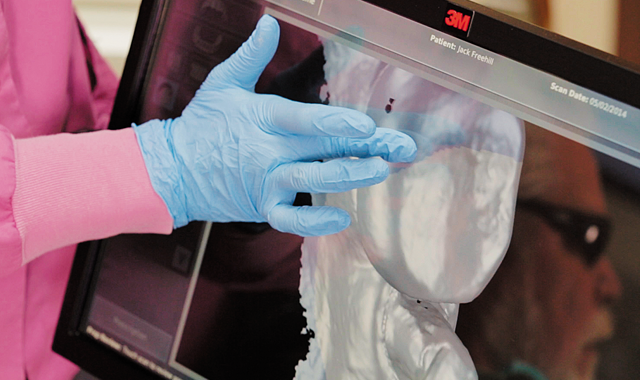
Technique: How going digital can revolutionize esthetics
By Steve Daggett, CDT
We rely on digital advancements and technology as an integral part of our own day-to-day lives, and the rapid advancement of digital technology for the dental industry means that we can’t ignore it in our professional lives either.
Since our lab began accepting digital scan files more than six years ago, we have seen firsthand how digital scan files can improve dentist/lab communication, contribute to overall increases in efficiency, and enable better accuracy. More and more dentists are beginning to adopt digital scanning technology, and the results we’ve seen in our lab make it clear that this is a technology that has numerous benefits to dentists, labs and patients. At D&S Dental Laboratory, the integration of digital technology is key to our success. It enables easier client communication, more efficient workflows and better overall results.
Find out how going digital helped one lab.


Technique: Creating an immediate load denture using digital tools
By Tra’ Chambers Owner of Express Dental Laboratory and Dr. Steven Park
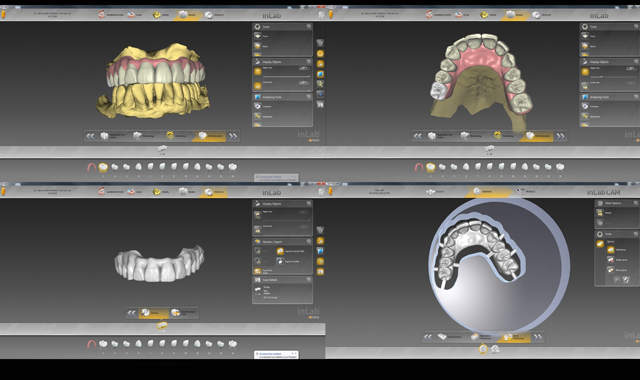
The dental industry is currently experiencing a major revolutionary shift in the laboratory design process, slowly but surely transitioning from the traditional physical model to a new age of digital design.
At Express Dental Laboratory, we pride ourselves on being an industry leader by utilizing many innovative new technologies available from Dentsply Sirona in order to manage our workload more efficiently and, in turn, providing our dental partners with a streamlined process of communication and superior deliverables.
Related step-by-step: Using inLab for great results
A recent case that we prepared for Dr. Steven Park showcases the true power and potential of digital design and communication. To better understand the endless potential benefits of available digital technologies, we will take an in-depth look at this particular denture case, and how a seamless digital workflow is changing the landscape of communication between dentists and labs while producing truly superior results in regards to form, function and esthetics.
Check out a whole case showcasing the digital workflow.


Technique: Using digital dentistry for esthetic implant work
By Luke S. Kahng, CDT
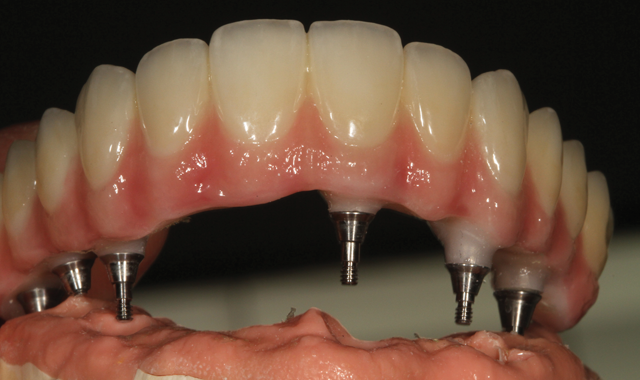
Our latest techniques in digital dentistry are getting faster and better. We have so many options available to us that we did not in years past and our esthetics and overall case design have been greatly improved as well because of these streamlined processes.
Related reading: Smoothing out CAD/CAM with software
The purpose of this article is to explain digital workflow to create zirconia porcelain layering for a screw retained unit to a full mouth case. There are considerations to look into when fabricating the final restorations securely, such as path of insertion for the implant crown. We also have to look at how deep the implant level is since this will have a major effect on the framework design.
Before we can have a basis for our frame design, we have to have a step-by-step plan from both the doctor’s and the lab’s side of the case.
Click here to check out the full technique.


Step-by-step: Providing immediate esthetics for implant cases
By Chris Halke CAD/CAM Supervisor Albensi Dental Laboratory and Dr. Michael Pikus Director of Clinical Education Albensi Dental Laboratory
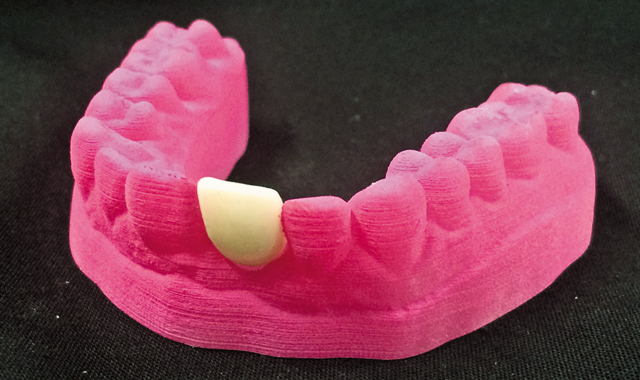
Today, immediate implant placement after extraction and immediate temporization is becoming an increasingly popular option for many clinicians.
Implants have revolutionized dentistry and are allowing patients whose only hope 40 years ago would have been to get complete dentures to now be able to have an esthetic and functional fixed prosthetic. Initially, dental implants were placed by oral surgeons, and their restorations were almost entirely undertaken by a prosthodontist. As implant science improved with different surface treatments and an increased scientific body of knowledge about the process of osseointegration, more clinicians started to delve into implant placement and prosthetics.
Immediate placement of dental implants after extraction and the patient’s need to have an immediate fixed restoration of dental implants have pushed many clinicians into providing this service to their patients. One way dentists are able to offer patients quick, accurate, esthetic, long-lasting and functional restorations is for the clinician to utilize a dental laboratory with a digital workflow.
Check out this cutting-edge step-by-step.


Step-by-step: How the digital workflow makes global collaboration a reality
By Frankie Acosta
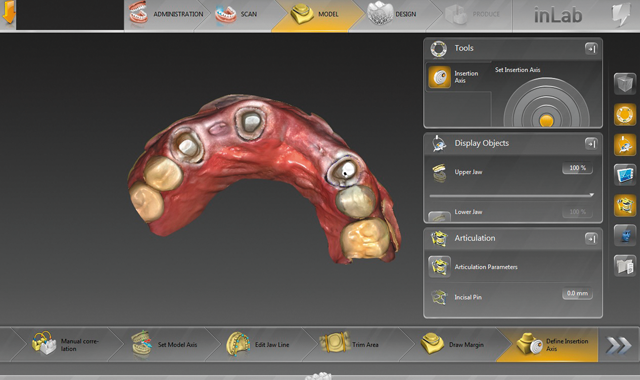
When I first started working with our Sirona inLab® System five years ago, I would have never imagined where it would take me and my laboratory today. We now work closely with CEREC doctors from around the world through the Sirona Connect digital platform, planning best treatment options and creating truly remarkable cases.
Same-day restorations have become a reality while working with “non-digital dentists,” as well as with CEREC doctors designing and scanning cases at their offices using chairside systems and then sending them to my laboratory to mill, and this process has worked in reverse also. Our lab has designed cases, and then we can send them back to CEREC doctors who are able to mill and finish the cases all while working chairside.
Just recently, I’ve been given the chance to work simultaneously with a CEREC doctor on a full-mouth restorative case. The dentist started to design and mill a case from his office, sent me the file and then I continued to complete the case. Our lab was then able to deliver the finished restorations to the dentist’s office for an amazing same-day full-mouth renewal.
Go global with this digital technique.

