Technique: A new (digital) way to create a locator bar
How to create a removable locator bar out of zirconia, CAD/CAM and esthetic expertise


What an exciting new way to create a locator bar! For the first time, the author has produced a full monolithic cement-retained locator bar that is removable. And it is, in the author’s opinion, absolutely beautiful and exactly what the doctor and patient ordered for this case.
Professional thought has been that this type of case would best involve a removable denture that, through the use of female/male locators and implants, then utilizing acrylic material, create a product that is relatively easy to clean for the patient. The cases are generally successful. The difference this time is that the case was fabricated using zirconia, not acrylic, and the esthetic case presentation recorded here is very nice, in the author’s opinion.
The procedure for fabricating this bar is the same as an acrylic denture, other than slightly different steps than with denture locators. Technicians will find that the solution is almost the same for zirconia as opposed to acrylic, for the most part.
Trending article: Technique: Fabricating full arch implant prosthesis
Case study
In Figure 1, the reader can view the six maxillary and six mandibular implants after mounting on the model. Vertical dimension was checked and it was decided that it would need to be increased. It was too short from implant to implant and needed to be 3-4 mm. The author made note of this and moved on to the scanning stage.


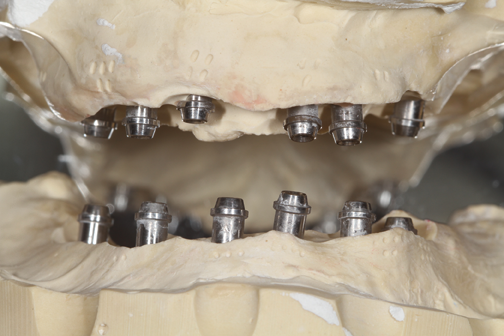


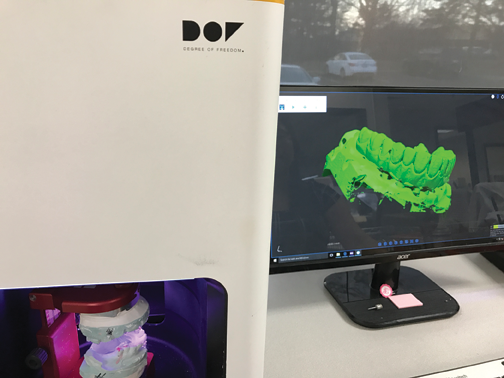
Fig. 1 Fig. 2
When viewing and scanning the models, the author prefers the high definition Freedom Scanner (Fig. 2). Note the scanner handles articulation within. Many scanners cannot accommodate this aspect, but this one can, which is a true benefit to the lab. It saves time because articulation can be checked during the scanning process and the model does not have to be re-articulated. The technician can view the color image created by the Freedom Scanner (Fig. 3) when working with the program.
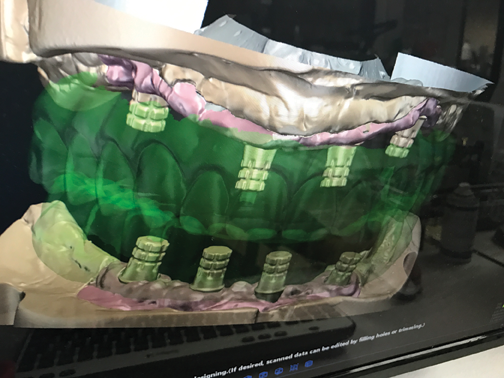


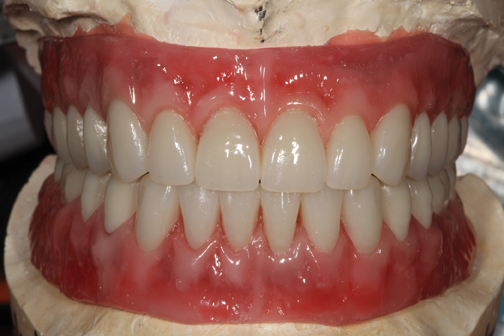
Fig. 3 Fig. 4
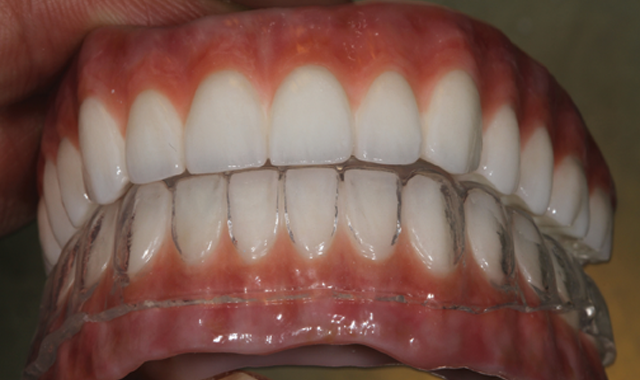
A wax try-in was created without having to use a verification jig (Fig. 4). The doctor would try in the case in order to make certain there was no rocking and that the implants are engaged with each other. Usually there is a hole in the model for this type of case, but as we note here, that was not necessary this time. The author did need a bite block for dimension check, which, after it was verified, allowed the lab to send the tooth try-in to the doctor. In this finalized image, readers can note contour and shape, all verified.


In Figure 5 we are given the beginning of the case design process. The scan was copied and duplicated from the image in Figure 4, which was used to prove the wax try-in. After nesting, the author moved the case forward onto the milling stage using the Ceramill 2 machine by Amann Girrbach (Fig. 6).

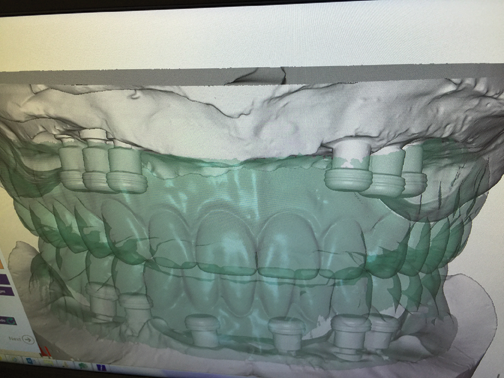

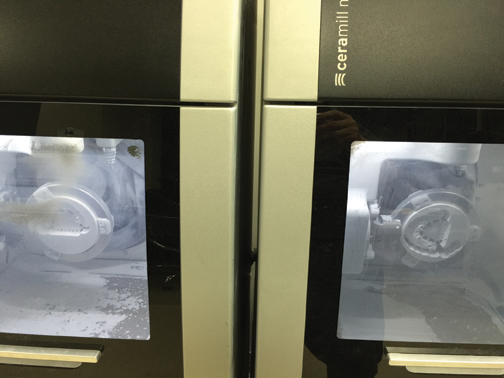
Fig. 5 Fig. 6
Once milling was completed, the author took an inside shot of the case from the locator aspect. The design would move in that direction (Fig. 7). After cutting the sprue and grinding the screw area, he cleaned the restorations and applied color to the gingiva and incisal areas. After sintering, at 1530ËC with a two-hour hold time, the restorations were cooled and placed together to check the occlusion contact. Centric contact and occlusion were found to be very good. Please note, the material used was monolithic and so no porcelain layering was necessary, except to the gum tissue area (Fig. 8).

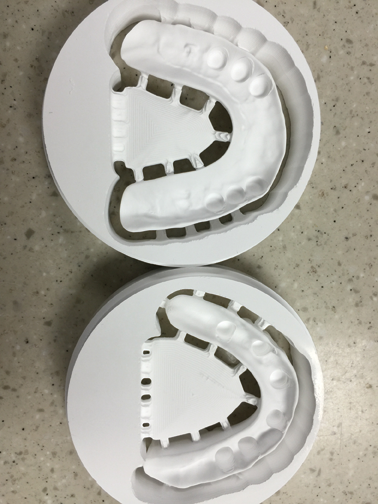

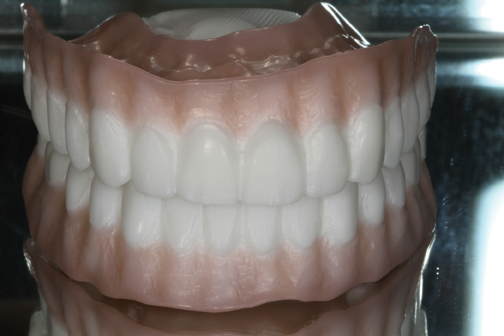

Fig. 7 Fig. 8


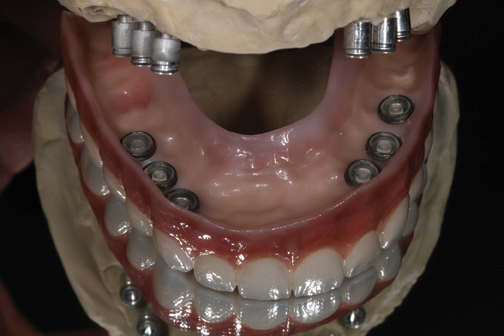

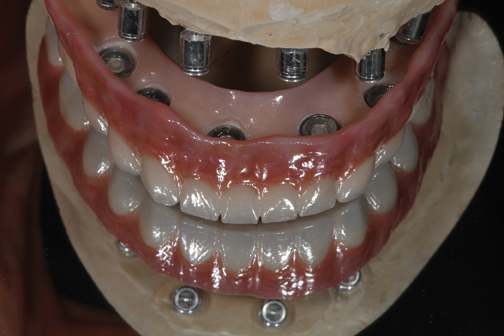

Fig. 9 Fig. 10
The zirconia locators were finished with GC America Initial ZR gum Lustre Paste applied (Fig. 9). In this mirrored maxillary image the reader can view the implant on the model from the inside downward-including the male locator part which we easily push down and click into place, creating a perfect fit. Figure 10 is a mandibular view of the exact same procedure. Because the lab is concerned about occlusion while the patient sleeps, they created a soft night guard to be worn in order to ensure that no grinding or bruxing occurs (Fig. 11).

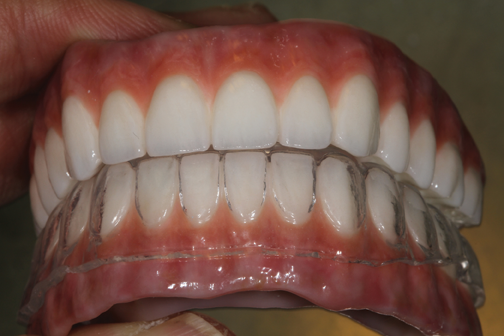

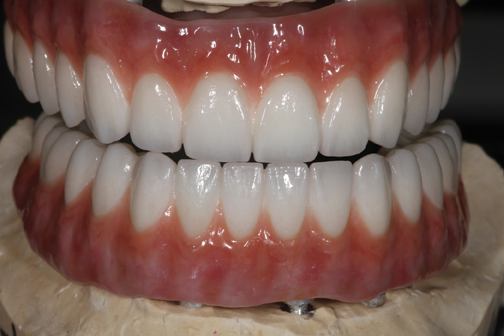
Fig. 11 Fig. 12
A protrusion view check on the model (Fig. 12) verified color characteristics, reflection and non-reflection. Readers may note that the color is of medium value with some translucency. An underneath-the-mouth occlusion check was performed for contact (Fig. 13) and found to be exact. In this last image (Fig. 14), the various stages are represented from model, to wax try-in to the final restoration, for the technicians’ record.

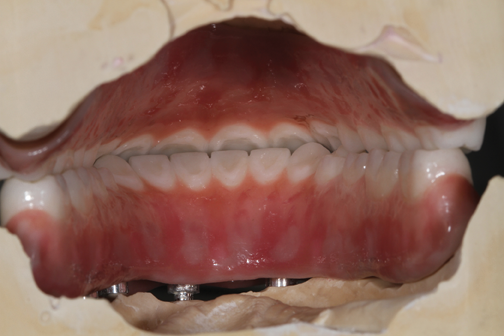
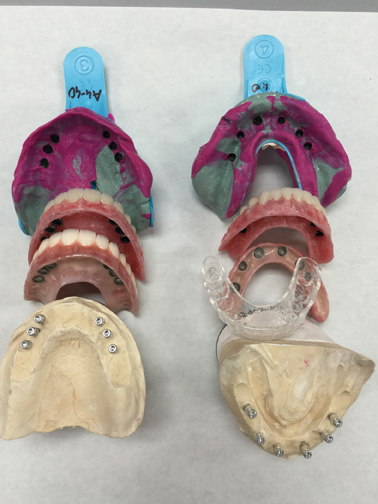

Fig. 13 Fig. 14
Conclusion
This case was unique and utilized for a special patient. The technique cannot always be used because sometimes there is a lack within the implant placements. However, for this particular situation with this clinician and patient, it was exactly what they preferred and was accepted with great appreciation and satisfaction in the final cementation office visit.


