Introduction
In an article published in the Journal of Dental Education, Class II resin composite restorations were 10 times more likely to be replaced at no cost to the patient than Class II dental amalgam restorations.1 That said, Class II procedural efficiency and a streamlined workflow should be a priority for every dental practice. The case featured in this article utilizes a universal single-shade composite that saves time by eliminating the need to determine and select the right composite shade for posterior restorations. Having to stock only 1 shade reduces inventory and accomplishes most everyday direct restorative needs.
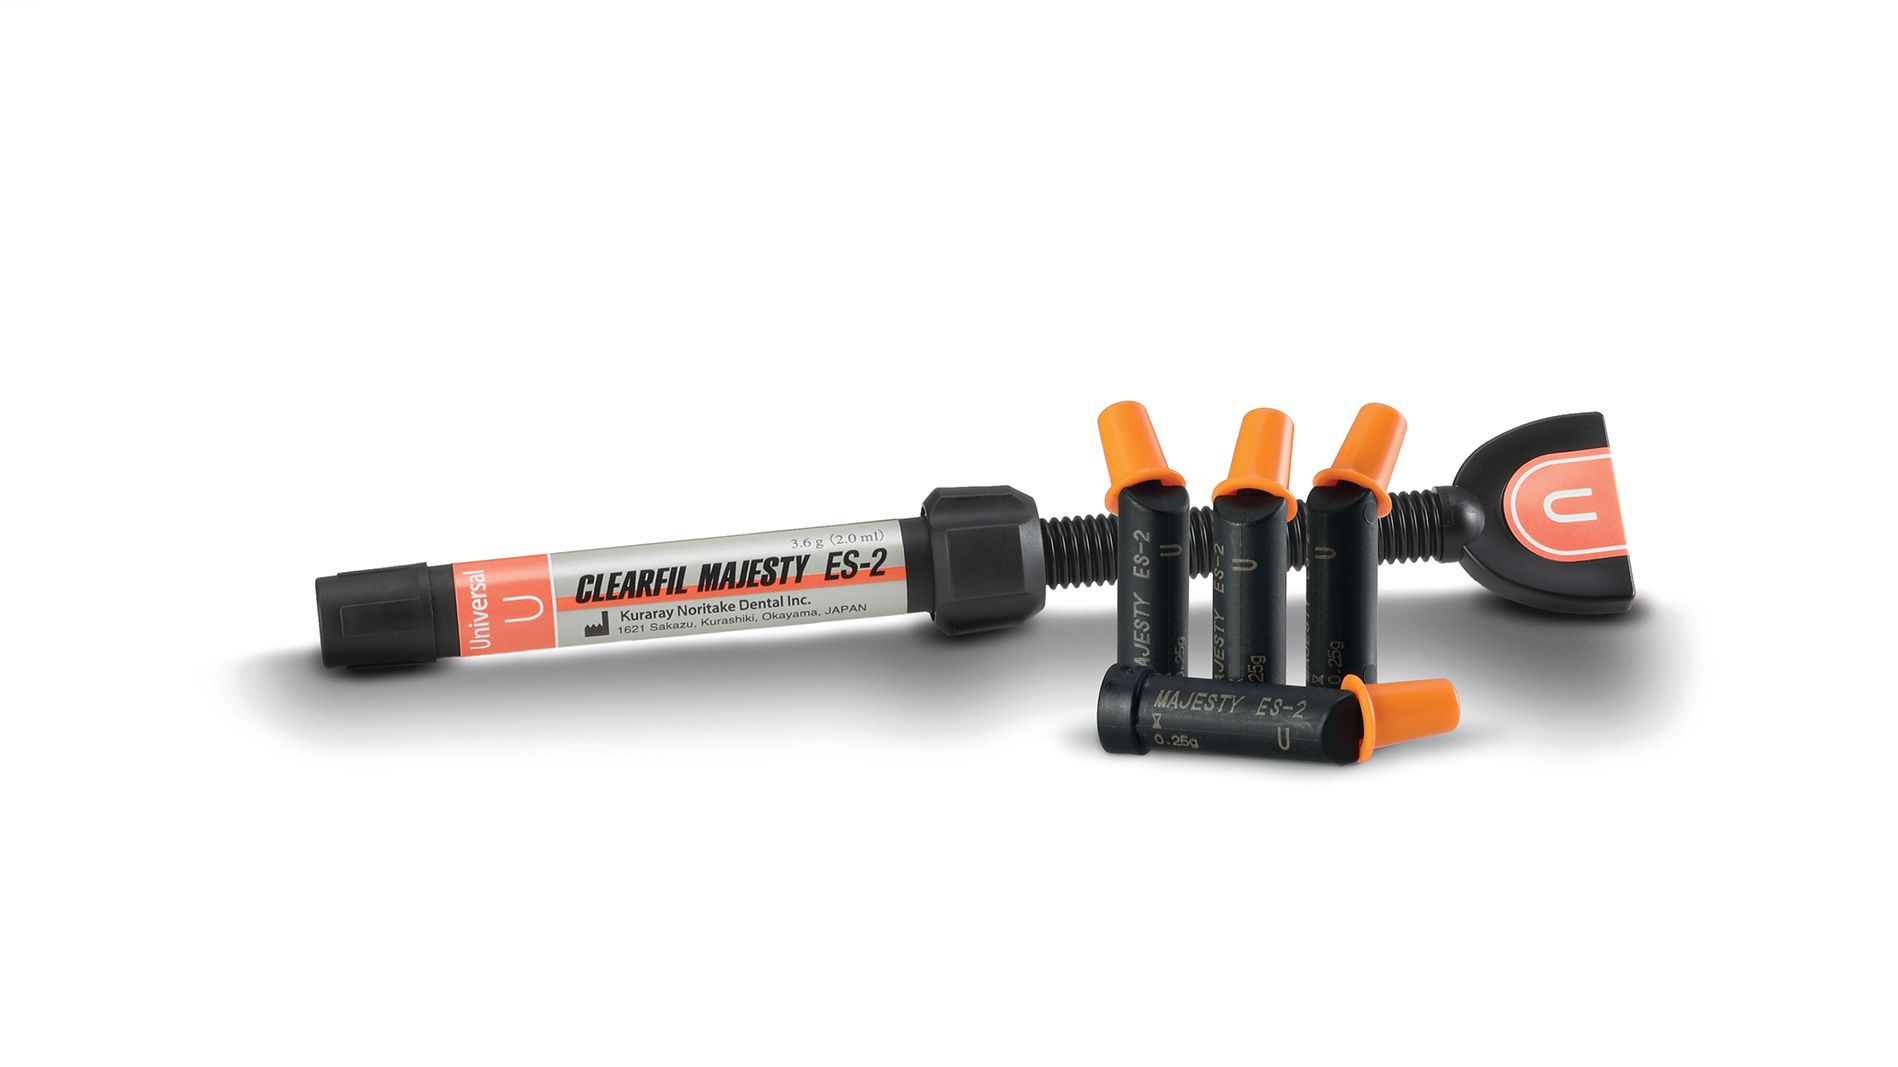
CLEARFIL MAJESTY™ ES-2 Universal Composite
- Utilizes light diffusion technology to match natural tooth structure.
- Wide blending effect reduces or eliminates the need for an opaquer or blocker resin.
- Its filler content and spherical formulation allow for a polish in fewer steps.
Kuraray Noritake Dental
800-879-1676 | kuraraydental.com
Case Presentation
A 61-year-old healthy man presented with an existing occlusal amalgam and a mesial marginal ridge fracture with recurrent decay on tooth #18. Additionally, tooth #19 had lost a prior occlusal restoration with decay present (Figure 1).
Because of the minimal amount of tooth structure involved, it was decided to remove the existing amalgam on tooth #18 and incorporate the mesial fracture and decay. Tooth #19 was treatment-planned on the same principle of being as conservative as possible and simply restoring with a direct resin composite.
Technique
DryShield® from DryShield LLC was placed as we began to remove the existing occlusal amalgam on tooth #18 as well as fractured marginal ridge decay in both teeth.
CARIES DETECTOR from Kuraray Noritake was applied to ensure decay removal was properly achieved (Figure 2).
The remaining decalcified portions shown in pink were removed utilizing air abrasion with a Prep Start H20 from Zest Dental Solutions. This is a less aggressive approach compared with using a slow-speed handpiece, but also effective in increasing the surface area for bonding protocols (Figure 3).
A sectional matrix band was placed and sealed at the gingival margin with a plastic wedge followed by the placement of a nickel titanium ring from Garrison Dental Solutions. A ball burnisher was then used in a buccal lingual motion midcontact to help ensure contact with the adjacent tooth. Selective etch using K-ETCHANT, a 35% phosphoric acid from Kuraray Noritake, was placed on the cavosurface margins for 20 seconds and then rinsed off with copious amounts of water, followed by air-drying the entire restoration (Figure 4).
CLEARFIL Universal Bond Quick from Kuraray Noritake was administered to both preparations and agitated for 5 seconds, then air-thinned vigorously until the bonding agent could no longer be seen moving across the preparations (Figure 5). Next, the preparations were light-cured for 20 seconds using the PinkWave from Vista Apex.
A 0.5-mm layer of CLEARFIL MAJESTY™ FLOW A-3 from Kuraray Noritake was placed horizontally along the entire floor of both preparations and light-cured for 20 seconds to help aid in the development of the hybrid layer (Figure 6).
CLEARFIL MAJESTY™ ES-2 Universal composite from Kuraray Noritake was then placed into the box form of tooth #18 only, to begin developing the interproximal wall and marginal ridge. The restoration was then light-cured for 20 seconds to ensure polymerization of the 1-mm increment of composite that was placed (Figure 7). Thin increments help control the C-factor stresses of a Class II restoration.
With the inner proximal wall established, the matrix system was removed to provide easier access for composite application. Then, 2-mm layers of CLEARFIL MAJESTY™ ES-2 Universal composite were applied to both restorations with a Roetzer Posterior Packer Sculptor composite placing instrument from Practicon in an incremental fashion until an appropriate level was achieved (Figure 8).
The restorations were then contoured and shaped utilizing Meisinger fine diamond burs in various points and shapes to achieve a near-ideal occlusion. Mark Rite articulating paper was then utilized to fine-tune the final adjustments and create an ideal cuspal contact (Figure 9).
Polishing was achieved with a single-use 2-step polishing system from Meisinger. The filler content and spherical formulation of CLEARFIL MAJESTY ES-2 Universal composite makes for a very good polish in fewer steps and decreases the need for multiple polishers results in a more efficient polish (Figure 10).
References
1. Overton JD, Sullivan DJ. Early failure of Class II resin composite versus Class II amalgam restorations placed by dental students. J Dent Edu 2012;76:338-340. https://pubmed.ncbi.nlm.nih.gov/22383602/

