How to process the Integrated Bar
The new removable wrap-around bar is uniquely designed to be comfortable and esthetic, while not compromising patient hygiene.


One of the most talked about and most commonly offered bar options for patients have become the “fixed wrap-around bar” more commonly known as the All-on-4® dentures. From an esthetic and comfort perspective this is great solution, however from a hygiene perspective this option falls far short of perfect.
And so to overcome this hygiene problem Panthera created the unique “Integrated Bar” (IB™). The IB™ now offers the patient all the benefits of having a wrap-around bar without compromising the patient's hygiene. This very unique concept allows for existing fixed wrap-around bars to be easily converted to an Integrated Bar.
My objective in this step-by-step article is to outline the processing procedure for the IB™. The IB™ is made up of various components which facilitates the easy conversion from an All-on-4® to an IB™.
Continue to the next page to see the step-by-step technique.


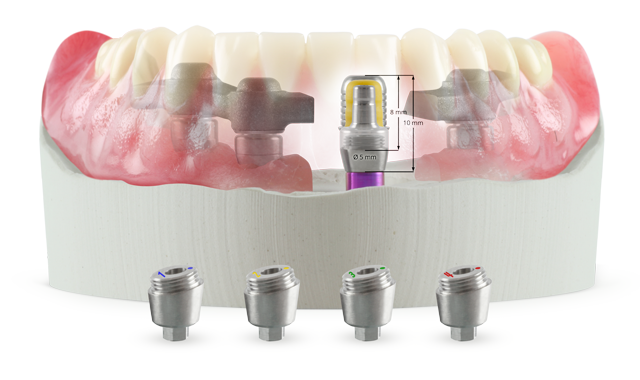
The IB™ consists of custom angulated abutments corrective up to 30°, standard posts available in two sizes, a predictable titanium housing for the predictable nylon inserts which are available in 3 colours for various retentions and the bar itself (Fig.1).


Fig. 1 Fig. 2
The denture on the implant model after the try-in has been done and the implant model has been verified is sent to Panthera for bar manufacturing
Once the manufactured bar is sent back to the laboratory the waxed-up denture is matrixed using a silicone of your choice. A more rigid silicone is recommended (Fig. 2).


The denture is removed from the soft tissue implant model and the custom angulated abutments are placed onto the model, taking note of the orientation and order of the abutments as they appear on the provided instruction sheet
The custom angulated abutments will be numbered for the sequence in which they need to be placed and there will be a dot to assist with the correct orientation of the abutments (Fig. 3).


Fig. 3 Fig. 4
The stock posts are screwed onto the custom angulated abutments. For the narrow post a regular implant screwdriver is used, whereas for the regular post a special tool is used to tighten the posts onto the custom abutments. The latter therefore has no screw access holes and allows for increased hygiene. The choice of either narrow or regular is determined by the interocclussal space available (Fig. 4).
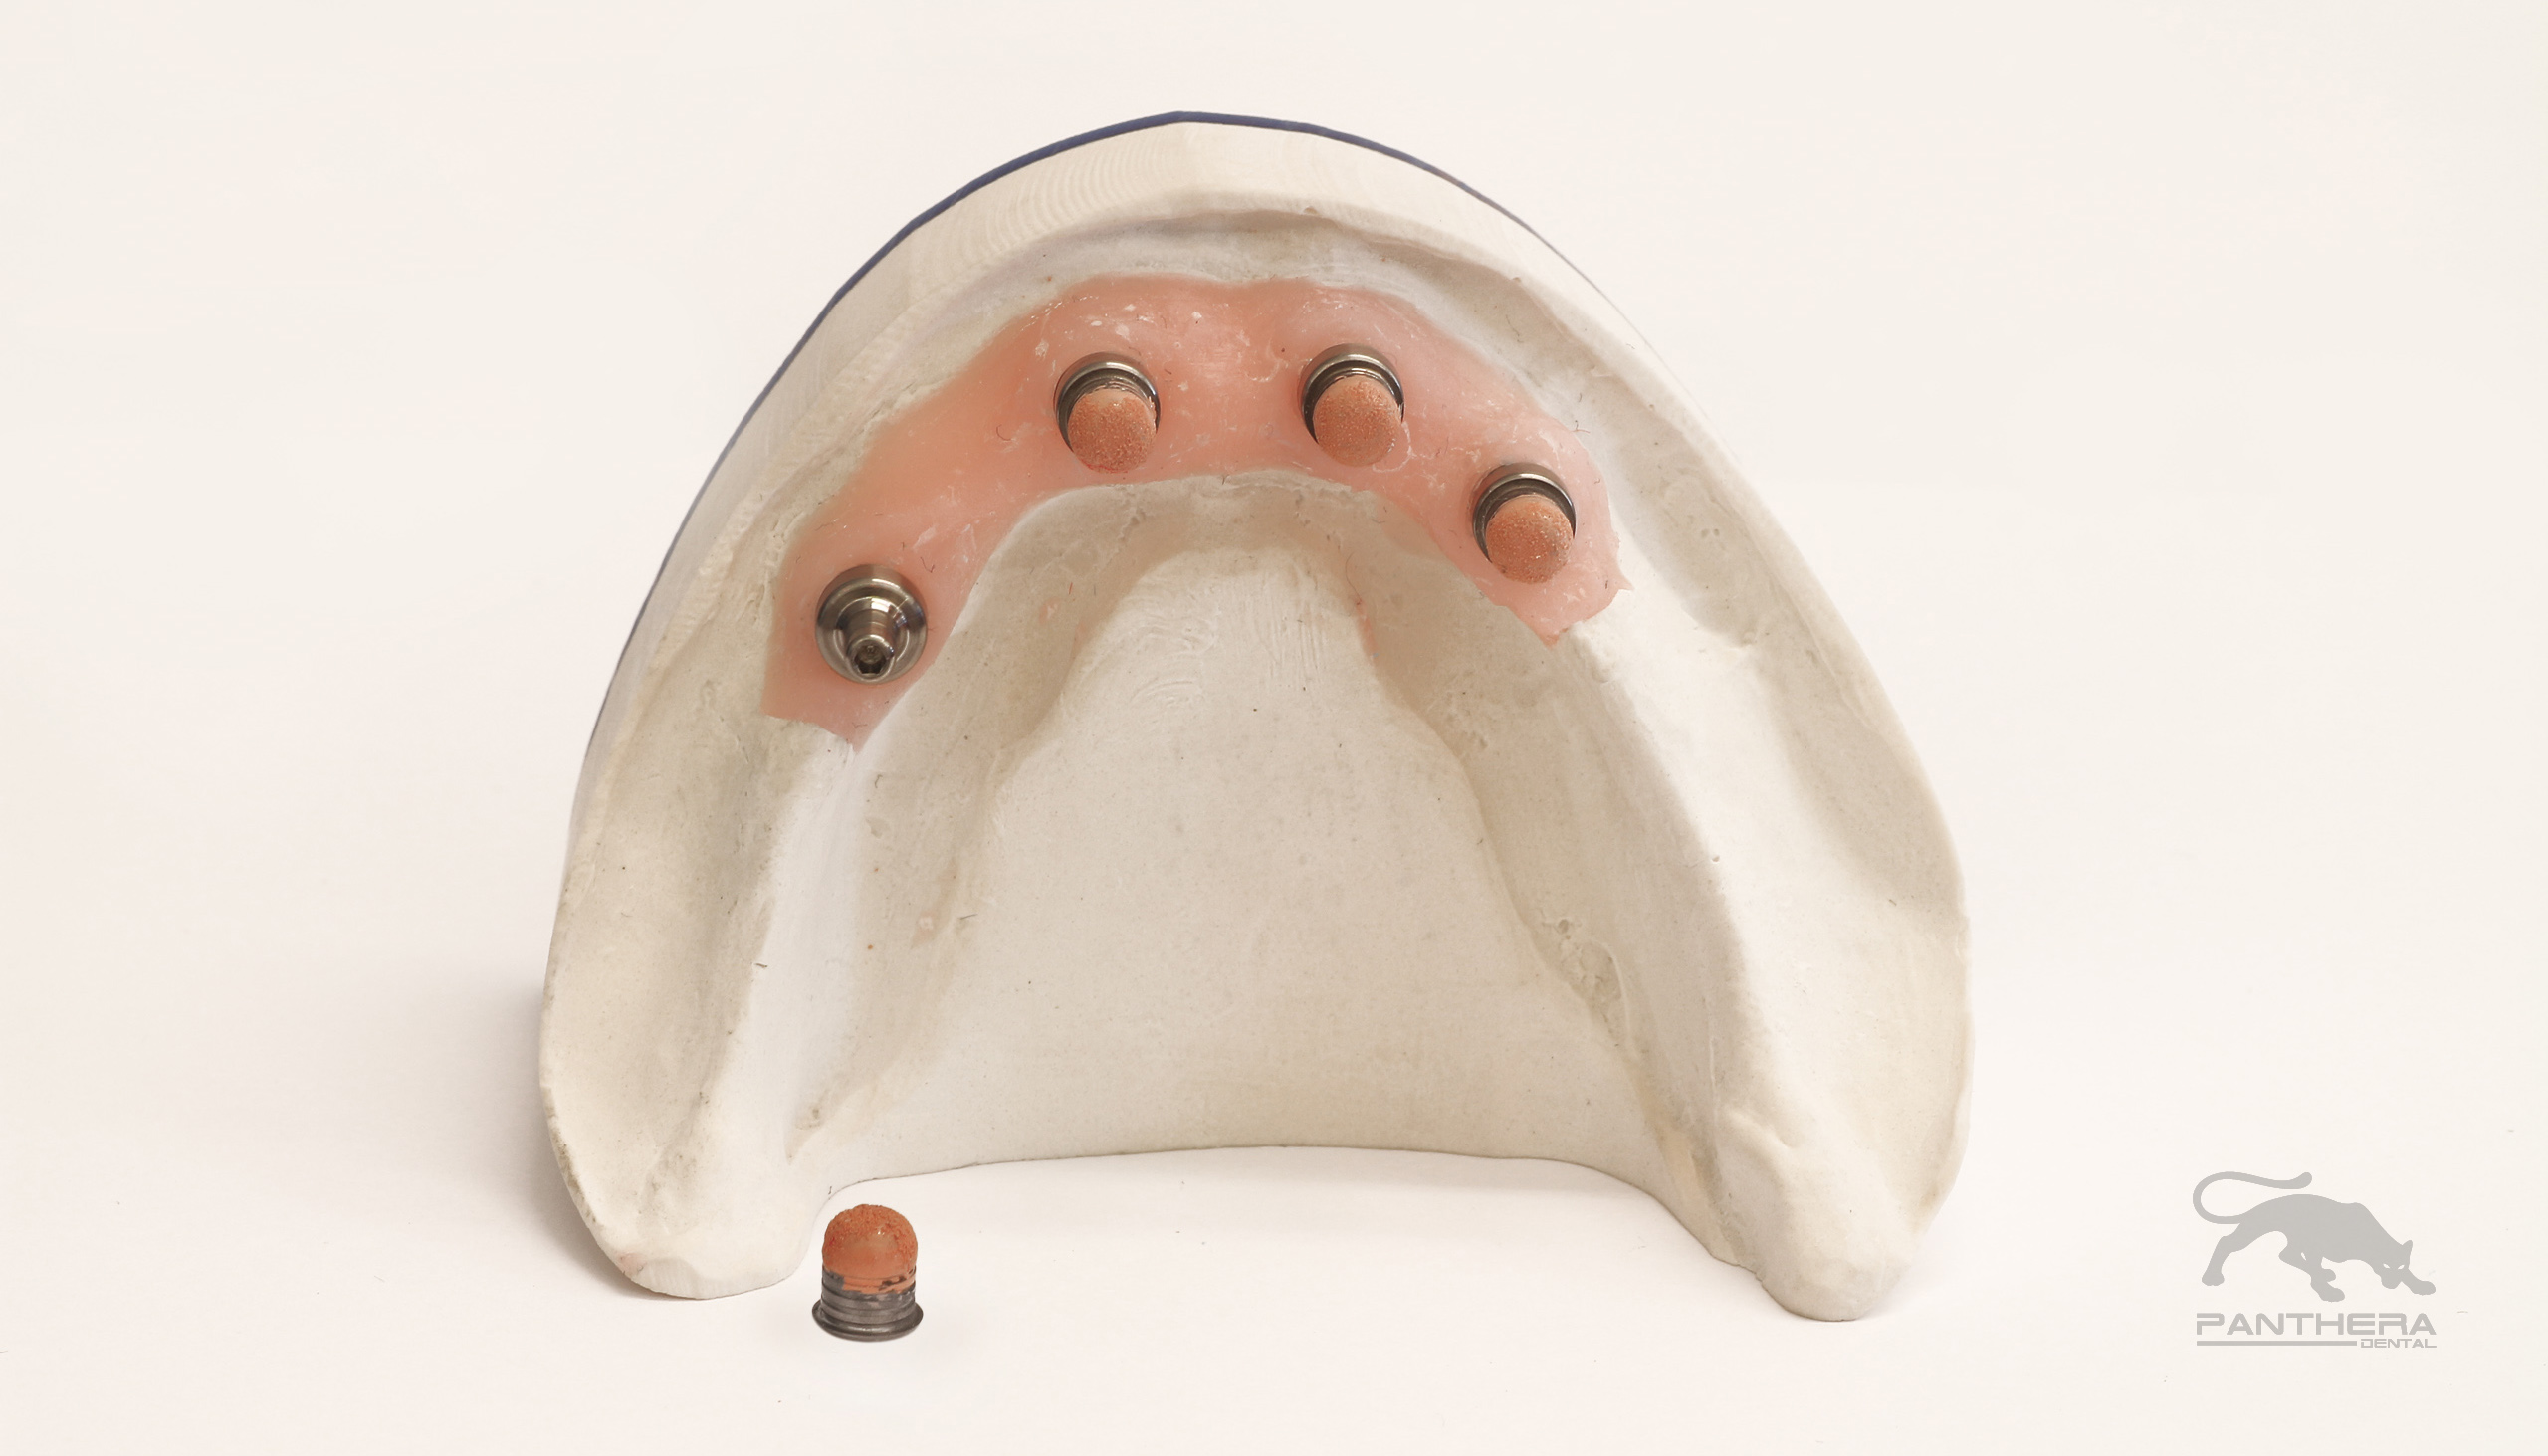

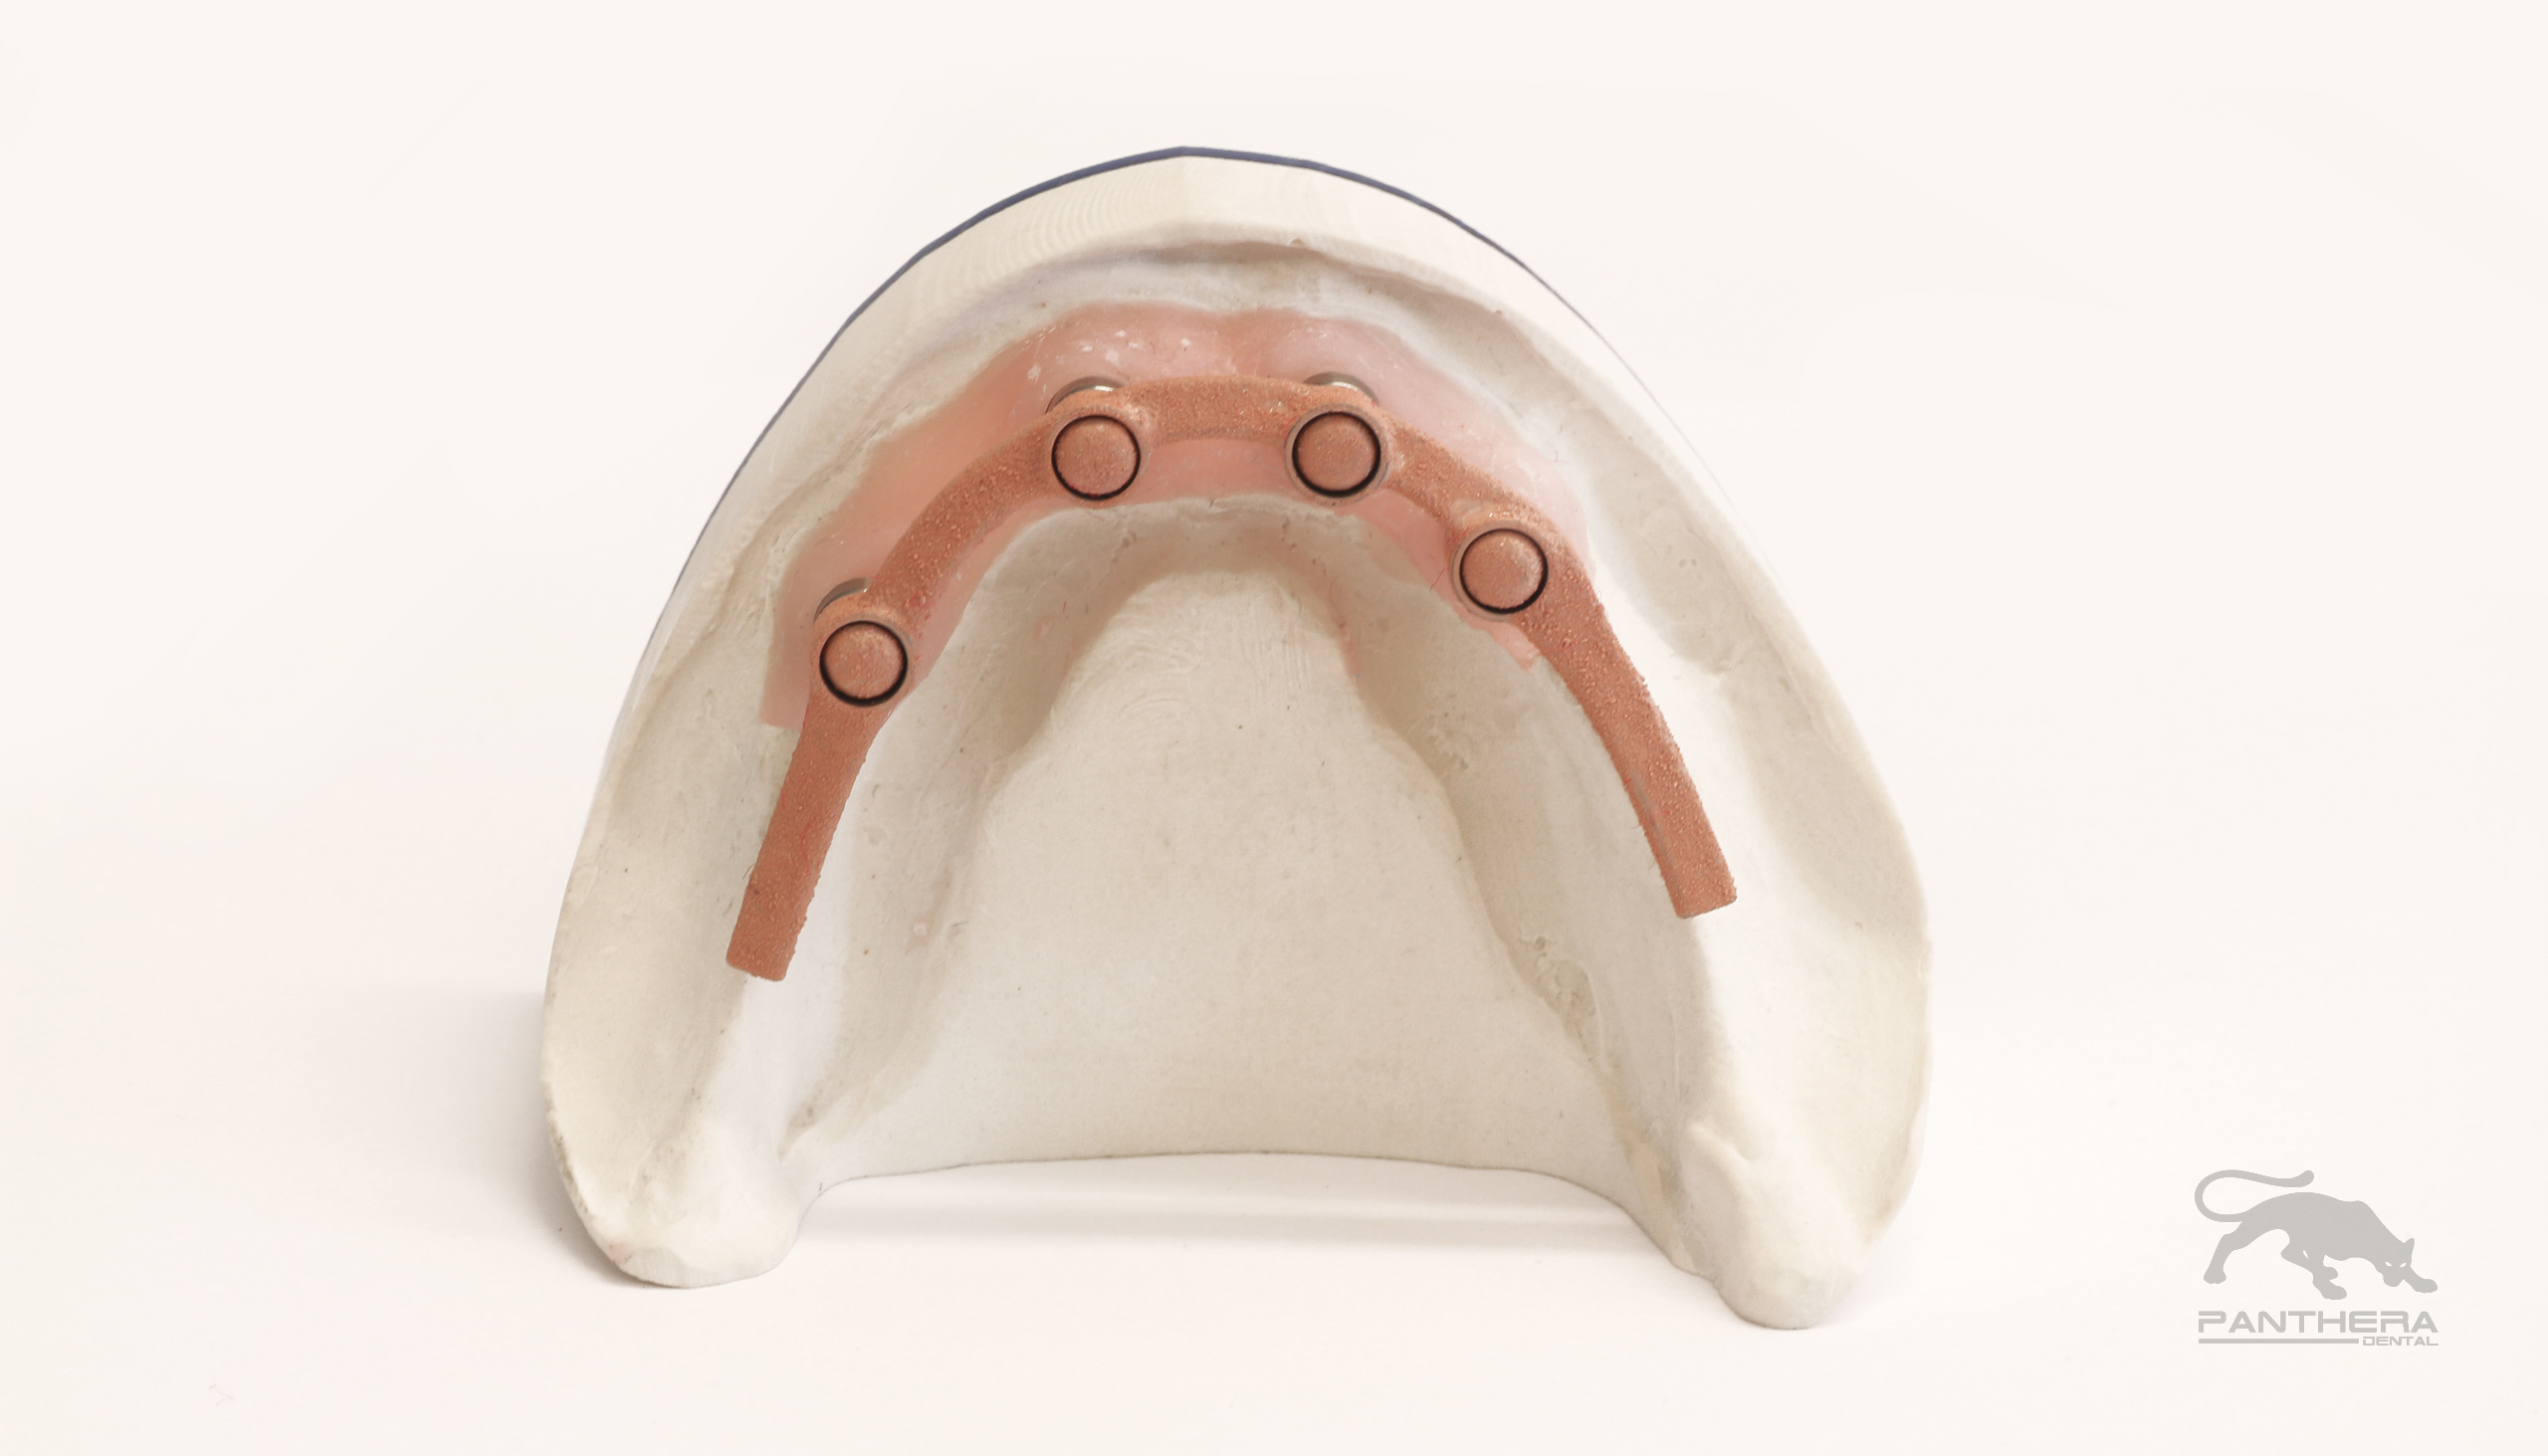

Fig. 5 Fig. 6
The predictable titanium housing is placed onto the stock post. This is the housing that will secure the interchangeable nylon inserts. It is important to note that the housings be seated all the way down onto the posts to ensure a passive bar. (Fig. 5).
The bar is seated over the predictable housings to verify the fit before bonding (Fig. 6). In this case a light cured bonder from Bredent was used, but any bonder of your choice can be used to bond the bar to the predictable housings (Fig. 7).


Fig. 7
Flow composite into the bar from the tissue side, ensuring that there is enough composite in each channel to ensure an optimal bond (Fig. 8) and place the bar onto the predictables. Any excess composite will push up through the channel. Make sure the bar is seated all the way down onto the predictables (Fig. 9). Depending on the material and the light curing machine used refer to the manufacturer’s instructions for curing times (Fig. 10).

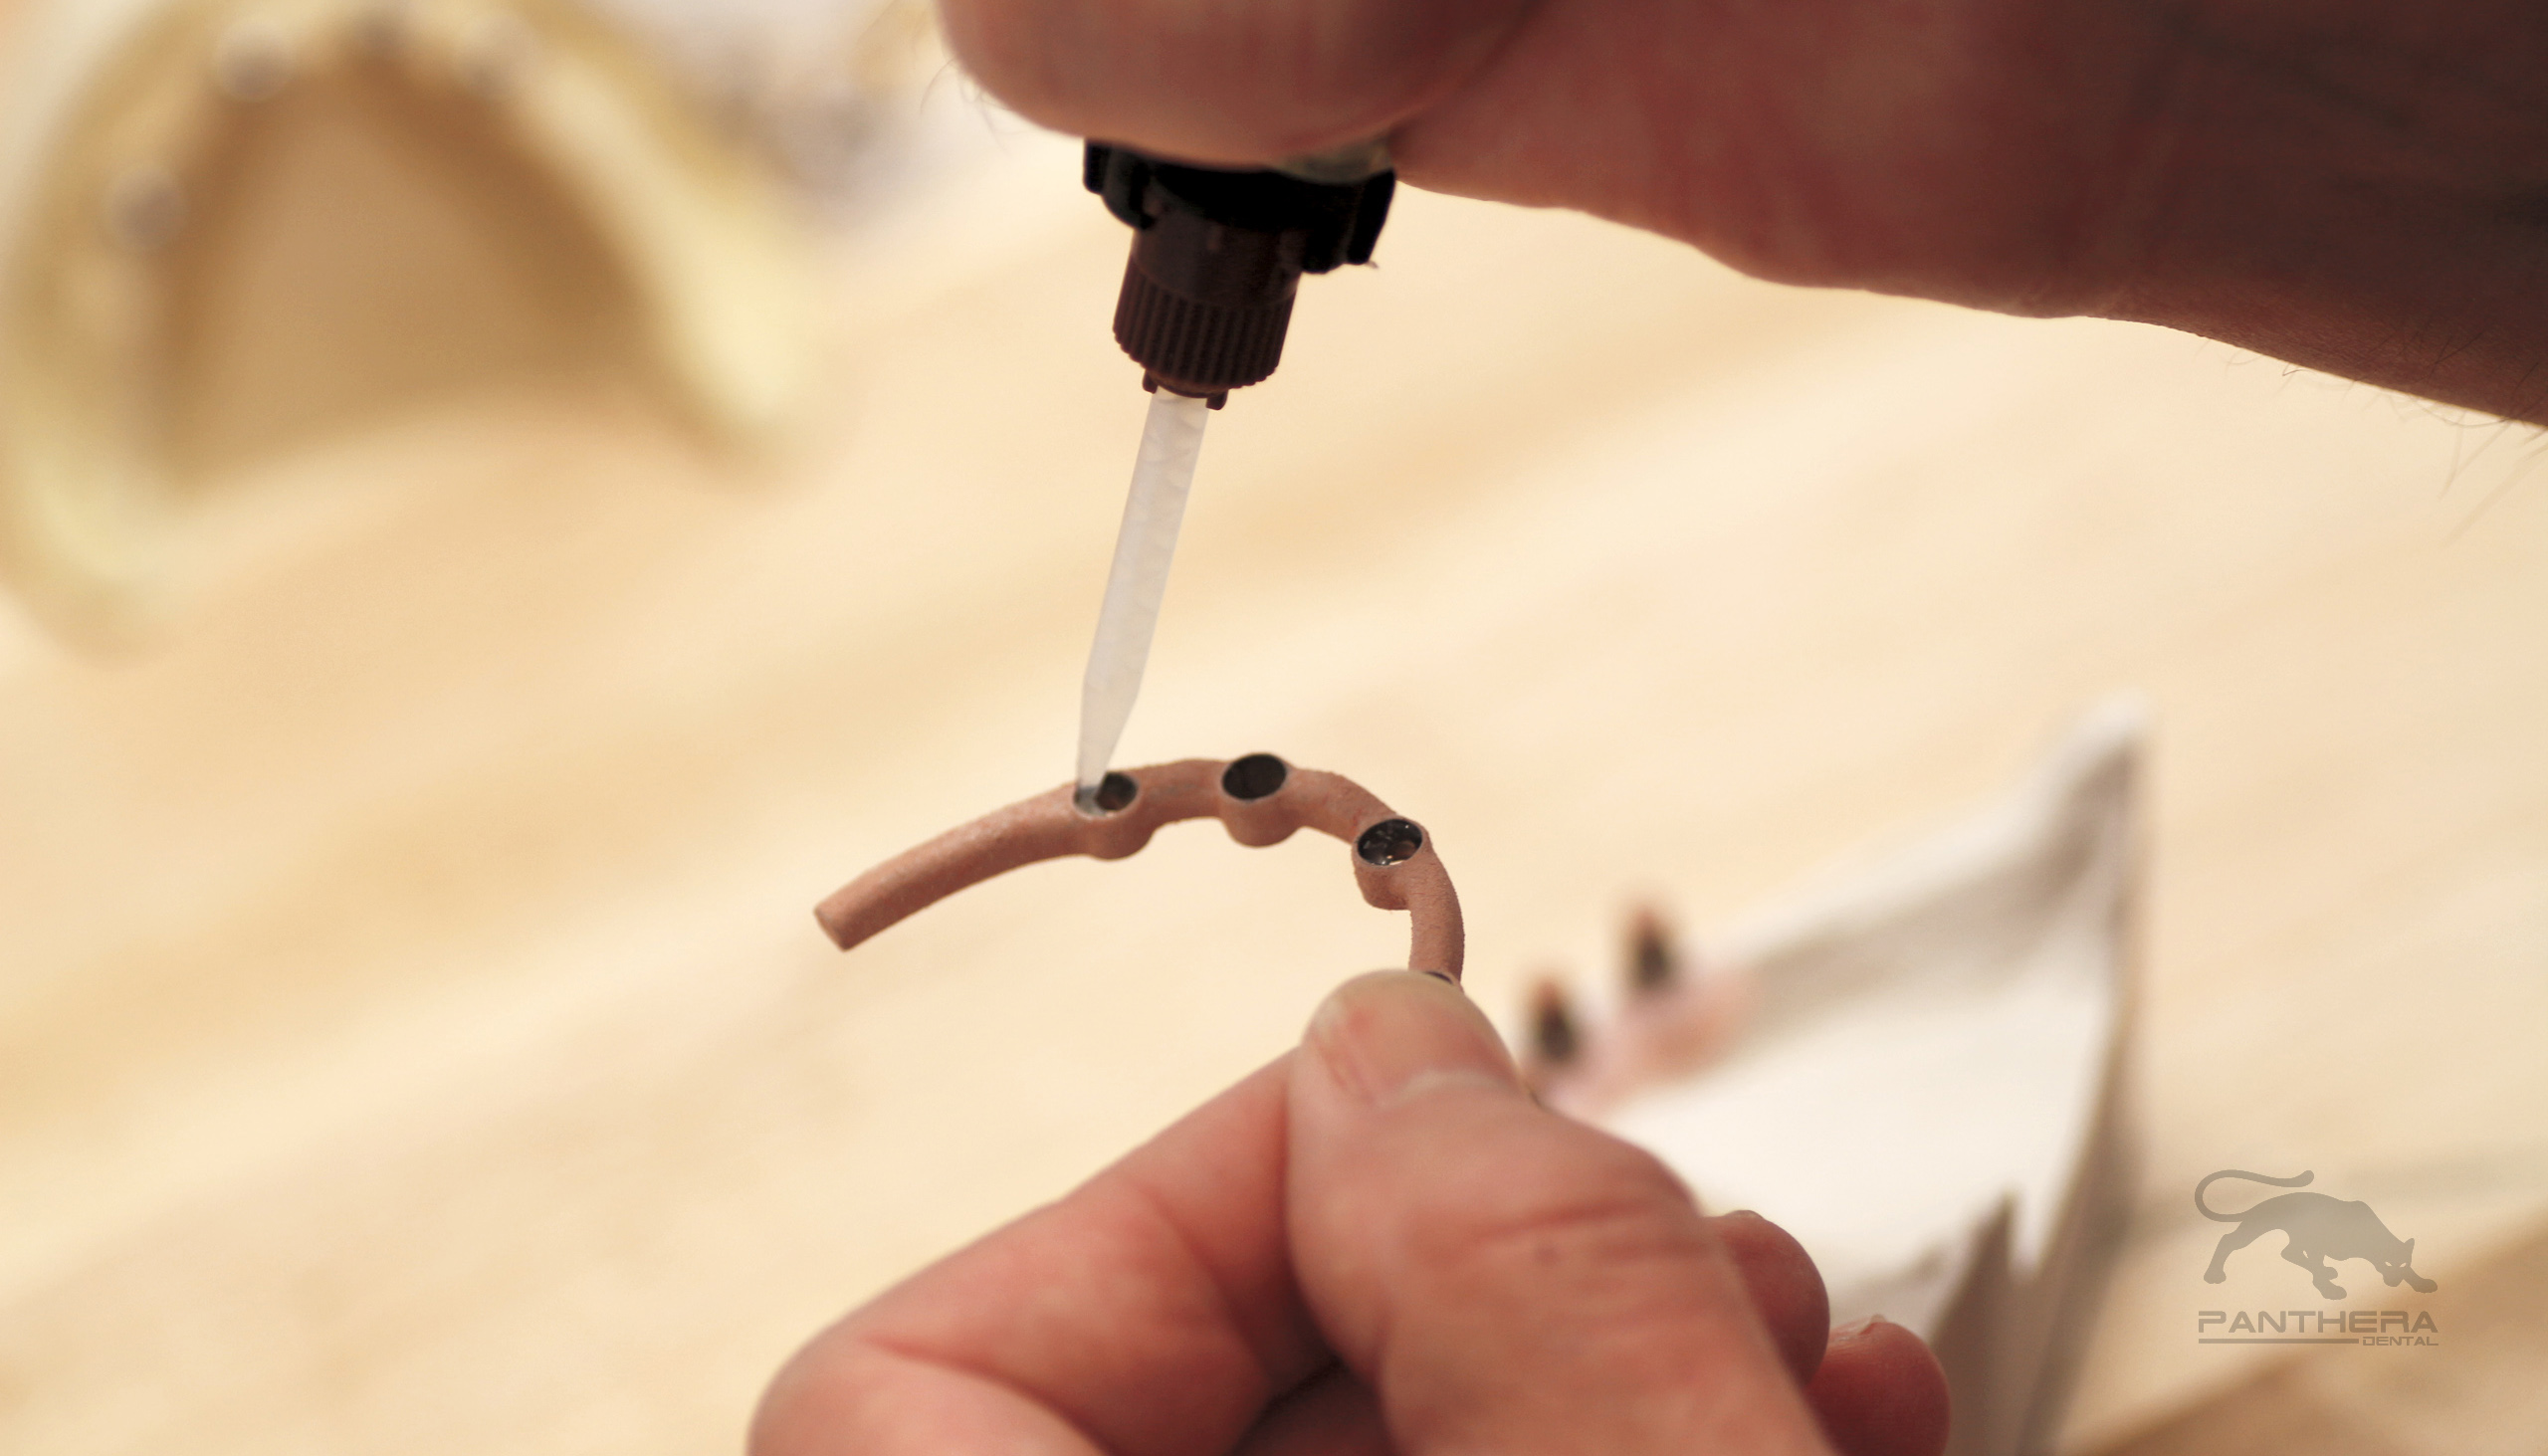
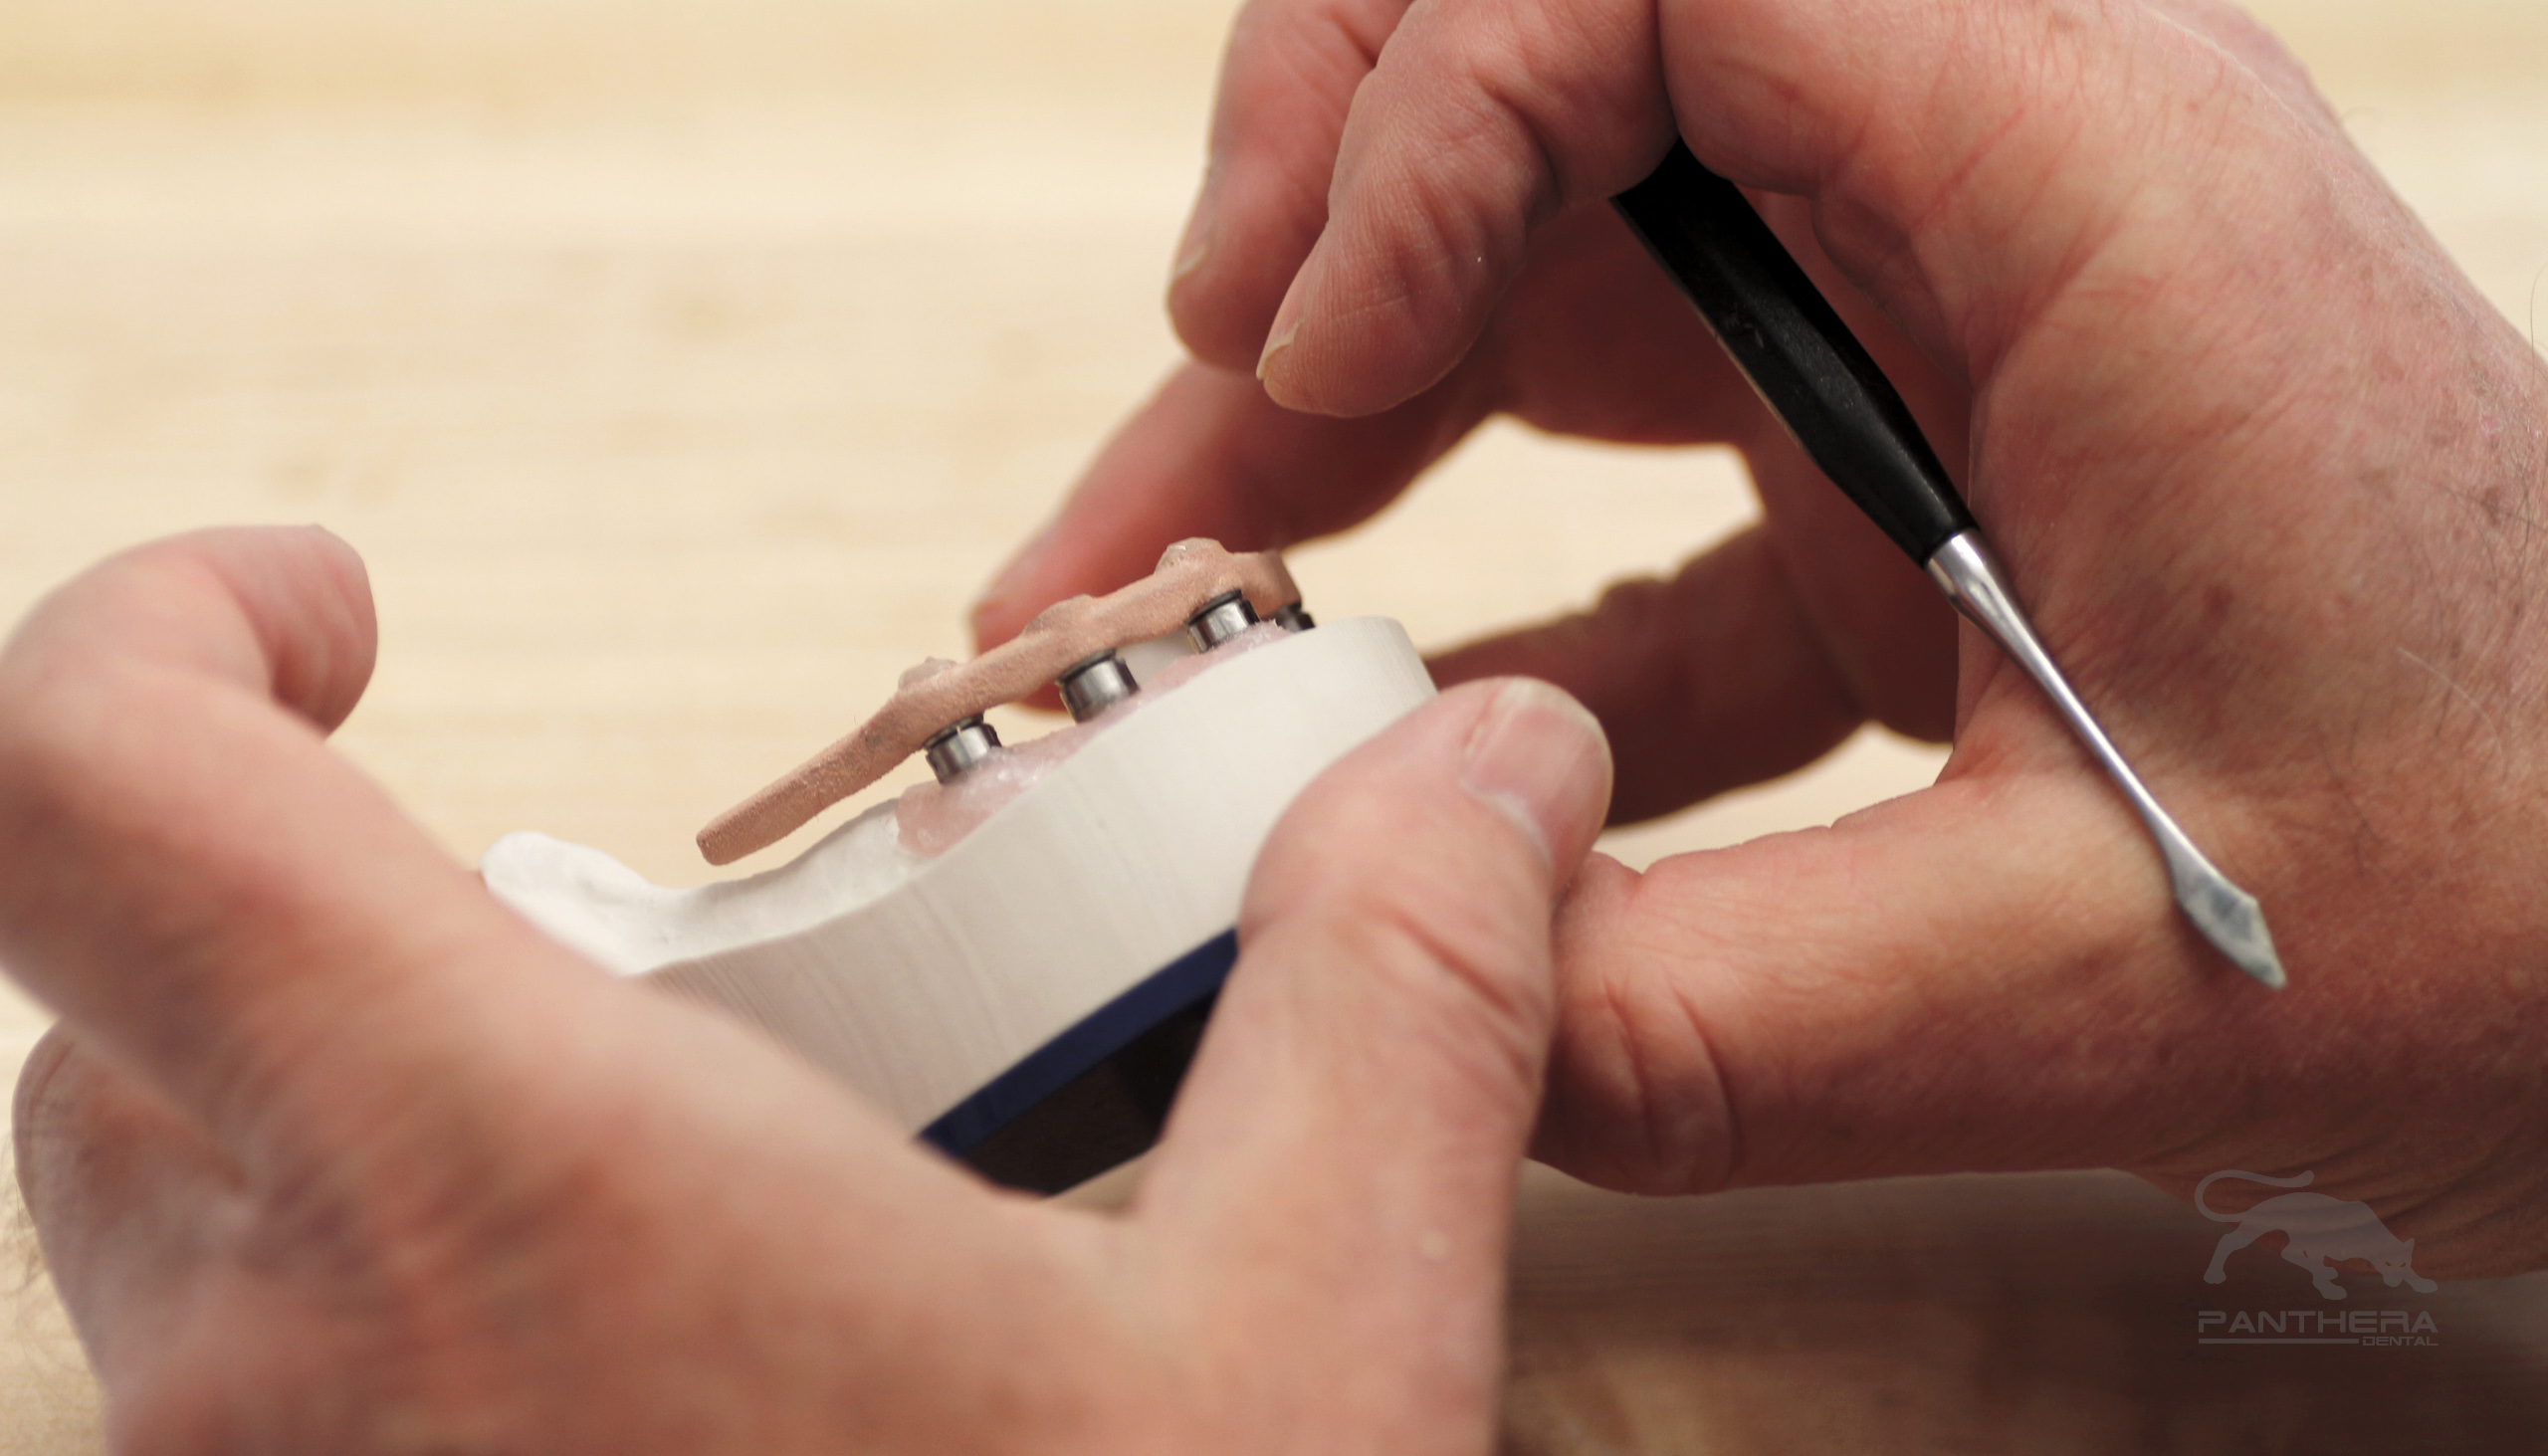

Fig. 8 Fig. 9
In order to facilitate the processing of the IB™ transfer copings and processing analogs are available. In preparation for duplicating the master model, transfer copings are placed onto the stock cylinders (Fig. 11) and the Gingifast is painted with a separator to prevent the duplicating silicone from bonding to the Gingifast (Fig. 12).
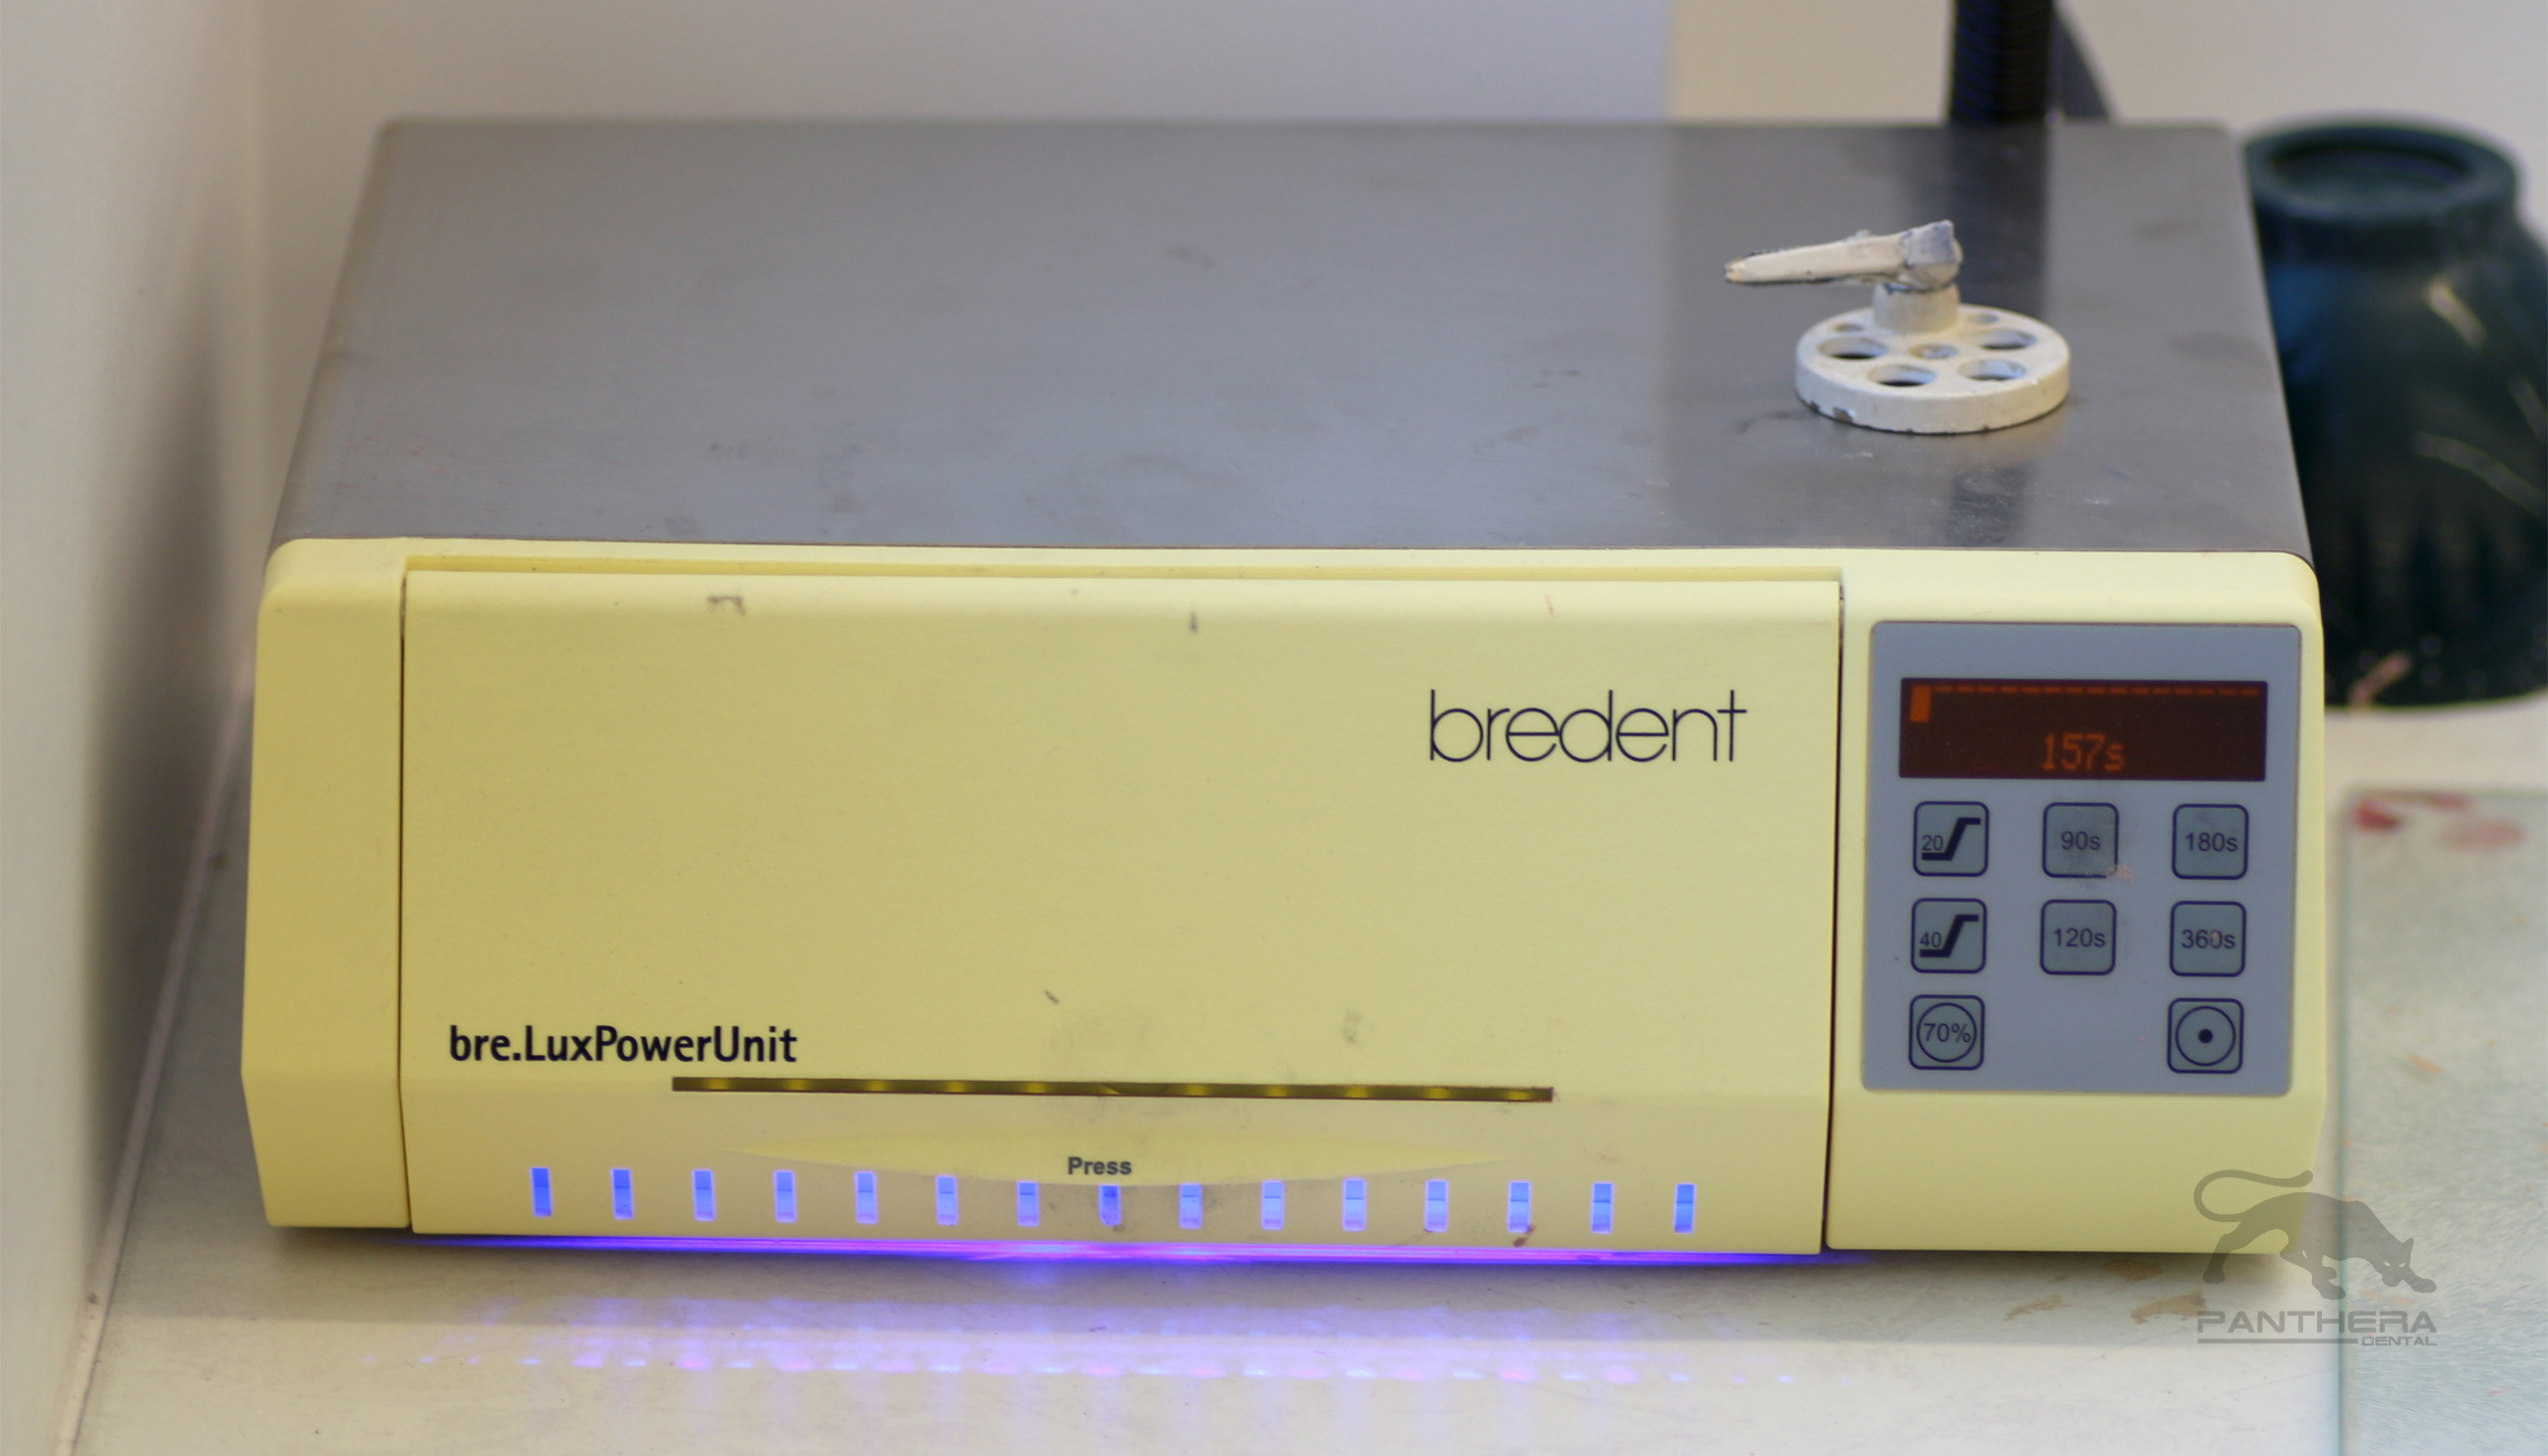

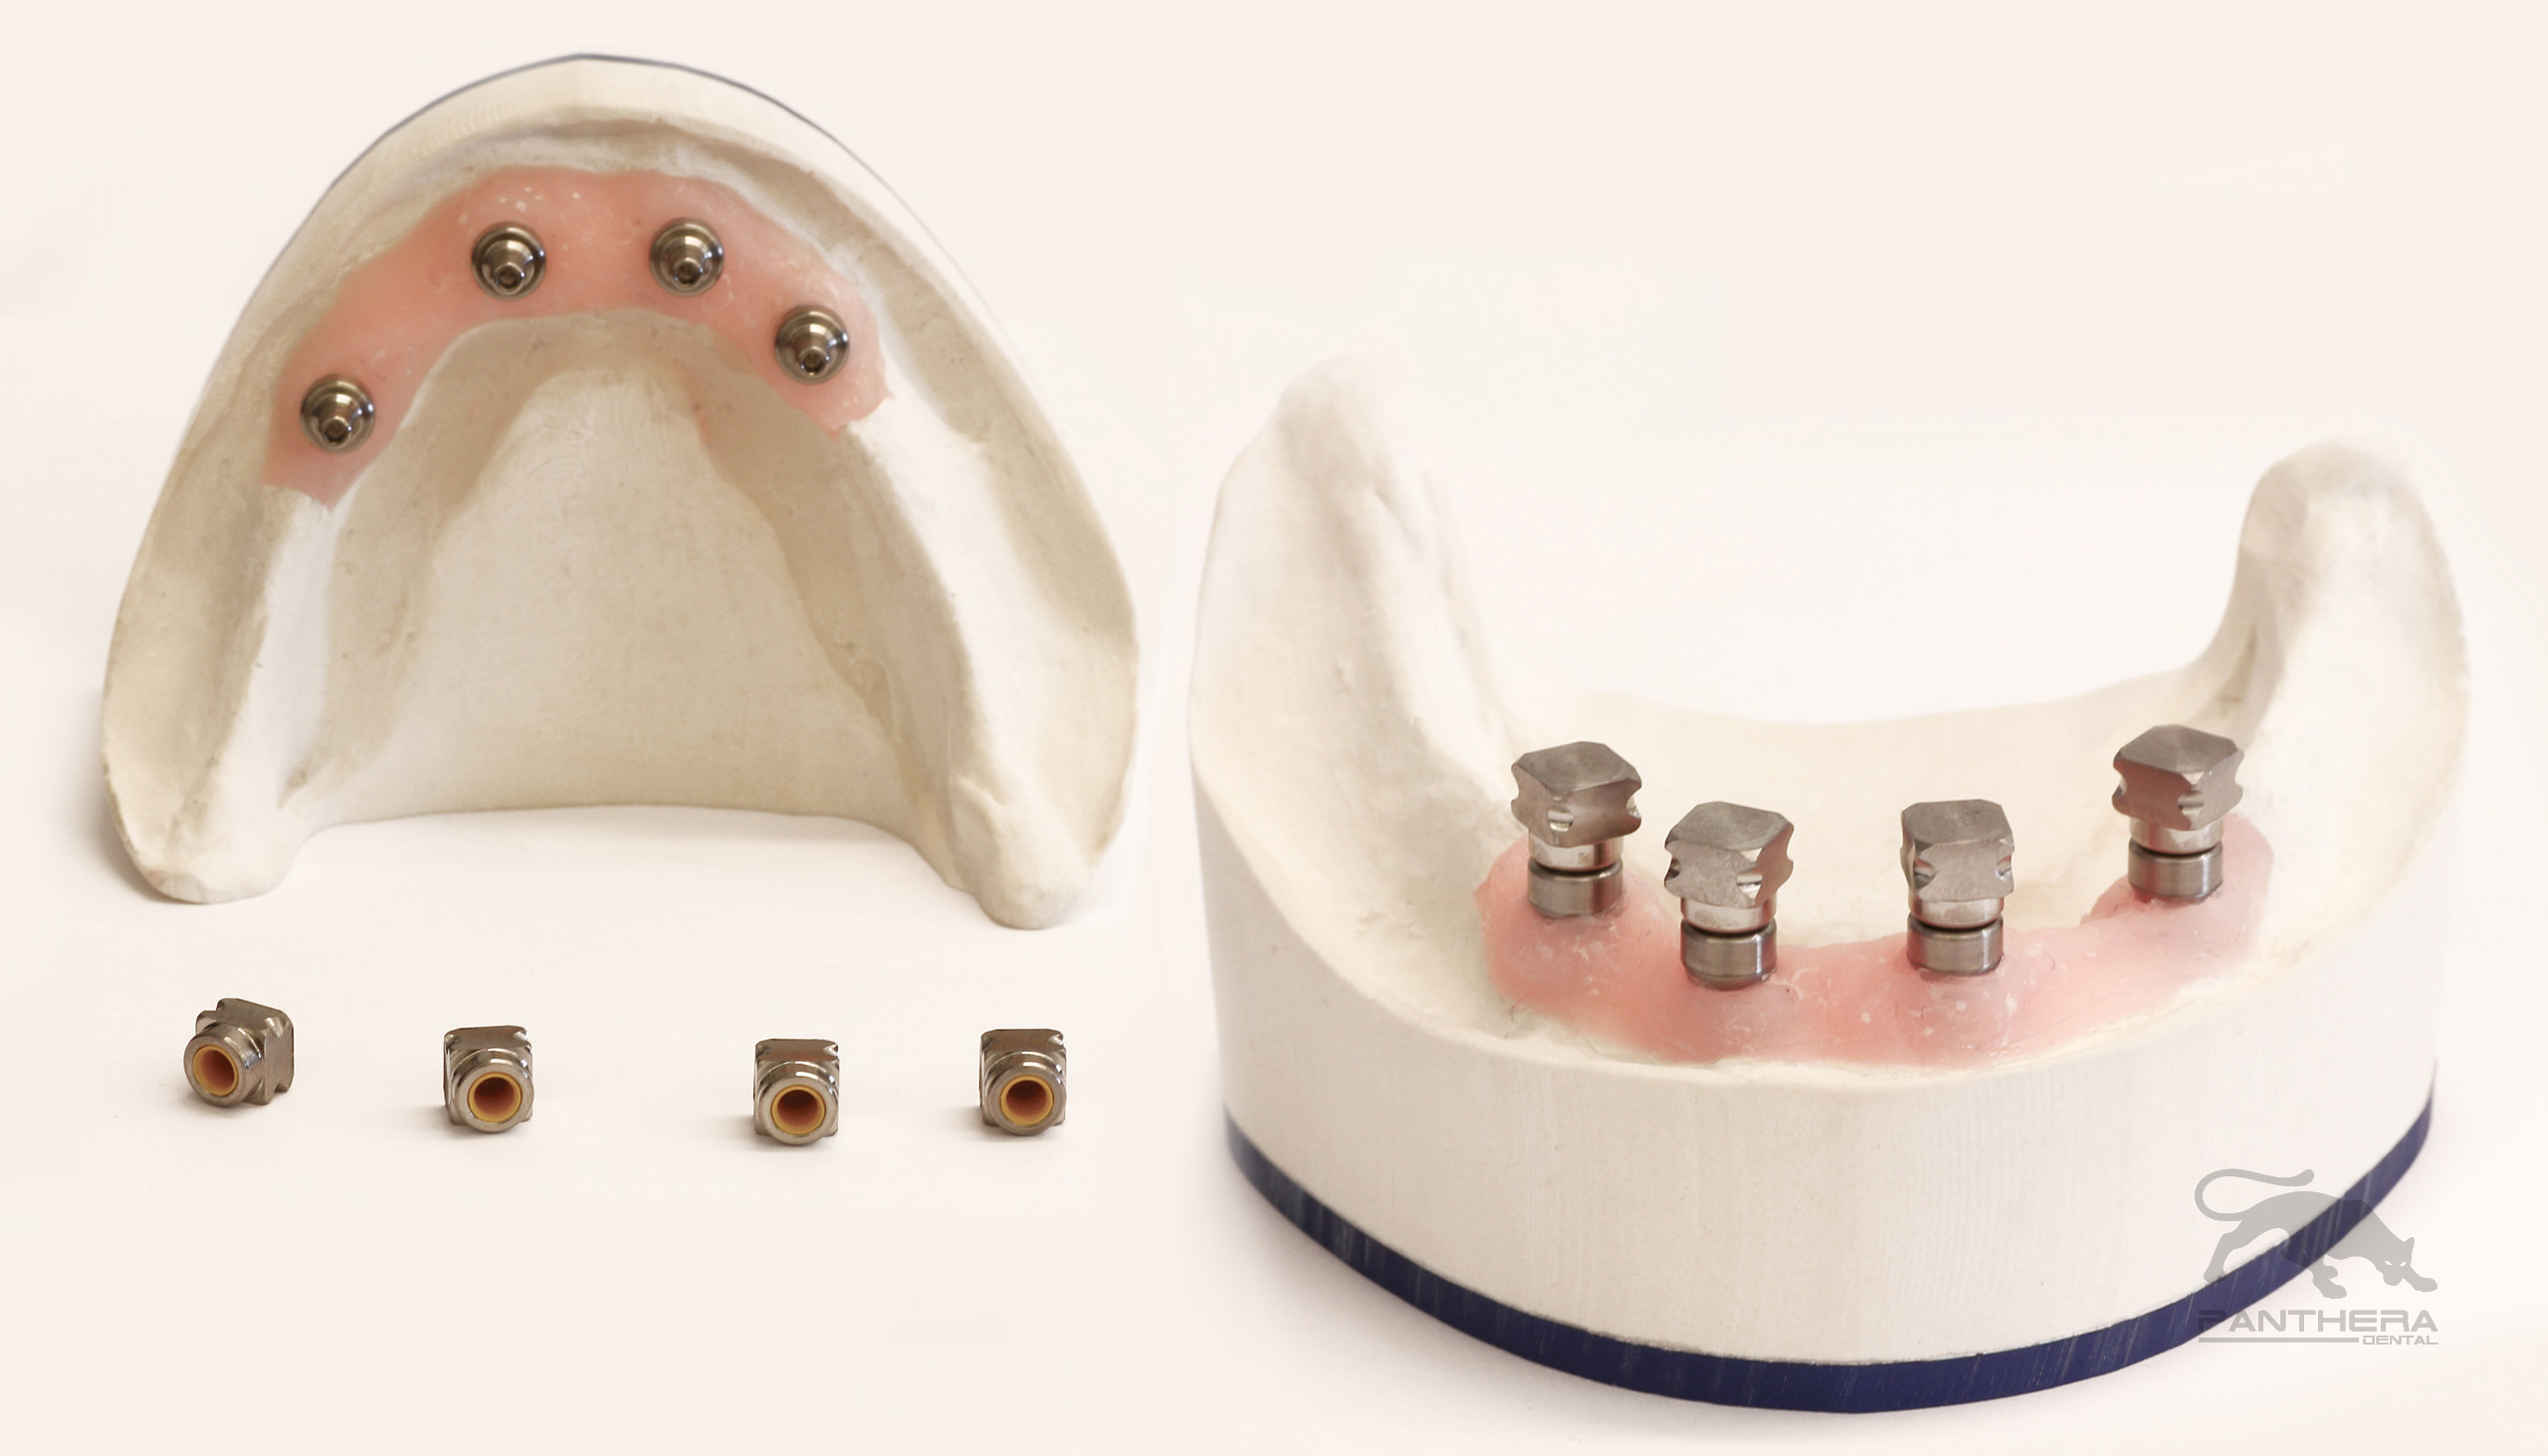

Fig. 10 Fig. 11
The master model is duplicated using a silicone duplicating material and a silicone-duplicating flask to ensure an accurate duplication (Fig. 13). It is important to follow the Silicone manufacturers recommendations on processing procedures and setting times. These may vary from manufacturer to manufacturer.

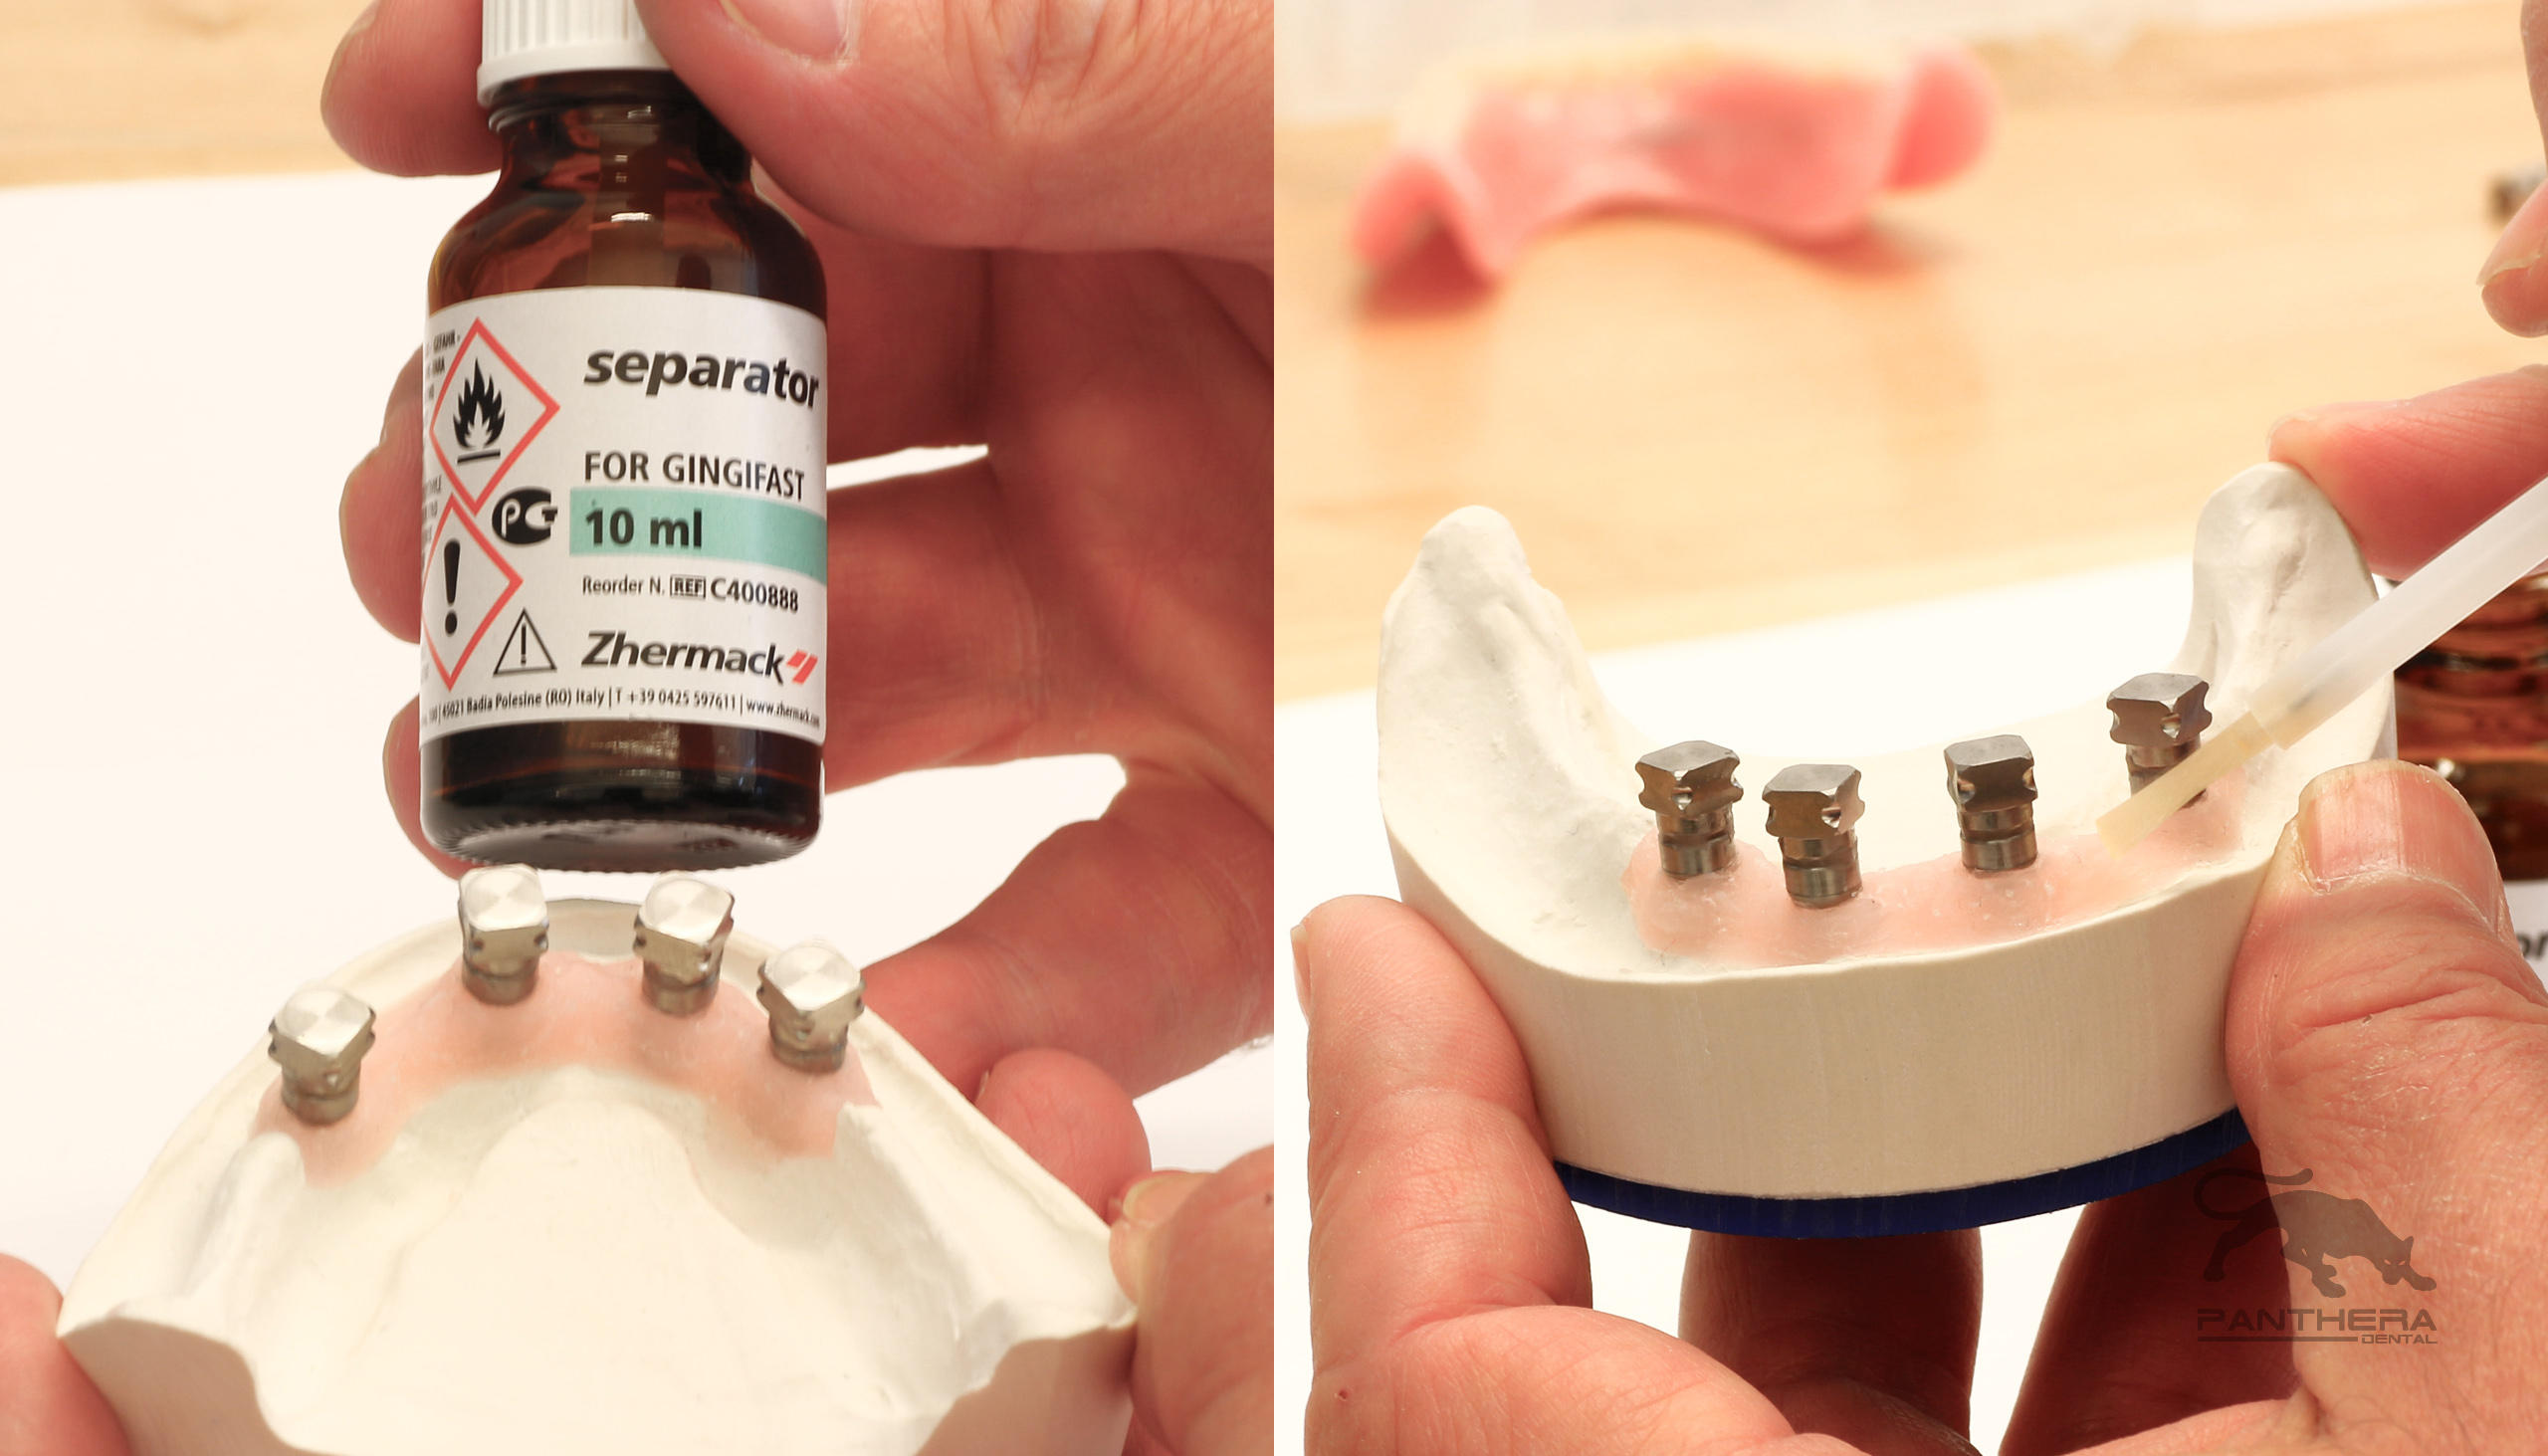


Fig. 12 Fig. 13
Once the silicone has set the master model is removed from the silicone. The transfer copings will remain in the silicone (Fig. 14). The duplicating analogs are placed into the transfer copings ensuring they are completely seated (Fig. 15) and the silicone is sprayed with a surface tension relief (Debubblizer) making sure there is no residual debubblizer in the silicone mould before pouring the duplicate model.
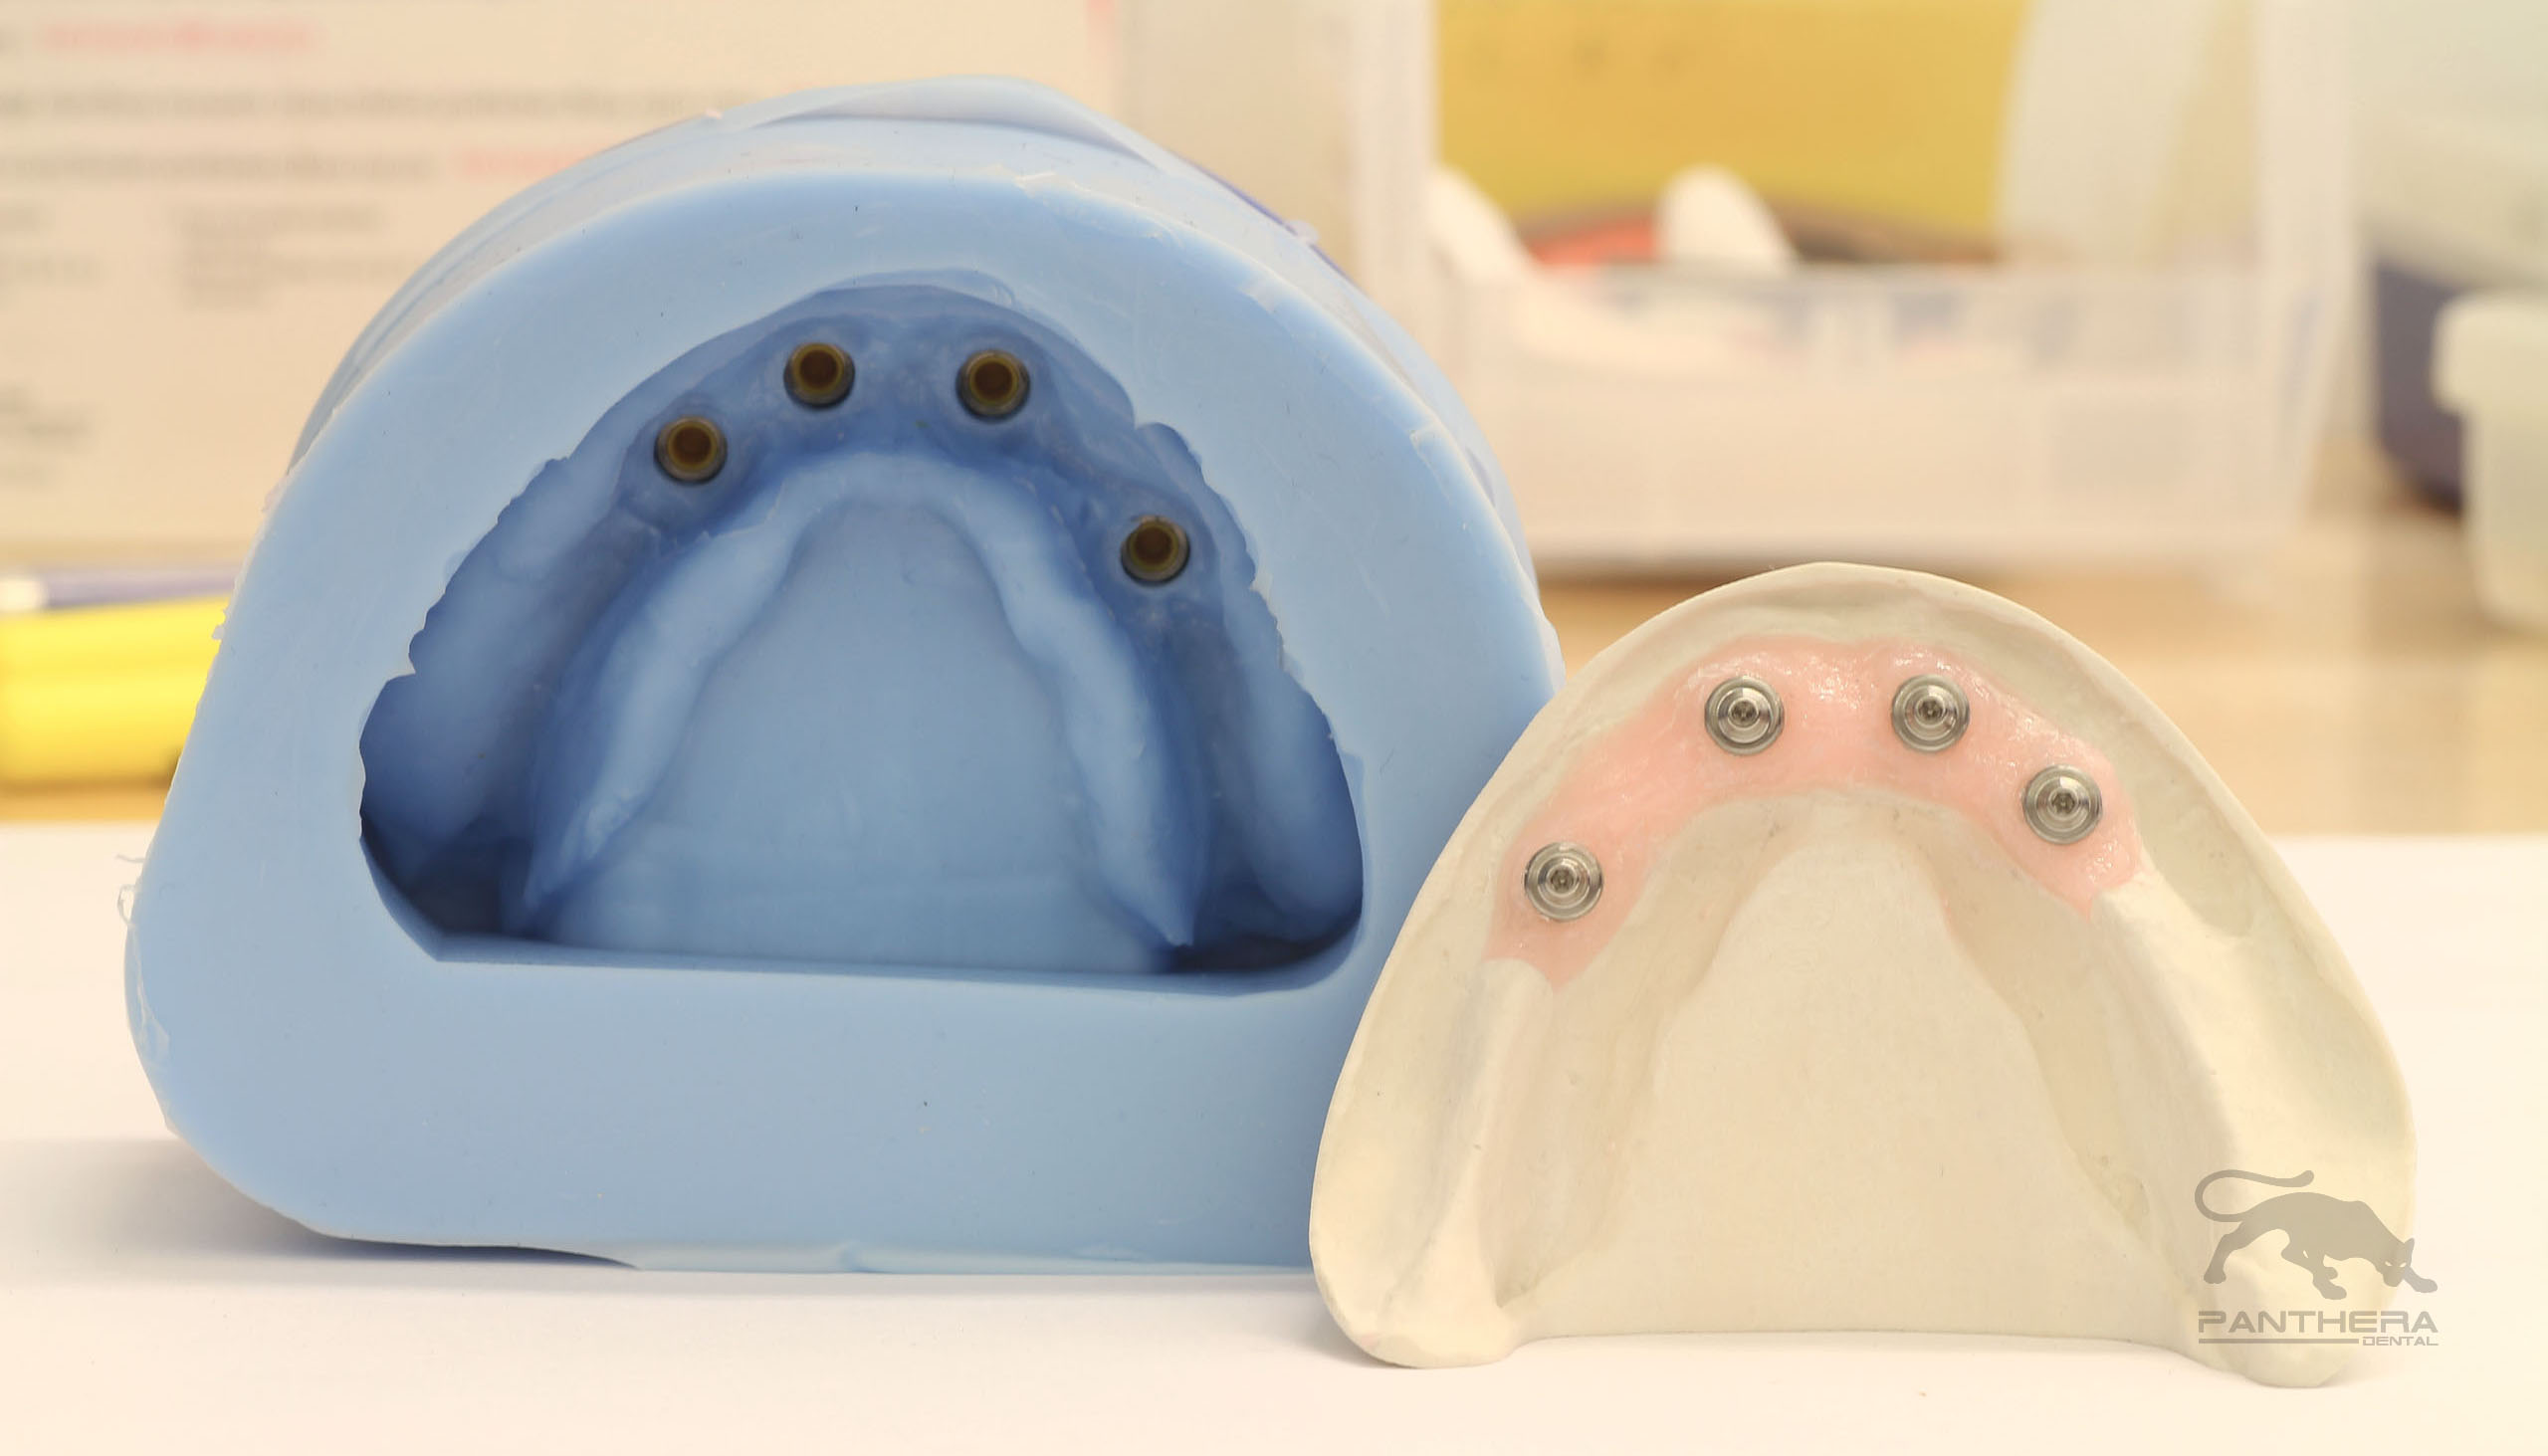


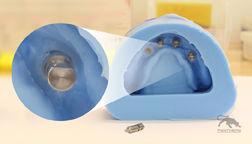

Fig. 14 Fig. 15
Allow the mould to rest 10-15 minutes before pouring up the working models. Once the working model is complete (Fig. 16) the IB™ is placed onto the working model and the teeth are transferred onto the working model using the original matrix of the set-up from the master model (Fig. 17).


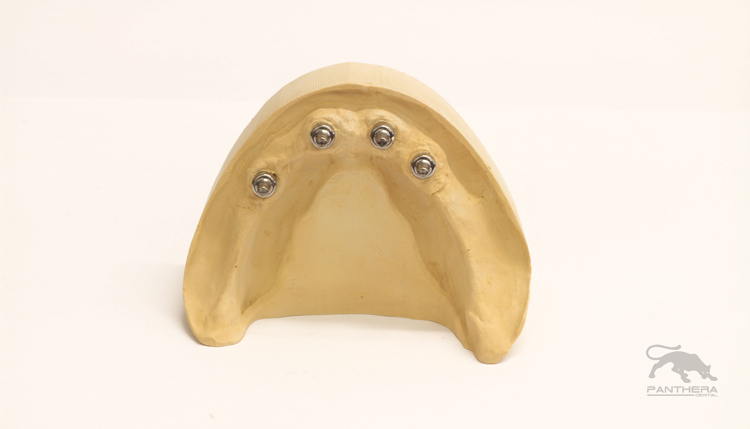

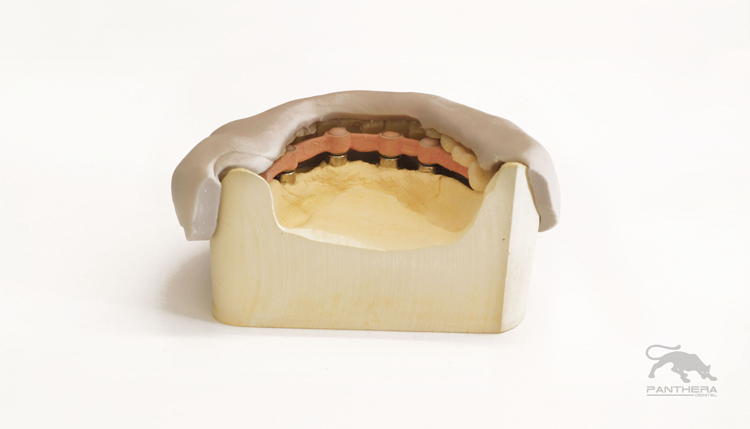
Fig. 16 Fig. 17
The wax-up is completed for processing which can be done using either the conventional flasking or injection moulding method (Fig. 18).
Once the flasks have been opened and the wax removed, the junction between the predictable housing and the processing analog is sealed with a thin layer of silicone to prevent any acrylic from being pushed up into the housings when packing or pressing the acrylic. Although this step is important for both conventional as well as the injection-moulded procedures is more so for the injection-moulded procedure (Fig. 19). It is important to follow the acrylic manufacturers recommendations for mixing ratios, curing times and curing temperatures.

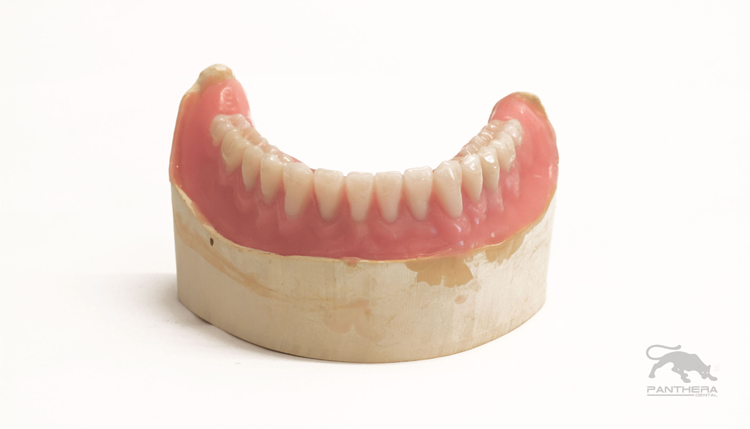
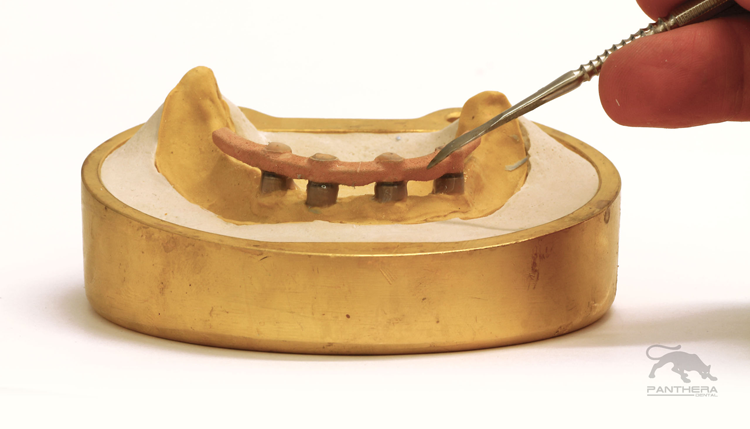

Fig. 18 Fig. 19
After curing the case is deflasked, trimmed and polished and the completed denture is fitted onto the master model for final quality control (Fig. 20).
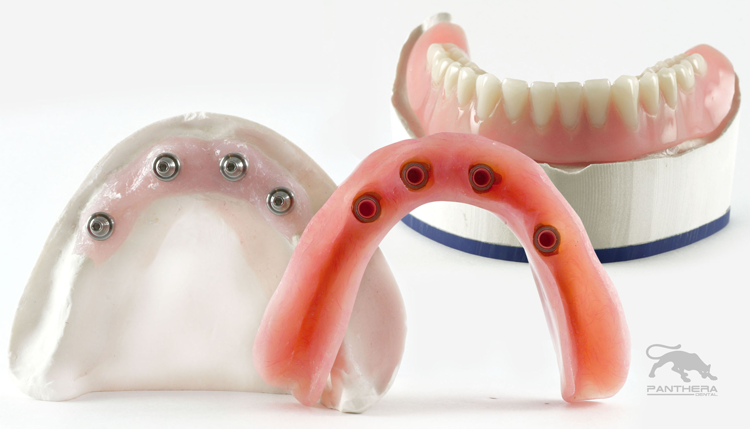

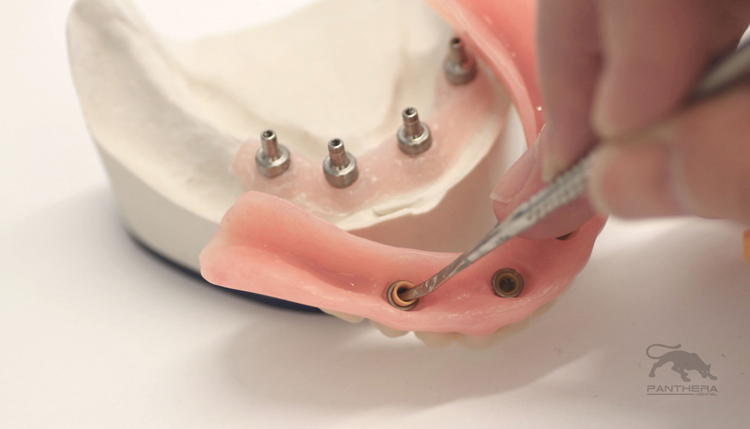

Fig. 20 Fig. 21
One of the great benefits for the maintenance of the IB™ is the ease with which the nylon inserts can be replaced.
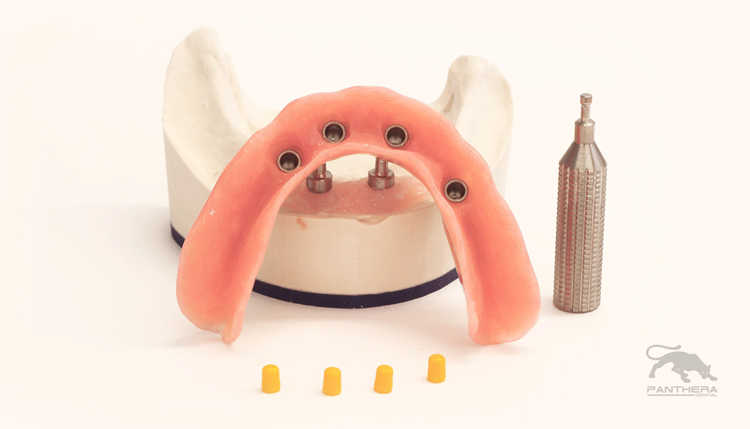

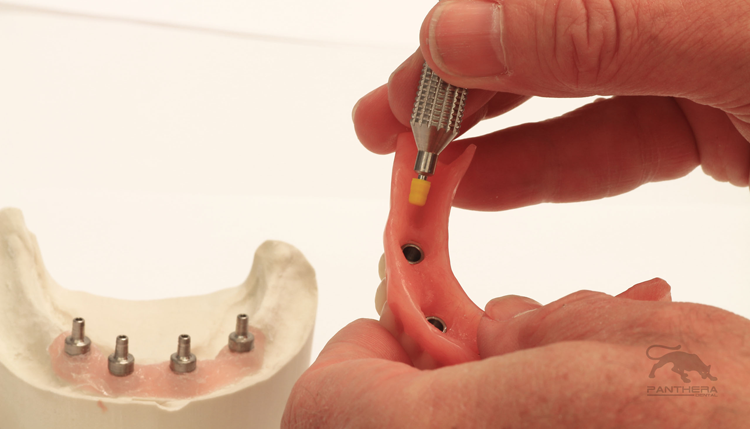

Fig. 22 Fig. 23
Using a regular lab instrument the inserts are removed from the predictable housings in the denture (Fig. 21). Once the old nylon inserts have been removed the new inserts are placed using the IB™ insertion tool (Fig. 22). The new nylon insert is placed onto the insertion tool (Fig. 23) and the nylon is inserted into the predictable housing pushing it in with the insertion tool until a click is felt (Fig. 24).
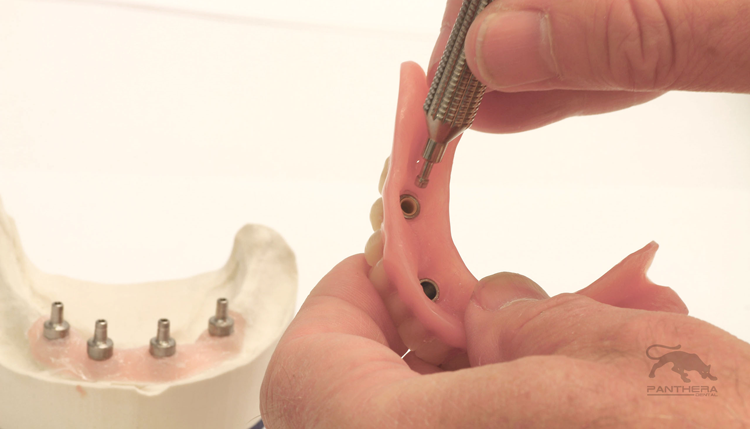

Fig. 24


