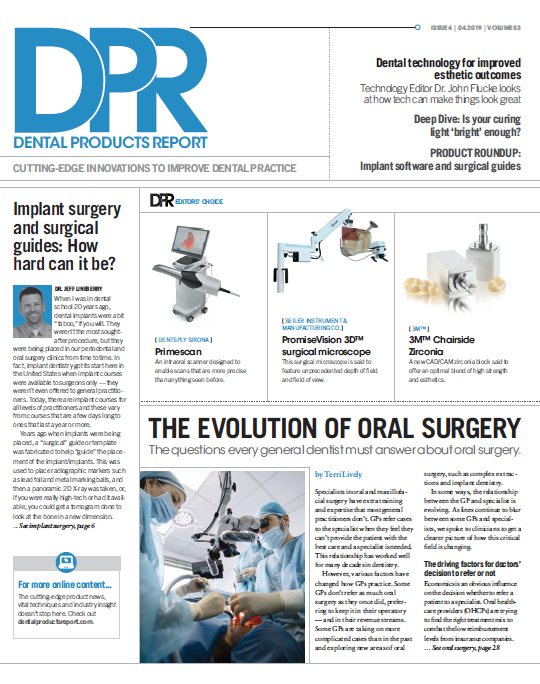
Using technology for better esthetic outcomes
Technology is embedded into everything we do and is now paving the way for better dental esthetics.


Technology is so embedded into everything we do now. The seamlessness of the experience frequently allows us to forget how things “used to be” even just a few years ago.
In the hour prior to starting on this article I’ve emailed multiple people, had a Twitter DM conversation with someone on Oahu, read a story in a Pakistani newspaper, updated some contacts (where those updates immediately appeared on all my devices), and used AirDrop to send a photo from my laptop to my phone. Oh, and not once did I think about how difficult any of those things might be. They just happened with hardly any effort on my part.
We could sure use a bit more of that in dentistry right now. Moving data around is a whole lot easier than it used to be, but with the security concerns we have regarding patient data and HIPAA compliance, reliable encryption by some program that was something of an “industry standard” could certainly help.
Often in dentistry we see tremendous advantages in our practices from technology, but the idea of cross-platform compatibility from one company to another would certainly help things. It would also be tremendous if the data was device agnostic for things such as CBCT scans. I’d love to be able to open them on my Mac without having to use a program from a completely different vendor than what I use on the Windows computers in my office.
However, there are times when we can actually coordinate a “symphony of technology” in our offices. By that term, I mean that we can coordinate different technologies so they blend together in a harmony that works better together for a better overall result. One of the best procedures for this type of “many technologies, one goal” scenario is cosmetics.
More from the author: The best tech to enhance your practice
The education
There are always things we can do to improve. In my book, that’s a lot of what technology is all about, and, personally, I think one of the principle ways we can improve in dentistry is through communication.
Often in the world of cosmetics the patient has an idea of what he or she wants, but he or she really doesn’t know how to get there. Sometimes patients’ expectations can be greater than what can be delivered. Sometimes those results are “possible” but require things like orthodontics or soft tissue surgery. The secret to having an acceptable outcome is often directly related to communication.
I say this all of the time, but that’s because it’s so important. Experts state human beings receive more than 85 percent of their information through their eyes. Translated, that basically means you can talk until you’re blue in the face, but people won’t remember much of it and they probably won’t comprehend much of it either.
What they’ll remember is what they see. So, it’s critically important to use visual tools when you communicate with patients. We have lots of educational models in the office that we can quickly access to show a patient the difference between implants, bridges, crowns, veneers, etc. Many patients know they want a great smile, but most don’t understand how to get one.
The plan
I’m a big fan of the expression “Failing to plan is planning to fail.” When you’re performing large cases, it’s so much easier to accomplish the end if you start with a solid plan. Once we’ve educated the patient on the options, we then enter the planning phase. I’m an “info hound,” and by that I mean I’d much rather have too much information than too little.
Normally the process of a big case starts in hygiene; however, that’s only the first step. Hygiene helps determine the patient’s wants and needs. Then comes the visual education. At that point the patient is advised to set up a data gathering appointment, which allows us to collect the extensive secondary dataset that we need for the full treatment plan. Hygiene is continually collecting primary data, which is used for routine diagnosis and treatment planning. Secondary data is what we need to provide superior extensive or elective treatment.
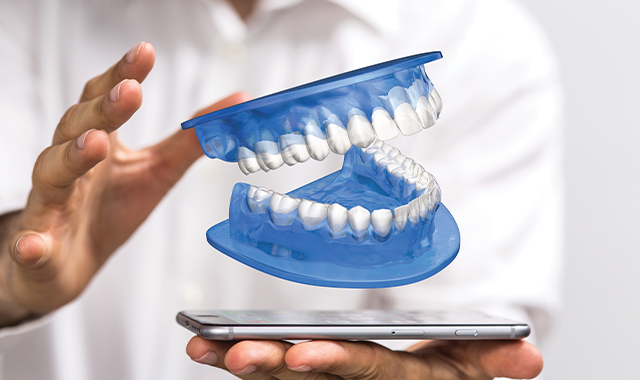
At the secondary appointment, we’ll get a cone beam scan and also scan the full mouth with our iTero® Element unit (itero.com/en-us). We’ll have the iTero scans converted into study models. I like this process for two reasons:
1. The models are made of a polyurethane material (similar to a bowling ball) that’s incredibly durable. That means they’re almost impossible to break, chip, or abrade. Unlike stone models, once the scan is complete, pretty much all errors are eliminated. There are no concerns about bubbles, fracturing teeth when separating the model from the impression, etc.
2. The digital models just flat out look pretty with absolutely no effort on my part.
If your office has a 3D printer, this can easily be done in-house with less time and less expense.
Digital photos are then taken with a digital SLR camera. We take several extraoral full-face photos, including profiles from both sides. Then we take as many close-up photos of the dentition as we feel we need with a zoom lens. If necessary, we’ll take some intraoral photos with a MouthWatch camera as well (mymouthwatch.com).
This data, along with all of the relevant multifactorial clinical data that we collect at every hygiene visit, is then ready for me to consume as I review and plan the treatment.
The final step in the case workup is a diagnostic waxup of the end result. You can either use the original study models or have a separate set created, which is what I prefer. I want the patient to be able to see exactly what the end result will be, while the other model gives me the perspective of what things are like preoperatively.
Continue to page two to read more.....
The presentation
Once I’ve reviewed all of the data and created a treatment plan, it’s time to get the patient back and do the treatment plan presentation.
At this point we bring all of the info together and show the patient exactly what we can do. Depending on the amount of info the patient needs, I will show the CBCT, digital photos and go over the treatment plan. My main focus is to make sure the patient has a good understanding of what we’re going to accomplish and that he or she has an understanding of the end result and what we need to do to achieve it.
The diagnostic waxup is intrinsically important to this process, as we’ll use it to fabricate the temporaries and also use it as a guide for the lab in creating the final restorations. I want to make sure the patient understands that this will be what the final result will look like. Once he or she approves, we’re ready to get the case started.
Prepping
I love my electric handpieces. Prepping with my Bien-Air iOptima system (bienair.com) makes things easy and very low stress. Finishing the margins is really simple when you can simply tell the handpiece how many RPMs you’d like.
Final margin finishing is done by using a Perfect Margin® kit (available from ACTEON, acteongroup.com/us/) and the Ultrawave® Piezo unit from Ultradent (ultradent.com). The margin kit consists of diamond- coated tips designed to remove any unsupported enamel rods and smooth the margin so the final restorations fit like a proverbial glove. These tips, combined with the incredible power of the Ultrawave, create the smoothest margins I’ve ever seen.
Troughing of the gingiva is done with the Ultradent Gemini® dual- wavelength laser. Judicious use of the power settings allows you to basically “melt” the tissue to expose the margin. The laser tips are 400 microns, which allow you to create a 400-micron gap between margin and tissue. Using the dual-wavelength feature also eliminates tissue tags that can create marginal discrepancies during the digital scan.
During this appointment, all treatment is done at either 5.0x or 5.5x with either my Orascoptic EyeZoom™ or OmniOptic™ surgical telescopes. The lighting is via either an Orascoptic Zeon™ Discovery™ or Endeavour™ XL headlight (orascoptic.com). Both systems have an output of about 85 lumens, which is incredibly bright.
The impression is done digitally with the iTero Element® scanner. The scan is checked and temps are fabricated.
Related reading: How to implement digital impressions in your dental practice
The moment of truth
There are several things that make digital impressions incredible. One of the best things in my opinion is the fact that the models are so incredibly accurate. Not only from a marginal standpoint but also the way the dies fit. There’s absolutely NO movement between the dies and the model. This allows for spot-on contacts and spot-on occlusion on nearly every case.
Often when cementing/bonding an anterior case, there’s some stress due to contacts and everything lining up correctly as the restorations are permanently placed. Digital models eliminate those concerns.
The way the case looks on the model is the way the case looks in the mouth. Trust me on this one. I’ve done digital cases for about eight years now and my clinical experience has been nothing short of amazing.
One very effective tool I’ve discovered over the years is in setting up the operatory prior to patient arrival. On the patient monitor we always have one of the pre-op close up photos.
Often in the process of giving a patient a perfect smile, the patient forgets where he or she was when we started. By having him or her see a close-up of his or her smile from before greatly increases how happy he or she is when he or she sees the after smile.
The temps are removed and the case is tried in. Once the restorations are in place but before cementation, I leave the room while the dental assistant and the patient discuss. I’ve found patients are much more willing to tell the assistant if they have a concern than me. If there are no concerns, the assistant lets me know and we proceed with bonding.
The case is light-cured using an Ultradent VALO® Grand LED with a tacking tip, allowing us to clean up the excess material prior to completely bonding in the restorations.
We then take another series of digital photos that duplicate the pre-op photos.
Wrapping up
This situation is an example of using technology to considerably improve the outcome. While cosmetic cases can be incredibly rewarding for everyone involved in the process, they can also be fraught with potential pitfalls along the way.
I hope that the scenario outlined here helps you to avoid some of those pitfalls during the cosmetic cases in your practice. Technology is a Swiss Army knife of benefits in the dental office. From helping your patient understand the treatment to decreasing your stress during try-in, there are myriad reasons to upgrade your practice in new and exciting ways.
Hopefully you’ve come away from this article with some new insights and some ideas on how to improve your cosmetic treatment protocol. See you next month.