How to use the Ingot Master Kit and correct spruing for optimal press technology results
While many different spruing instructions available for use state that there are rules users “must comply” to regarding spruing techniques, this may not actually always be the case.
While many different spruing instructions available for use state that there are rules users “must comply” to regarding spruing techniques, this may not actually always be the case.
According to my experience some of the complied rules regarding spruing objects are good, but not absolutely necessary.
With this article I will use products from Aesthetic-Press (Düsseldorf, Germany) to illustrate how some of the “rules” applied when spruing objects are not absolutely necessary.
When spruing objects, there are basically the following parameters, which should be considered and discussed:
- Length
- Diameter
- Angle
- Shape
The length of the sprue
Figures 1 and 2 show examples of the press result from the long sprues, which may

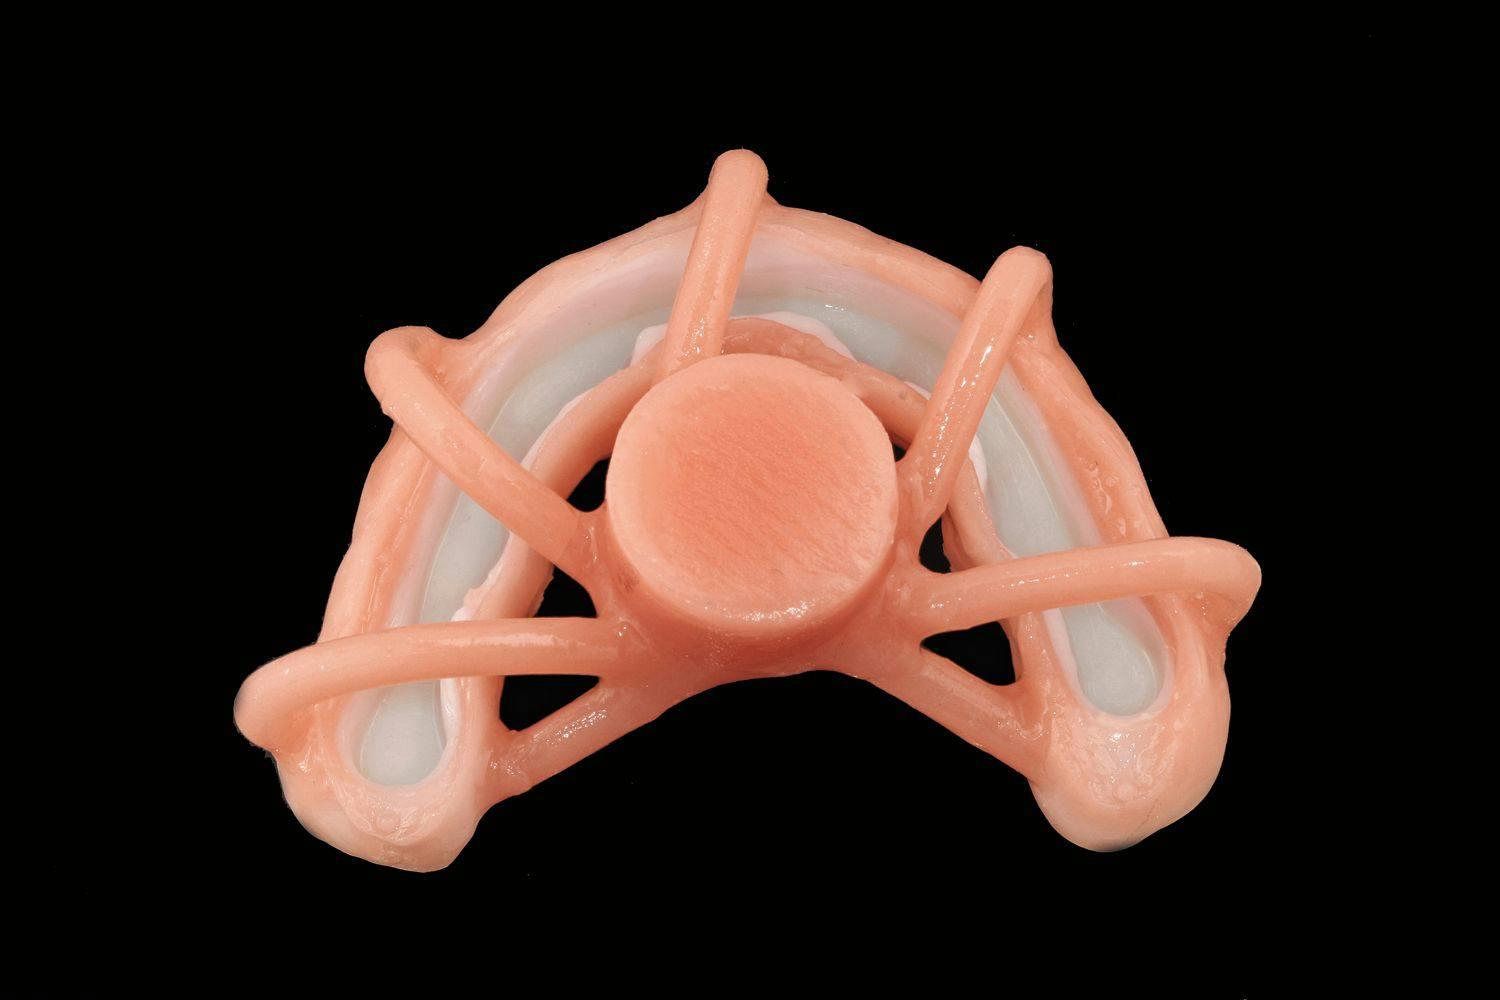

well be longer than expected. Thus the length of sprues during pressing, using pink ingots (Aesthetic-Press), are several centimeters long. Also subsequent pressing of the white portions illustrate the dynamic possibilities.
After years of experience, I choose to use 0.3 cm to 3 cm sprue length to obtain these possibilities.

The sprue diameter
To put it in a nut shell, the diameter here should be 3 mm.
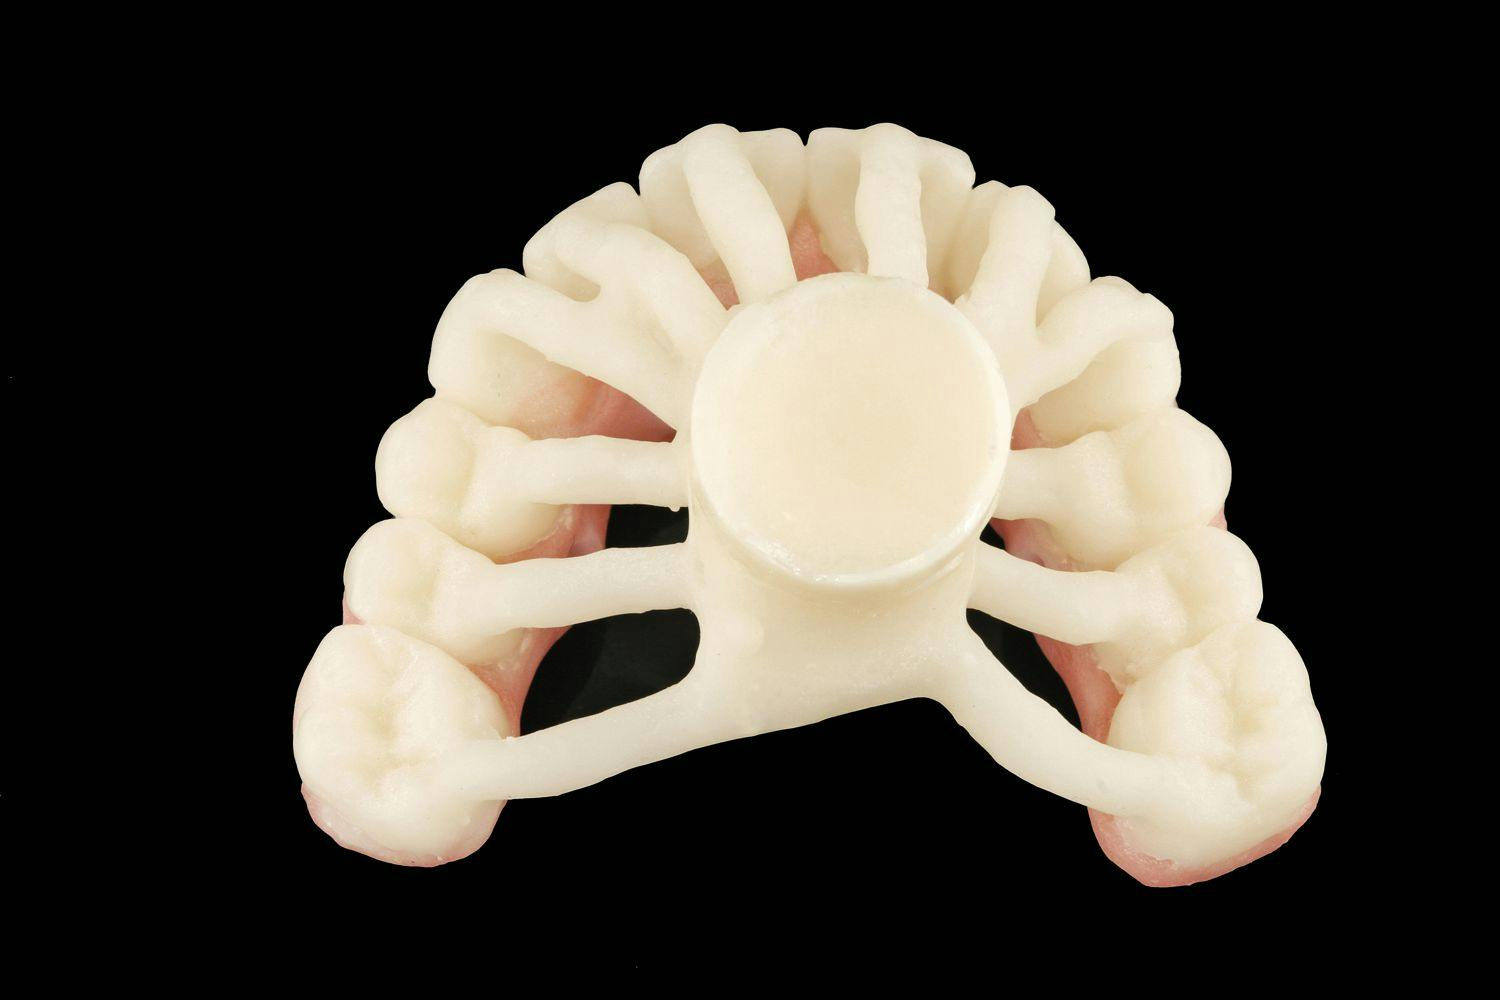
One can say that there is no compulsory fixed angle rule. Figure 1 pressed in pink ceramic illustrates the sprues going up and down rapping around the object, justifying the particularly good pressing properties of the AP-pressed ceramic that make difficult


cases possible.
In general, one can maintain the length of the sprues as short as possible for minimal material usage. Even though there is no minimal sprue length required, I connect with a safety distance of 2 mm onto the edge. This avoids excessive heat in cuspal regions, which can cause cracks.
The most important fundamental rule is to keep the sprues clean and smooth. Poorly unfinished waxed up areas increase the risk of investment embedding into the ceramic. Spruing angles can easily vary from 30- 90°.
The sprues should be placed at the edge of the main plunger channel stand. This enables the object to be in the warmer region of the muffle. Sprued objects in the middle of the plunger stand are more prone to a faulty pressing because the temperature in this area is cooler.
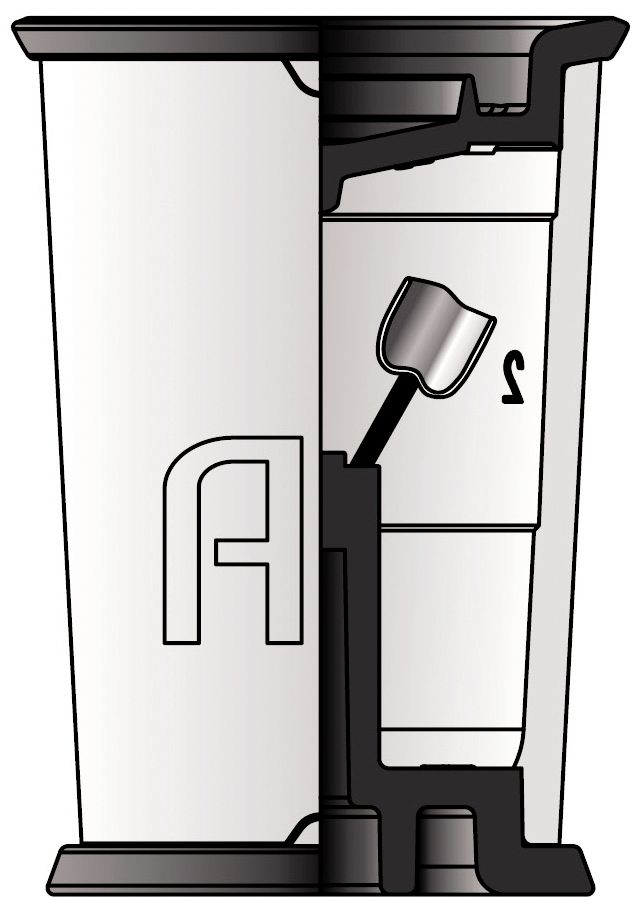
The distance of the crown to the mold bottom or the walls should be at least 0.75 cm (Fig. 3).
Sprue shape
This varies depending on the case, which can be direct single units, up to arched bar connected large span bridges.
For spruing large span bridges, we use bar connectors to reduce less connector length.
Short sprues of 3 mm-gauge 8 lead to the cross connector, which also is a 3 mm diameter. The arched bar connector is waxed directly on the plunger stand. It is not to be treated the same way as casting processes, such as in a V shaped gradient (Fig. 4).

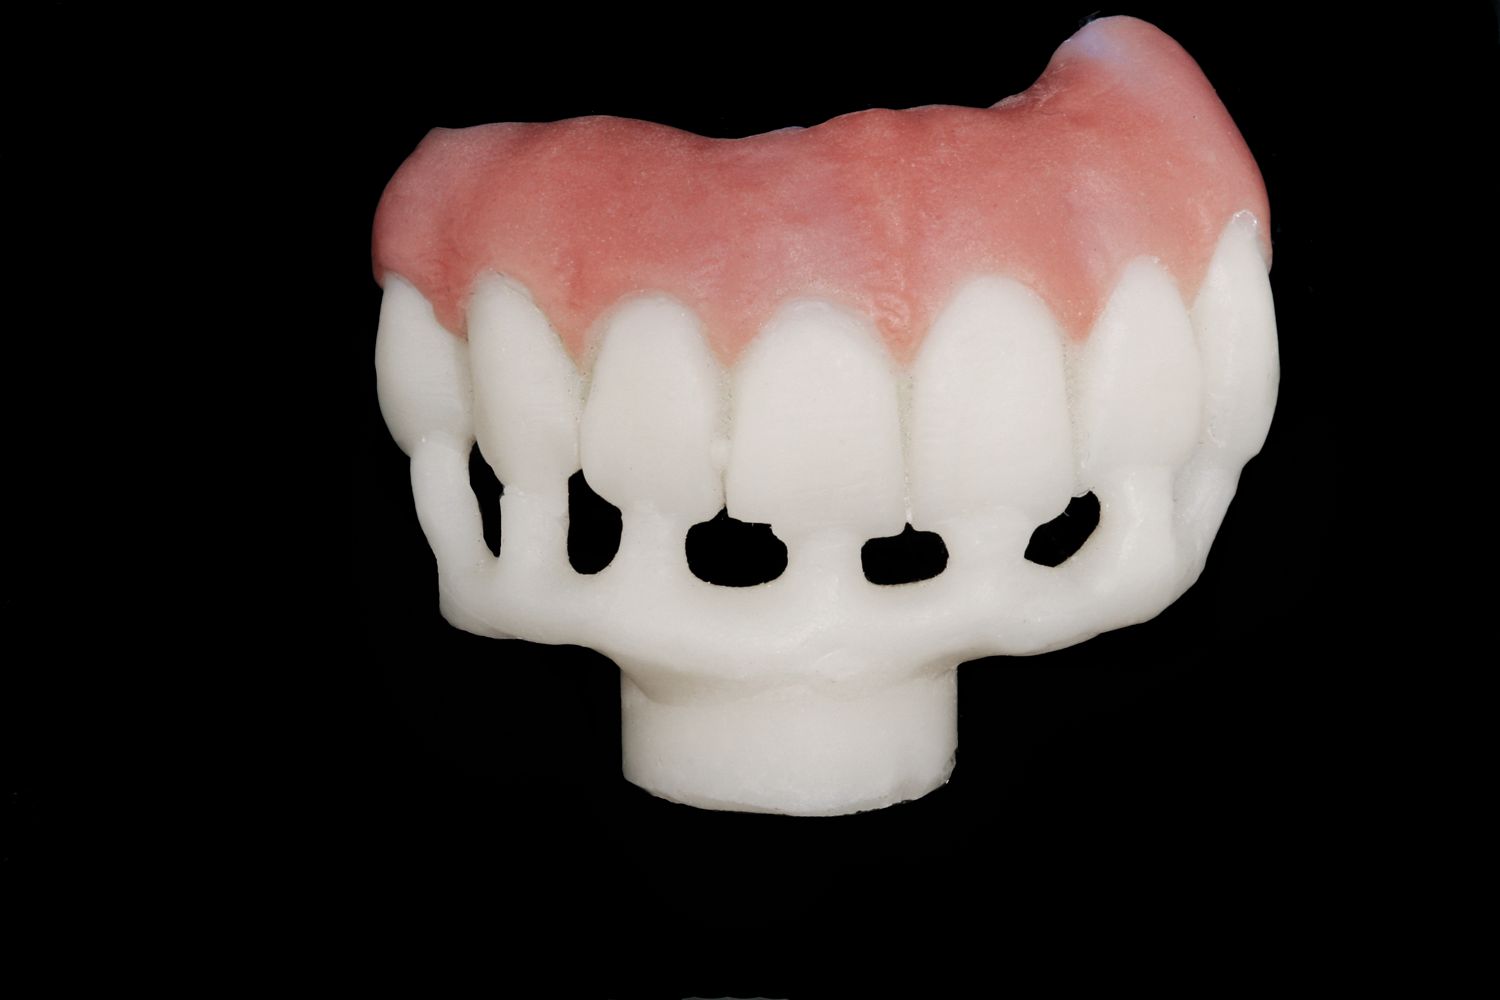
Fig. 4?One also can use arched bars to press.
Other examples
In an implant-supported occlusal screwed bridge with small screw channels running through the crown, it is recommended, because of thin cervical regions, to use 2 pressing sprues per crown. Around 30 grams of press ceramic would be needed for this particular case. By using less sprues and less press material you increase the chances of failure.
For 14-unit bridges, if a technician goes with less material there is a much greater risk of ending up with some flaws in the press result.
In this example (Fig. 5), the screw channels run right through the crowns. Thus, the crowns were incisally and lingually sprued (below the screw channels) and posterior region buccally and palatally.

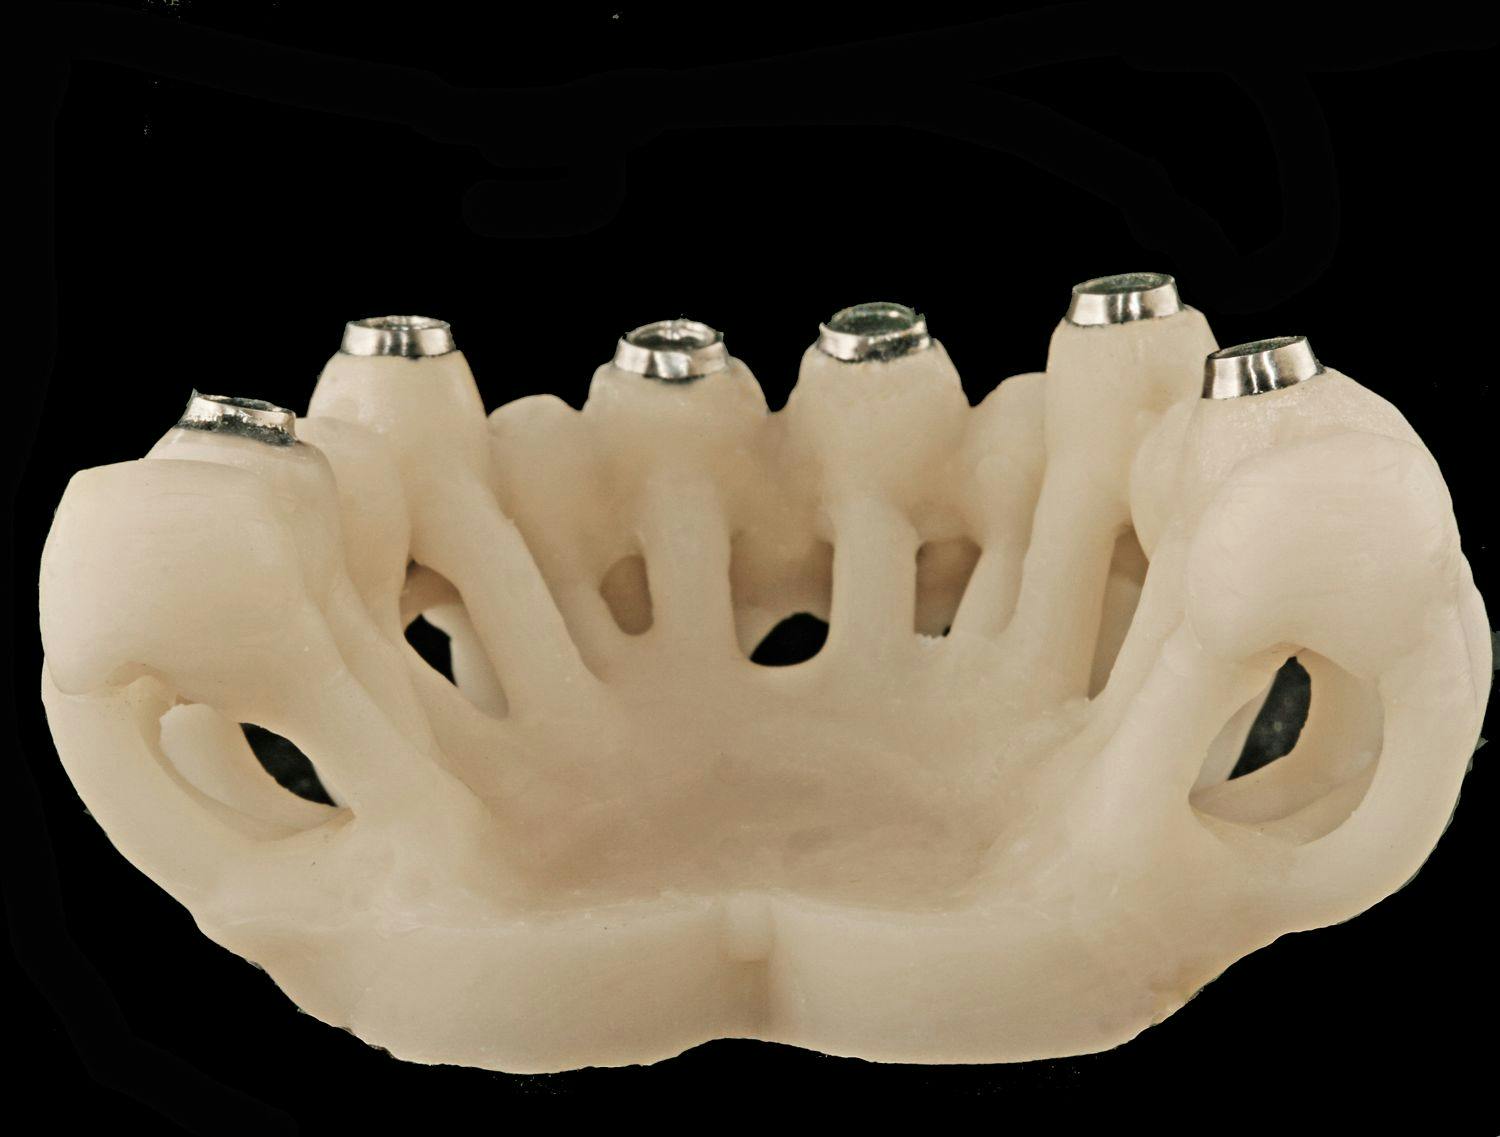

Fig. 5? Large arches from 12-14 units
Experience shows with large bridges that have been sprued only in palatall areas, that the last third of the buccal cervical wall regions of the two last molars did not fully press (Fig. 5 and 6).


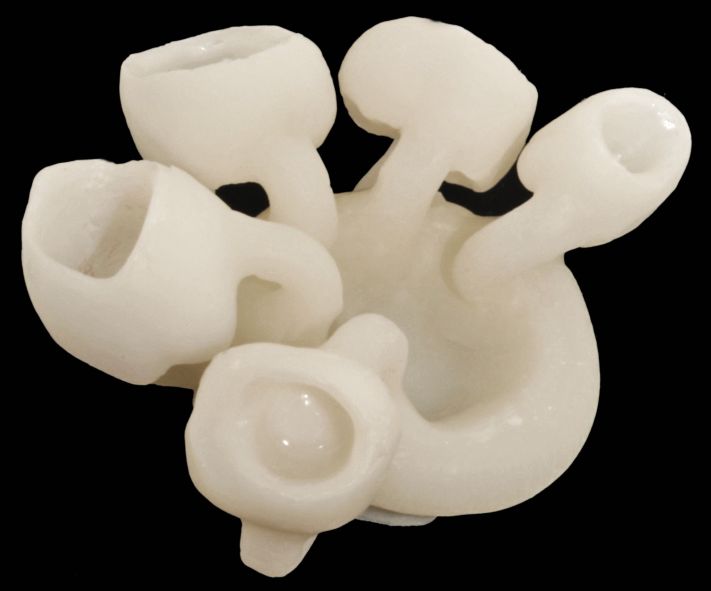
Fig. 6?Another extreme example of thin single crown walls.
The pressing temperature can be raised by 20°C with such large objects. Ideally, the press time should be set up to 20 minutes. The muffle should not be heated with speed process, and always must be placed in a cold burn out oven.
Figure 7 shows a bridge with molars. In such a case you should make sure the molars are provided with two sprues.
One last tip, which can be improved here, is to donate sprues to the buccal cusps and not to the cusps in contact, preserving the intercuspal anatomy.


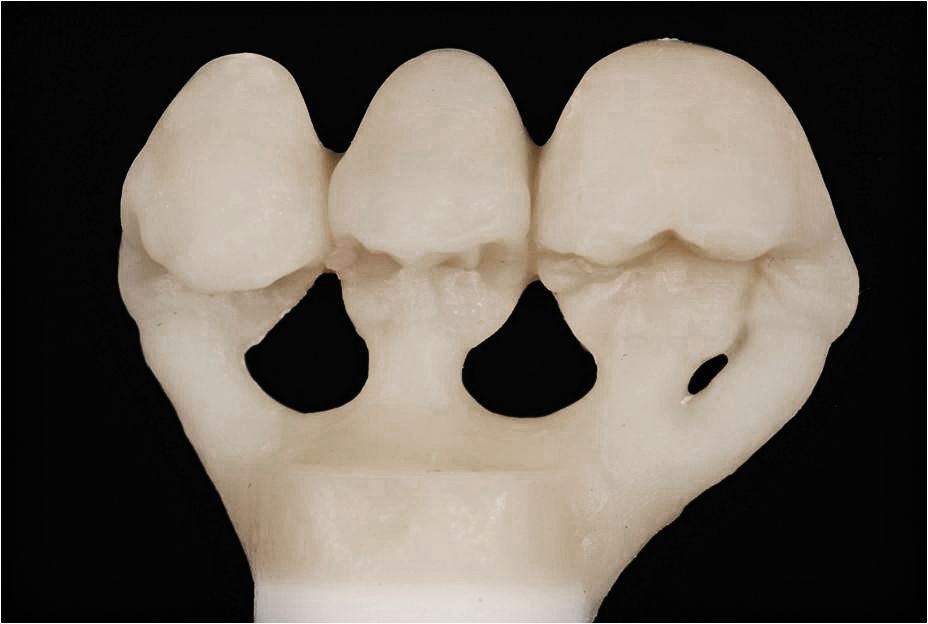
Fig. 7?Example of a bridge with molars: good clean spruing allows a good pressing result.
Conclusion
Correct spruing justifies good homogeneous results in the press technology. Many believed rules as previously mentioned i.e. sprue angles, are rules that are not a compulsory necessity. Other spruing criteria when put into practice can provide a predictable and constant result.
FEATURED PRODUCT


Ingot Master Kit
Features
- The Ingot Master Kit consists of 8 different ingot colors. The different color and opacities offer a range of ingots for the press and stain technique as well as the press and layering technique.
- The unique feature of the AP Press porcelain is that no glaze paste is needed to obtain a beautiful natural glaze. It is possible to re-press the ingots as well as to press on to, in case of a miss press.
Aesthetic-Press
apdental.net
info@apdental.net
Circle RS No. 31
![How to use IPS e.max for simpler restorations [VIDEO]](/_next/image?url=https%3A%2F%2Fcdn.sanity.io%2Fimages%2F0vv8moc6%2Fdpr%2Fd86208d55e9322ccaa4f3f701406cba899b88624-1670x952.png%3Ffit%3Dcrop%26auto%3Dformat&w=3840&q=75 "How to use IPS e.max for simpler restorations [VIDEO]")