How to avoid adhesive technique mistakes
Identifying the biggest adhesive mistakes and how to rectify them.


© Ilka Burckhardt / Adobe Stock
Let’s face it: mistakes happen. Even the best dentist is going to run into problems with adhesives every now and then. And that’s okay, as long as you know how to fix them.
But where can it all go wrong? There are several areas that are particularly problematic and can lead to big problems.
“Aside from not following the directions, the two biggest mistakes that I suspect dentists make while bonding are not achieving sufficient isolation and improper light curing,” says Dr. Nathanial Lawson, director of the division of biomaterials at the University of Alabama at Birmingham School of Dentistry. “If you’re making errors on these steps, you’re going to incite major problems.”
Dr. Jennifer Sanders, a general dentist practicing in Frenchtown, Montana, agrees. “In my experience, the biggest cause of adhesive errors are poor isolation and the age-old mistake of not following the directions for the system.”
So, when things do go wrong, how can you fix them? Start by reading the manufacturer’s instructions—and then review our top tips below for solutions to some of the other most-common issues.
Isolation
It goes without saying that isolation is one of the most important things to get right—and also where many procedures go wrong. Impeccable isolation and contamination prevention can be tantamount to success. While there are several ways to ensure good isolation, some methods make it easier than others.
“During a procedure, the best thing you can do is get adequate isolation,” says Dr. John Flucke, who practices in Lee’s Summit, Missouri. “There are products such as Isolite, Isodry, DryShield, and Zirc’s Mr. Thirsty that will help isolate and provide amazing vacuum. This greatly simplifies isolation and contamination. There is also the rubber dam or copious amounts of cotton.”
While often used in dental school, rubber dams can feel cumbersome and time-consuming for practicing dentists, so it’s good to be up to date on the aforementioned (and other) options available on the market.
“As rubber dams may not seem practical for some practicing dentists, a combined retraction/suction system, such as Isodry, may provide a higher level of isolations than cotton rolls alone,” Dr. Lawson says. “If a dentist does contaminate their bonding surface with saliva, the ideal treatment would be to clean the surface with a bur or sandblasting.”
If those critical steps are not performed, there are a few different solutions that can be taken, depending on which stage the error occurred in (though if it gets to that point, Dr. Lawson says, outcomes may be compromised). If contamination occurs after etching, Dr. Lawson recommends rinsing off the saliva and blotting dry, but not re-etching.
If it occurs after applying the bonding agent but before curing, the saliva should be rinsed and dried, and another layer of bonding agent should be applied. And, if the contamination happens after curing the bonding agent, the saliva should be rinsed and dried, and then the composite can be placed.
Dr. Flucke employs similar solutions.
“If I etch a prep and then, during the rinse, the tissue begins to bleed, I’ll stop, use a hemostatic agent and start the etch process over,” Dr. Flucke says. “If the field is contaminated, it just tends to lead to other problems later.”
And, there’s no shame in starting over, a lesson Dr. Flucke says he learned from his grandfather.
“If there is an error during bonding, it is almost always easier to go back and start over,” he says. “My grandfather used to say, ‘Son, there’s never time to do it right, but there’s always time to do it over. So just do it over in the first place.’ He was a smart man.”
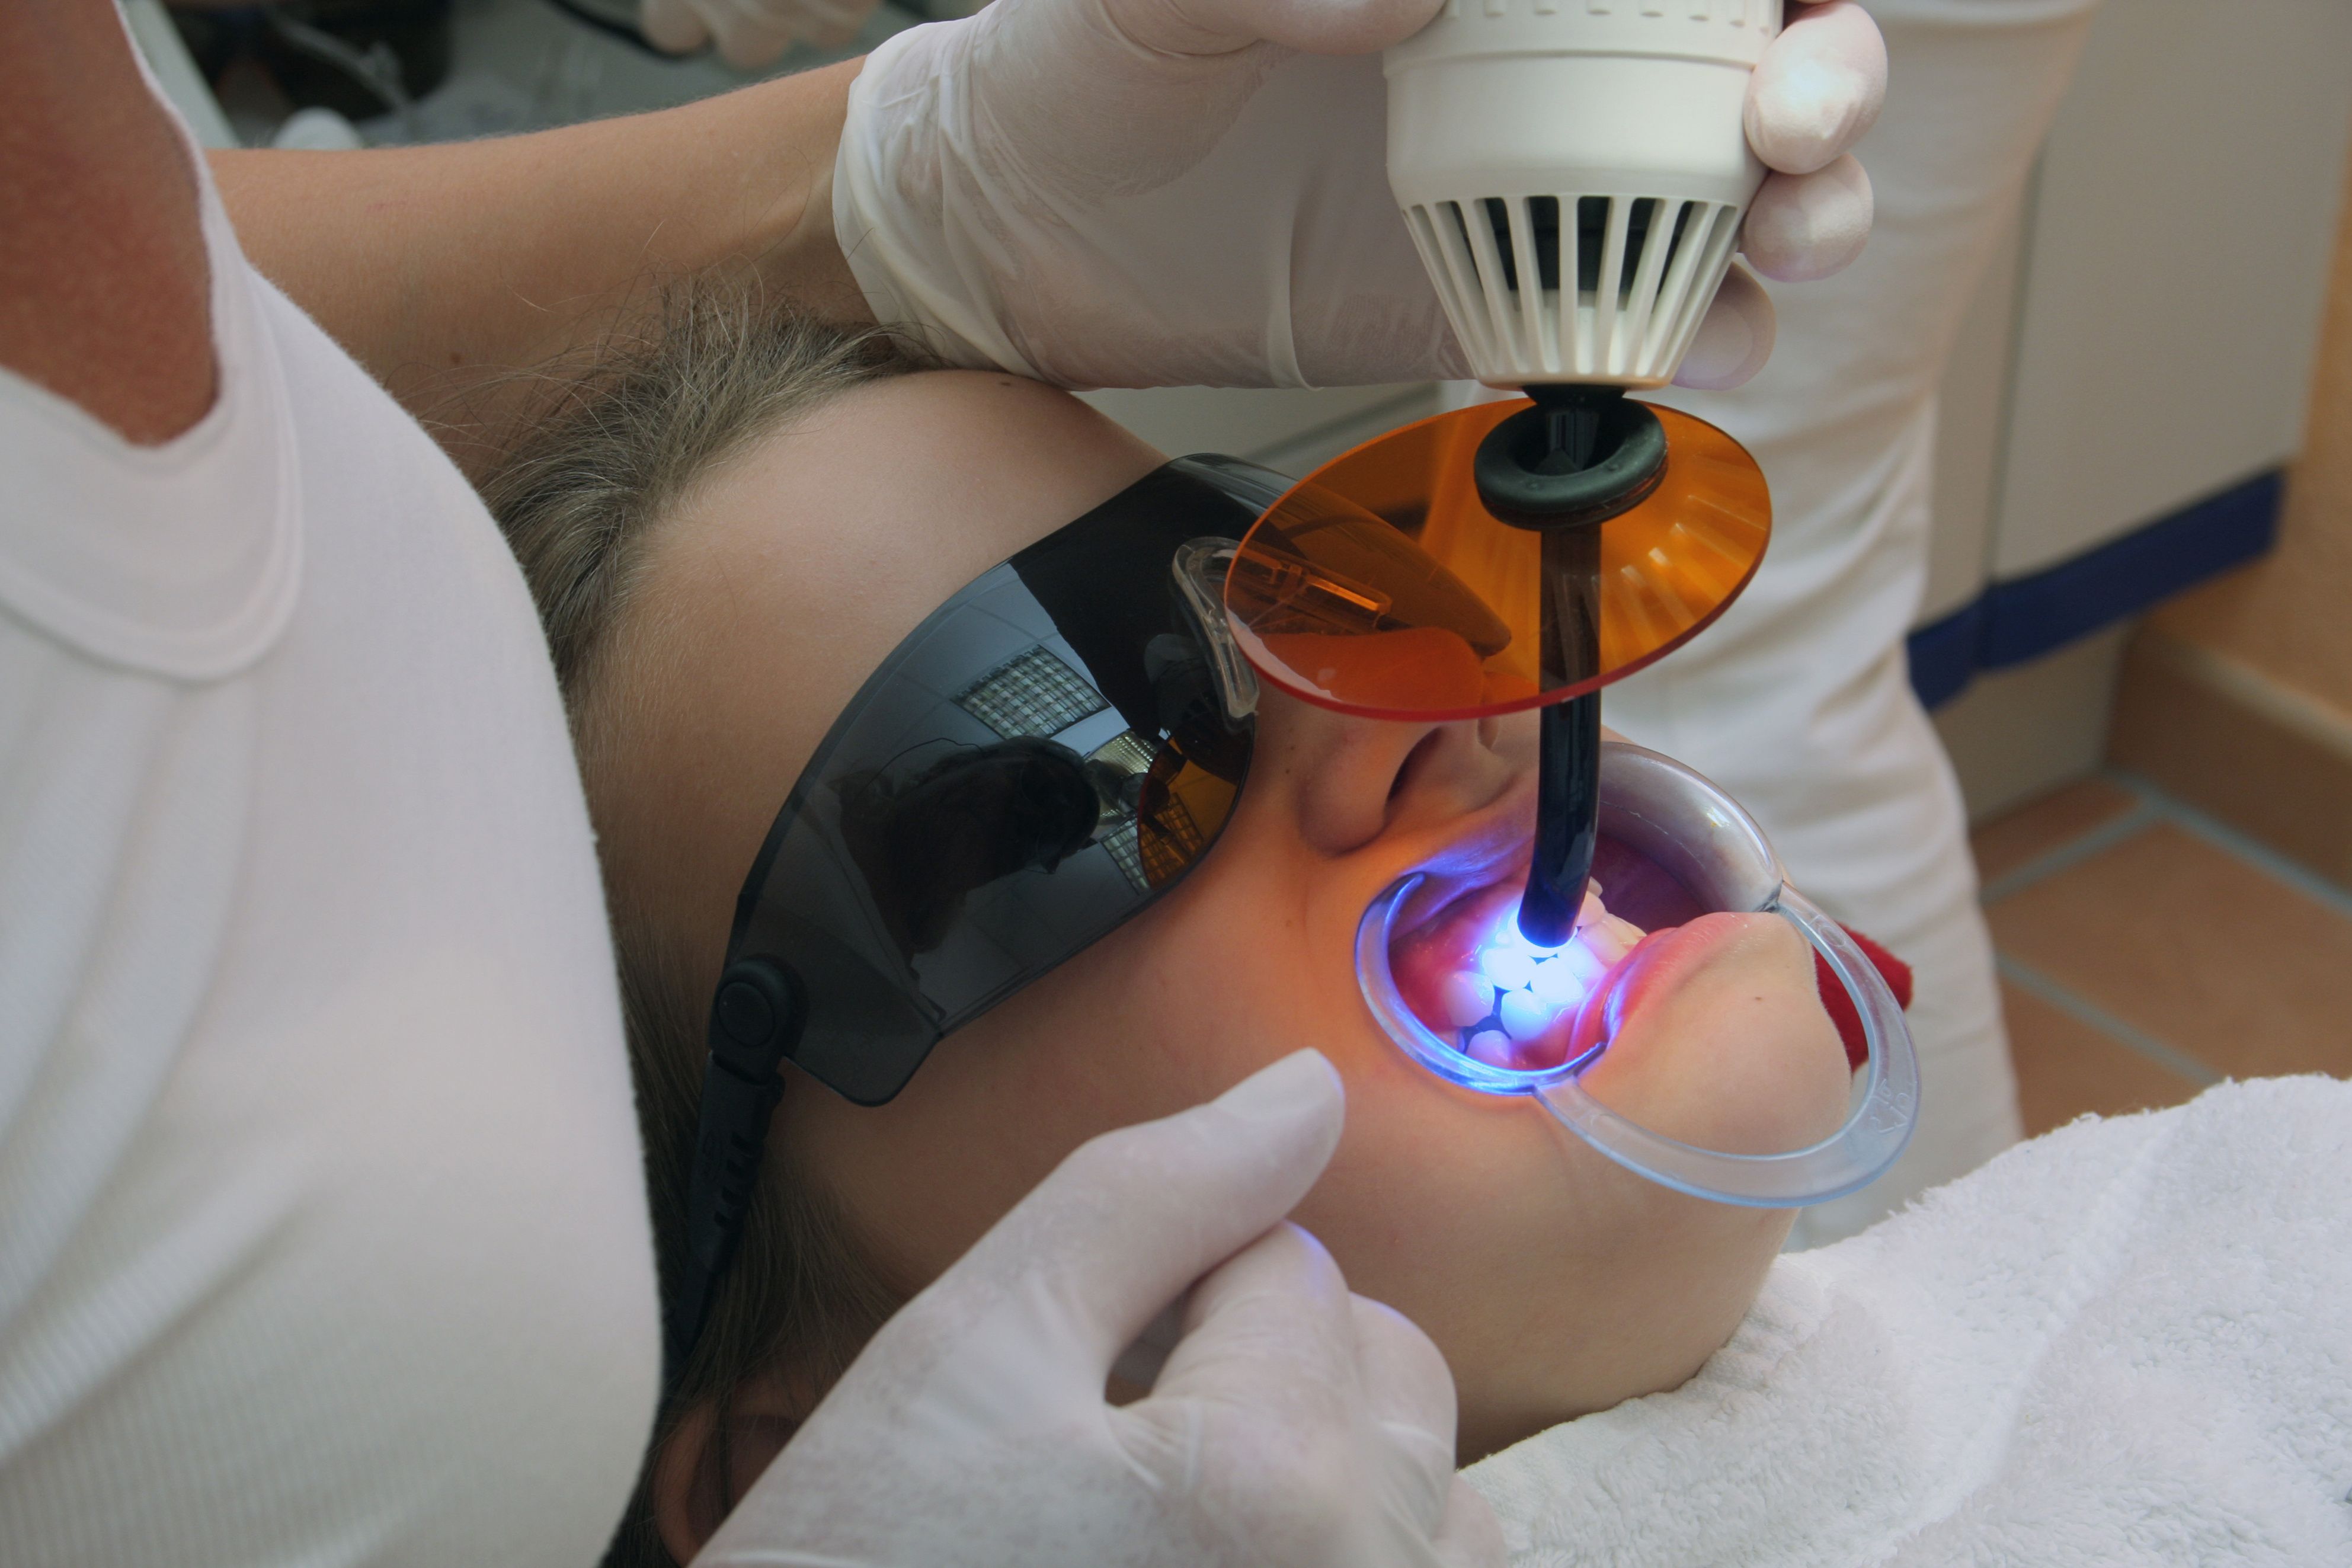
Light curing
When it comes to light-cured composites, curing can make or break everything. And while it may seem as simple as pointing the light at a restoration and hitting the magic button, it’s a little more involved than that. Selecting the right curing light, keeping it properly maintained, and following curing instructions are necessary for success. A high-powered curing light can also speed up procedure time, minimizing the risk of isolation failure and contamination.
Even with a top-notch curing light that is expertly maintained, technique blunders can also be an issue. Mistakes such as not curing for the recommended time, not matching the wavelength to the adhesive requirements, having the light too far away, or curing at an angle can lead to undercuring and subsequent side effects such as debonding, discoloration, or fracture.
“A technique error that is often made is that the curing light is placed in such a way that the bonding surface is not being cured,” Dr. Lawson says. “This often happens in the bottom of Class 2 boxes when the tooth mesial to the restored tooth blocks the curing light due to improper positioning of the light.”
At the basic level, curing errors can be avoided by ensuring that the curing light is directly on the restoration and is actually curing the area as intended, and by adhering to curing-time instructions. Other recommendations include:
- Make sure portions of the area to be cured aren’t shadowed. The light needs to reach the entire area for a successful cure. If there are areas that cannot be reached, consider switching to a dual-cure or hybrid adhesive.
- Ensure that the wavelength of the curing light matches the adhesive so that a strong, fast cure can be achieved.
- Test your curing light. To ensure maximum efficacy, curing lights should be tested to make sure the output is consistent. Output can change due to battery charge or light burnout (particularly in lower-end curing lights, which are susceptible to maintenance issues like these), so it’s important to test regularly.1
- Employ heat management techniques. Strategies such as taking breaks in between curing cycles to allow heat dissipation can prevent overheating, which can cause damage to the soft tissue or dry out the restoration.
The aftermath
Sometimes there are hiccups in procedures that may seem inconsequential in the moment, but which could cause problems in the long run. Rather than crossing your fingers that it works out alright, it’s important to document the potential issue so it can be easily and effectively addressed in the future.
“If something doesn’t go ideally during the procedure then, I note it,” Dr. Sanders says. “For instance, if the crown is cemented on, it won’t do the tooth any good to mess with it unless there is a problem, so I’ll make a note of it. That way if someone returns with an adhesive failure, I can just read back on my notes, which makes it easier to troubleshoot what went wrong. Then I can identify if I need to take extra care or try a different adhesive.”
When mistakes do happen (and inevitably, they will happen to everyone) Dr. Sanders recommends being transparent and opening a dialogue with the patient about any concerns. This way the patients knows in advance of any potential issues that could arise and expectations can be managed.
“If I have concerns about the bond, I would let the patient know,” Dr. Sanders says. “And, I would check on it more often than I otherwise would.”
Dr. Flucke concurs that building solid patient relationships can go a long way when it comes to remedying adhesive failures or errors.
“As far as failures a month or two down the road, we all have them,” he says. “It’s nothing to be ashamed of. Doing a new restoration is the right thing to do and I feel that doing the occasional piece of ‘warranty work’ can show patients that their oral health is more important to us than profits.”
References
1. Che, F, Felix, C. (2019). Endurance Testing of Dental Light Curing Units. J Dent Res, Vol 98 A, Abstract #1105


