How to: Replace a single molar with an implant
Dr. Roy Leshem shows a technique to replace a single tooth with an implant-borne zirconia crown.
Replacing a missing molar by means of a dental implant and single crown prosthesis is a challenging procedure.
There are several possible prosthetic failures: a loosening and/or fracture of a prosthetic screw, a fracture of the implant or food impaction and the difficulty of maintaining oral hygiene due to altered emergence profile.


The high rate of prosthetic failures are due to the large mesiodistal and bucolingual aspect of a molar compared to the size of an implant.
Product roundup: The latest in dental implants
Material fatigue is created by the large occlusal forces on a molar crown when connected to a regular platform implant. It is difficult to fabricate a crown with the natural emergence profile of molars on a regular platform implant.
Placing a very wide diameter implant can overcome these failures, but this is not possible in most cases as the ridge is often resorbed following the loss of tooth and the bucolingual dimension does not enable placing a wide diameter implant. The following case report presents how these drawbacks can be overcome by using a 5 mm diameter implant with a tissue-level 6.5 mm platform.
The 6.5 tissue level platform enables the creation of an anatomic emergence profile without the need for a deep subgingival crown.
Must read: Are digital impressions REALLY the best choice?
A prosthetic screw and implant can bear the occlusal forces as the platform is wider. The crown is well seated on the implant’s shoulders and the height is smaller compared to using a bone level implant.
A WIDE PLATFORM TAPERED TITE FIT 5 mm thread (HI-TEC IMPLANTS) can be placed in most conditions.
Fabricating a direct, screw-retained zirconium crown provides the ultimate esthetics, hygiene and flexibility.
Click the next button to go step-by-step ...


Fig. 1 X-ray of tooth demonstrating lesion around mesial root.
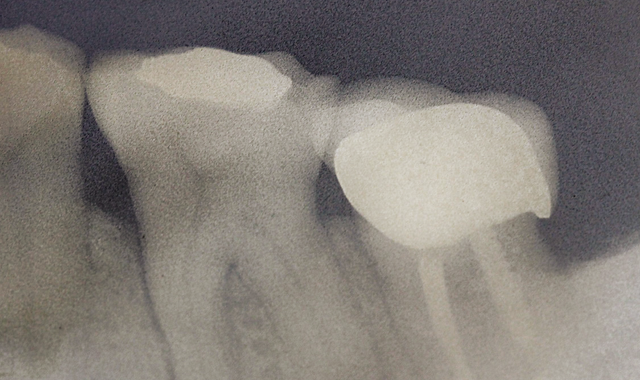
Fig. 1 X-ray of tooth demonstrating lesion around mesial root.
A 51-year-old female patient had her lower first left molar extracted due to a vertical fracture of a root (Fig. 1).


Fig. 2 Extraction site two months later.
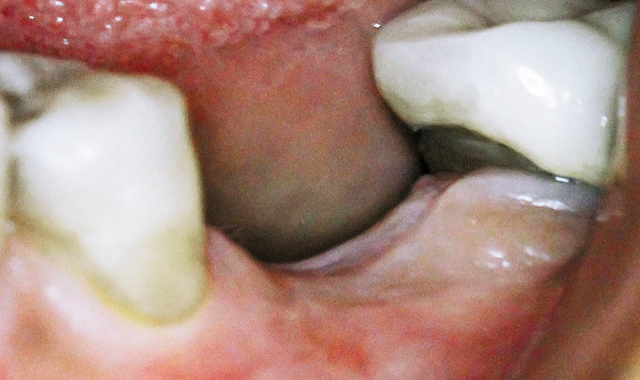
Fig. 2 Extraction site two months later.
Two months later, the extraction site was prepared for placing an implant (Fig. 2).
")
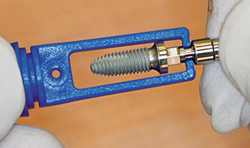
Fig. 3 WIDE PLATFORM TAPERED TITE FIT 5 mm implant (HI-TEC IMPLANTS)
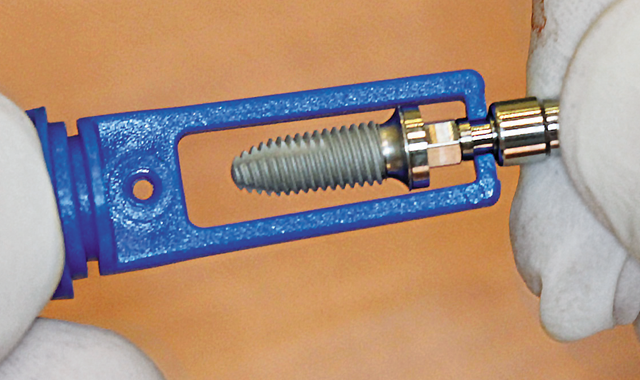
Fig. 3 WIDE PLATFORM TAPERED TITE FIT 5 mm implant (HI-TEC IMPLANTS)
In order to achieve the required result, a WIDE PLATFORM TAPERED TITE FIT 5 mm implant (HI-TEC IMPLANTS) was selected (Fig. 3).

Fig. 4 4.2 mm final bur.
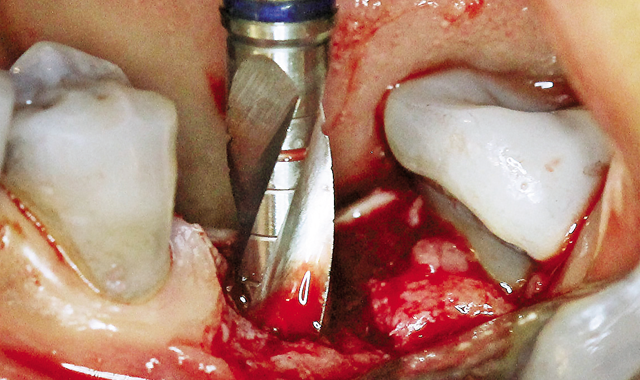
Fig. 4 4.2 mm final bur.
Drill sequence was completed with 4.2 mm Final bur (Fig. 4).

Fig. 5 Inserting TFR-W 5-13 implant.
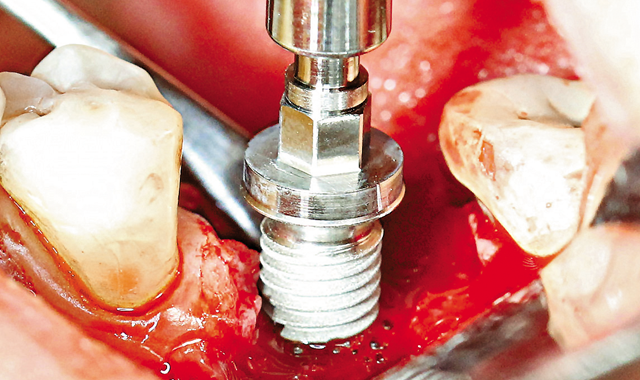
Fig. 5 Inserting TFR-W 5-13 implant.
The implant was inserted and minor bone augmentation was performed (Fig. 5, above; Figs 6-8, below).

Fig 6 Buccal bone defect; two threads.
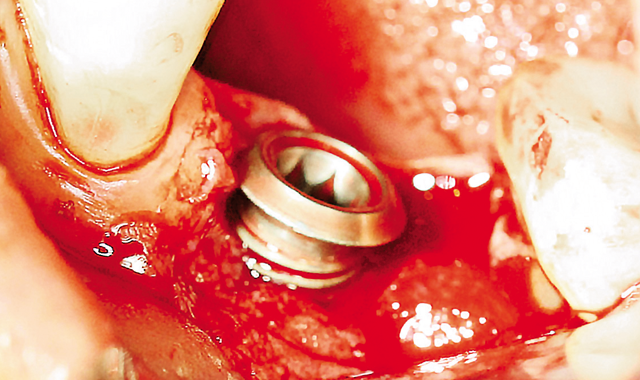
Fig 6 Buccal bone defect; two threads.

Fig. 7 Bone augmentation and 1.5 mm Healing cap.
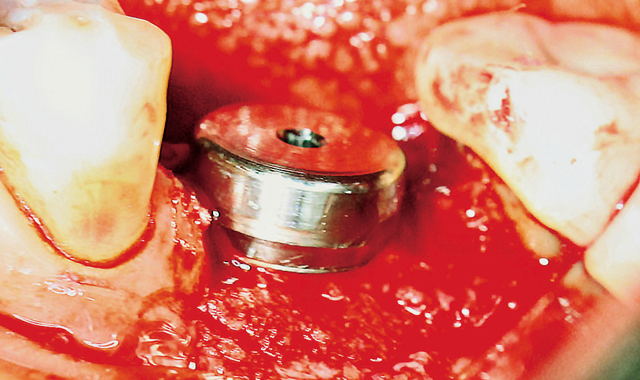
Fig. 7 Bone augmentation and 1.5 mm Healing cap.

Fig. 8 Sutures around healing cap.
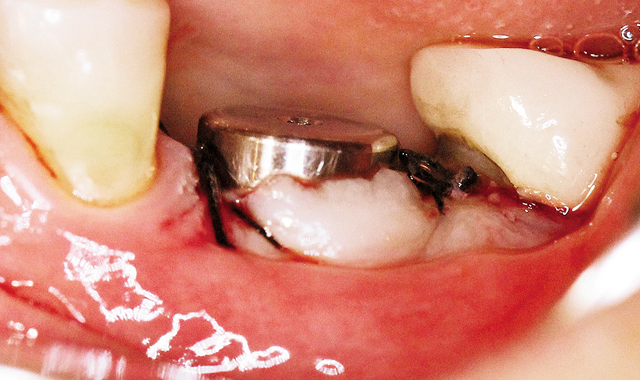
Fig. 8 Sutures around healing cap.

Fig. 9 Six weeks later.
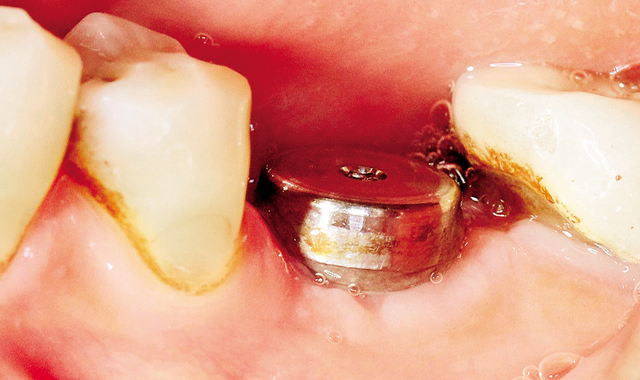
Fig. 9 Six weeks later.
Six weeks later, an impression was taken (Fig. 9, above; Figs 10-12, below).

Fig. 10 After removing healing cap.
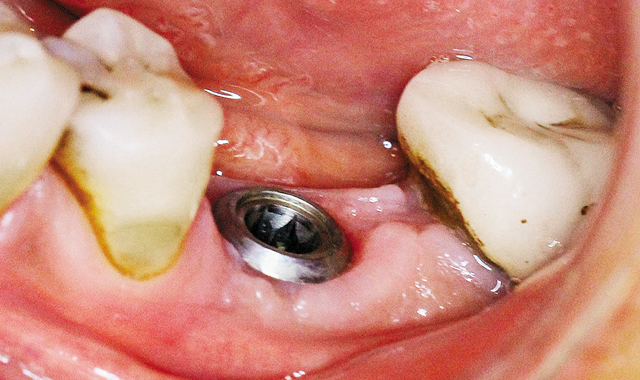
Fig. 10 After removing healing cap.

Fig. 11 Open tray impression transfer.
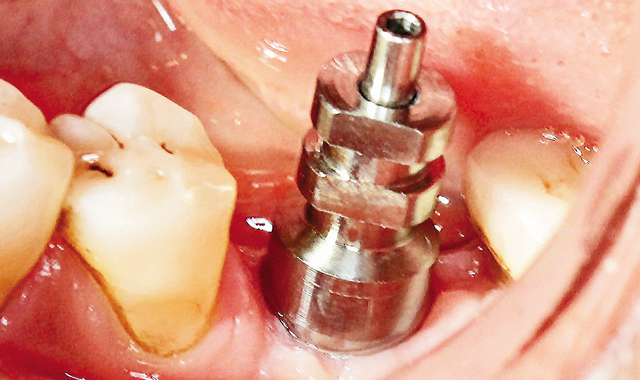
Fig. 11 Open tray impression transfer.

Fig. 12 Taking open tray impression.
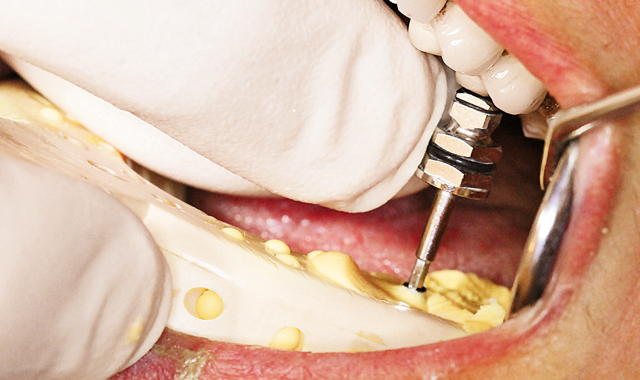
Fig. 12 Taking open tray impression.

Fig. 13 Placing abutment.

Fig. 13 Placing abutment.
A screw-retained direct zirconia crown was fabricated and placed (Fig. 13, above; Figs 14-16, below).

Fig. 14 Abutment for screw-retained crown.
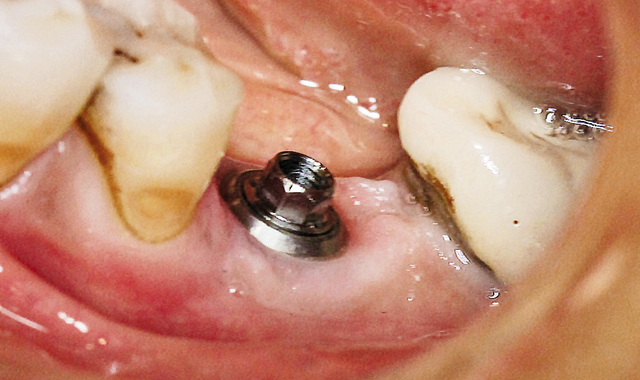
Fig. 14 Abutment for screw-retained crown.

Fig. 15 Zirconia crown.
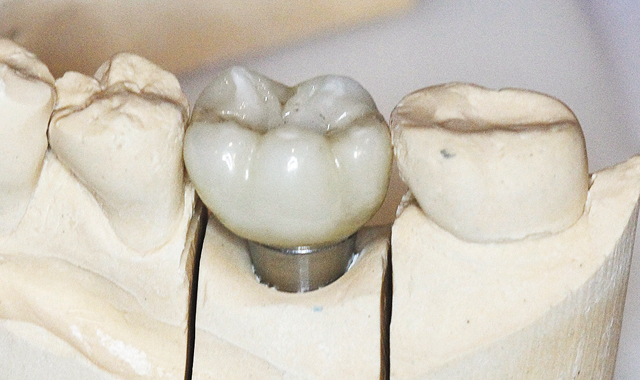
Fig. 15 Zirconia crown.

Fig. 16 Final restoration.
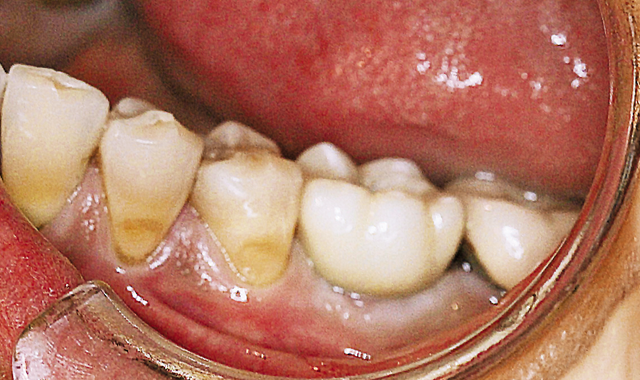
Fig. 16 Final restoration.


