How to create well-fitted, esthetic dentures using a simple digital workflow
How Dentsply Sirona Digital Dentures are raising the bar for perfectly-fitted prostheses.


Bella Vita Dental Designs has predominantly been a crown and bridge lab since we first opened our doors back in 1989. Now with the digital age upon us providing so many new and efficient workflow and restorative options, I’m always looking to expand my techniques as well as my lab offerings. So when the reality of digital dentures was presented to our industry, I was immediately intrigued. What better way to advance my position as a full-service partner to my clients than to add digital dentures to our roster of services? We’ve actually been a fully digital crown and bridge lab for 12 years, so the idea of digital dentures was really the next logical step.
In the beginning of 2018, Dentsply Sirona contacted my lab with a proposition I couldn’t resist - they wanted Bella Vita Smiles to become one of the first four labs to offer Dentsply Sirona Digital Dentures. This was way too exciting to turn down. Shortly after, we made our way to Dentsply Sirona headquarters in York, Pennsylvania, to be trained as a Certified Dentsply Sirona Digital Denture lab (Fig. 1).


Fig. 1
First and foremost, your clients don’t have to be a digital office or even own a digital scanner to receive beautiful digital dentures from your lab. Dentsply Sirona Digital Dentures can accommodate anyone who’s interested in providing beautiful, well-fitted dentures via a simplified workflow. Labs can either scan models and mill in-house with the inLab® MC X5, or simply scan and let Dentsply Sirona and AvaDent take care of the rest. Either way, you can count on the same premium Dentsply Sirona materials.
Digital dentures can drastically eliminate numerous patient appointments while also providing financial benefits to your clients by using that extra chair time for other procedures instead of numerous try-ins. In fact, the Dentsply Sirona Digital Denture process saves your clients up to six office visits when compared to traditional methods. This is truly a one-to-one digital denture; from the patient’s digital scan to final denture, you can rest assured that the result will be an exact representation.
Trending article: The biggest evolution in dentures is almost here
Once we were fully trained and certified, we quickly contacted some select accounts to see who would be interested in doing our first set of digital dentures. One of our local dentists was the first to jump at the chance. Before any work was done, I explained to my doctor that this procedure is unlike the traditional denture process, and that the patient will not experience typical results.
Case presentation
The patient, a current denture wearer, loved his existing dentures (i.e. size and shape of teeth) but wanted a better fit due to the fact that he was tired of having to use over-the-counter liners.
Treatment plan
I was prepared to offer beautiful, esthetically-pleasing dentures while providing a perfect fit and a truly reliable prosthesis through the Dentsply Sirona Digital Denture method in collaboration with my doctor and AvaDent.
Step-by-step process
The first step was for the doctor to send a traditional physical impression over to us. Accepting a digital scan is currently in the works, but for now our lab accepts physical impressions. When sending a digital denture case to the lab, we recommend that the doctor uses the Wagner Tray for custom impression taking for fully edentulous patients (Fig. 2). This eliminates the need for a custom tray fabricated by the lab, and it saves an appointment for both the doctor and patient.

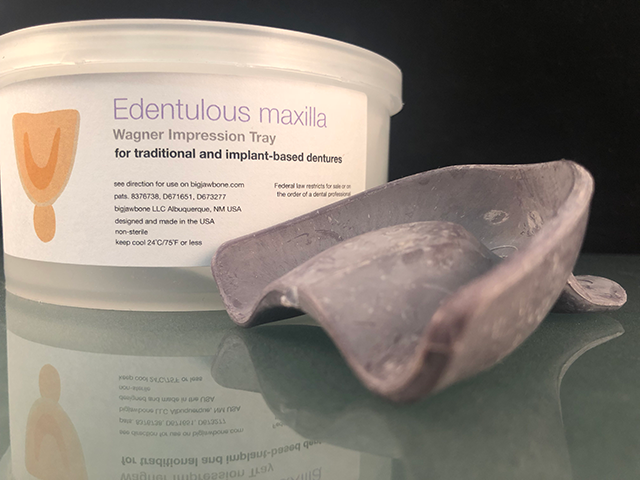

Fig. 2
The Wagner Tray provides the same benefits as a lab-fabricated custom tray but is ready in just minutes. Moreover, Wagner Trays are formed from an exclusive thermoplastic shape-retaining material called Wagner Compound.
For this particular patient, we used his existing denture as a custom tray by taking a wash impression inside, and then checked to ensure the midline and vertical dimension of occlusion were correct before the scanning procedure.
The doctor simply poured the impression material straight into the intaglio surface of the denture and took an impression. For this specific case, the office contacted us for a morning pick up so that we could deliver the original denture back that same afternoon.
Once received, we scanned the impression with the inEos® X5 scanner. Because we didn’t want to distort the wash impression, we scanned the intaglio surface first (Fig. 3). Since this was a reference denture, this was mainly the only change since the patient loved the lip support, size and shape of his current denture. We scanned the palatal side for reference to create the try-in denture (Fig. 4), and then we let AvaDent choose the best mold shape and size.
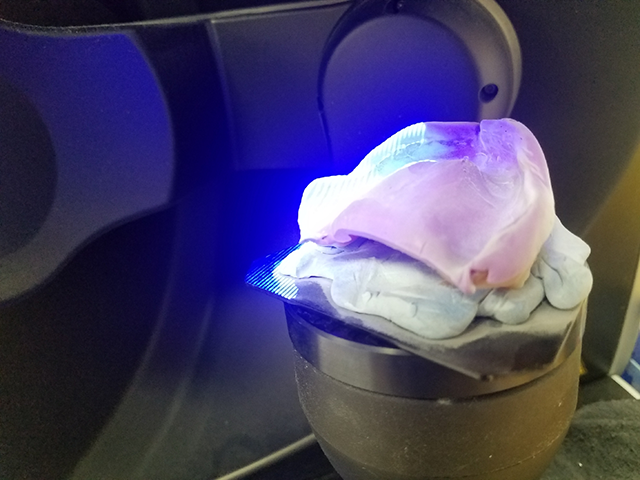

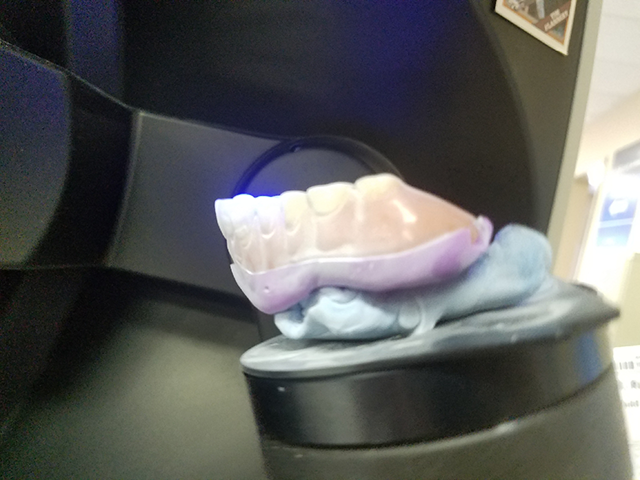

Fig. 3 Fig. 4
We sent this and some other information such as photos, tooth mold, occlusal scheme, tooth angulation, rugae type, etc. through the online AvaDent dashboard (Fig. 5). The dashboard allows you to relate all things that comprise each case so that your lab and AvaDent can work as a team to create the best digital denture for your patient. Photos of the case are key, as they show the face structure and midline position between the eye and nose. These are a bit more crucial for fully edentulous cases, but photos are always a useful added tool for any case. Real palatal rugae mimicking current patients’ rugae can also be implemented in the palatal surface, along with frenum relief and other added functions like a post palatal seal. All of this information and more can be sent through the AvaDent dashboard.
Once AvaDent has been given the order, it takes approximately 48 hours to receive the initial try-in design. Labs will also receive a digital 3D mockup that can be moved and enlarged, and notes can be made and sent to the lab regarding any changes. A new 3D mockup can be sent along with those changes (Fig. 6).


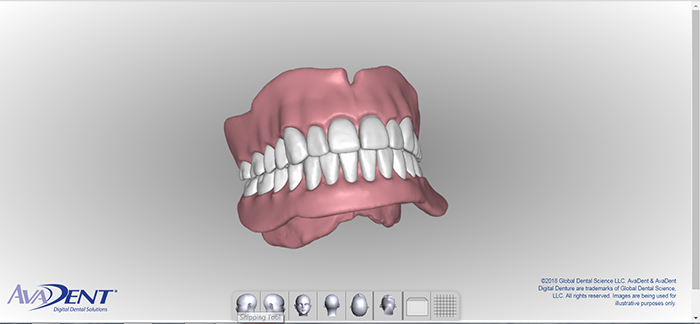
Fig. 5 Fig. 6
At this time, it’s best to thoroughly discuss the 3D preview and changes with the doctor; this collaborative effort between you and your client is the best way to receive the greatest printed try-in results. The more time spent examining this phase, the better the 3D printed try-in will be. What you see in the digital preview is exactly what you will receive (i.e. lip support, frenum, etc.)
Trending article: 5 biggest patient complaints about dentures - and how to solve them
The design was then printed with our in-house 3D printer, providing a full monolithic denture for the try-in (Fig. 7).
One of the great benefits of this process is that there’s no longer a need to move teeth around; if there are any adjustments to be made, they’re made right on the denture. (i.e. if the mid-line needs to be moved, increased lip support, frenums to be relieved, etc.). You can also make as many notes as possible and can then incorporate any changes to the final denture.
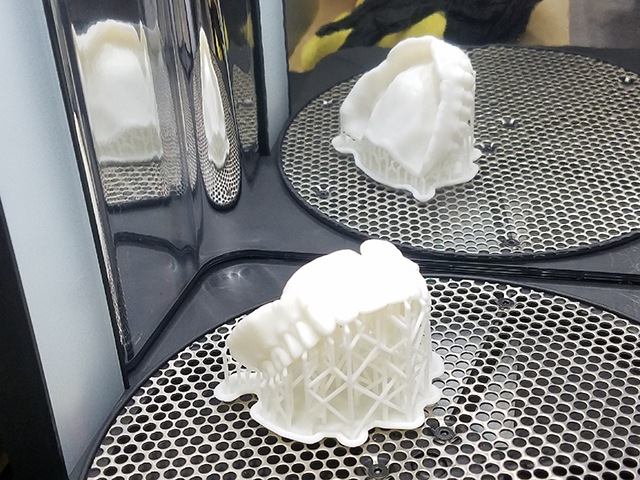


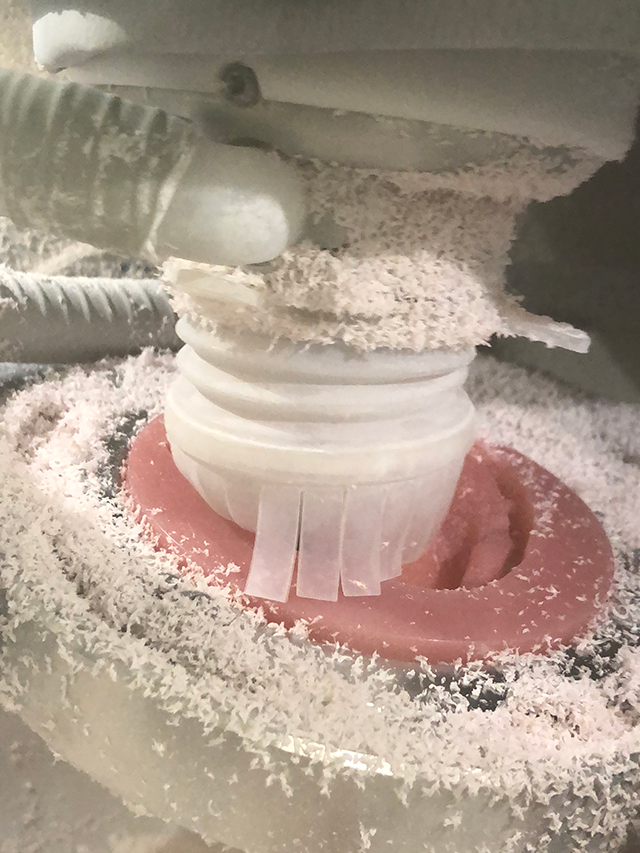
Fig. 7 Fig. 8
Once the try-in is returned, we’ll re-scan any and all adjustments, re-adjust the teeth if needed and AvaDent will send another 3D mockup to the lab.

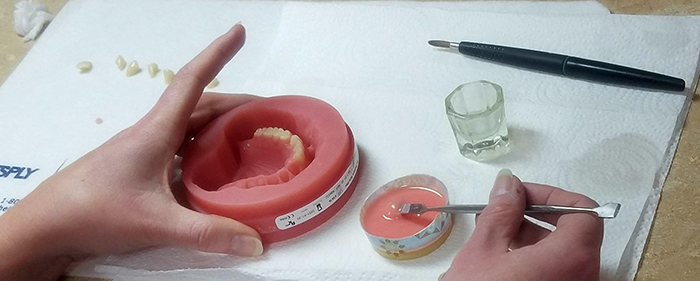

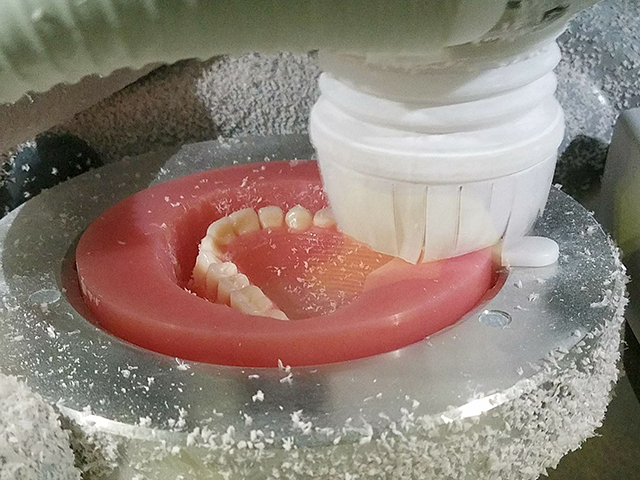

Fig. 9 Fig. 10
Once the doctor reviews and approves the final prosthesis, we receive the final file back from AvaDent, mill only the intaglio side of the new denture out of the Lucitone 199 (Fig. 8), add premium Portrait IPN teeth with HIPA acrylic (Fig. 9), mill the palatal side (Fig. 10), and finish the denture so that it’s ready for delivery (Figs. 11-12).

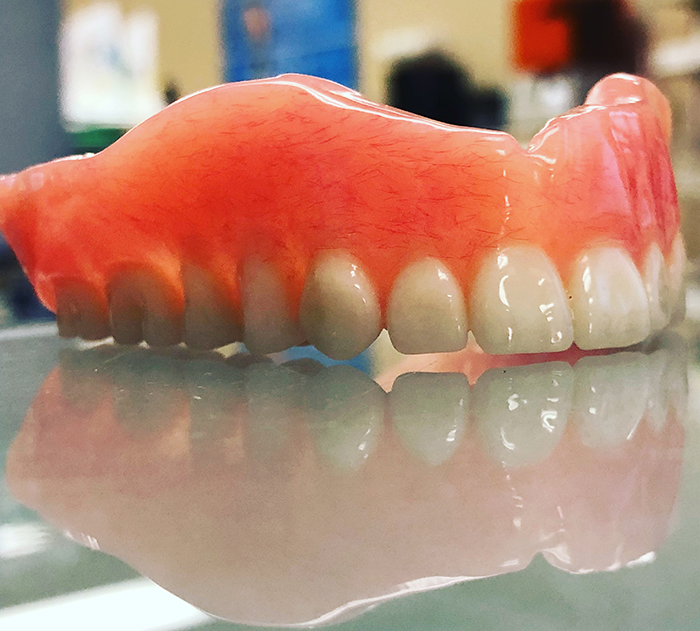


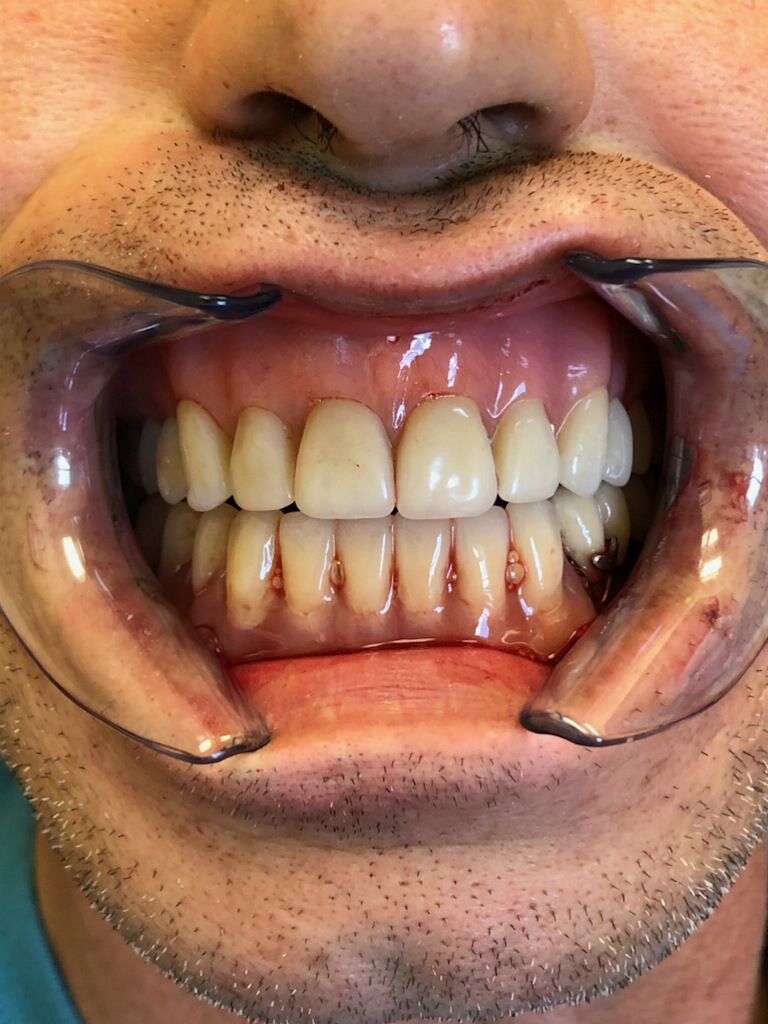
Fig. 11 Fig. 12
When taking advantage of Dentsply Sirona Digital Dentures, a pre-pressed Lucitone 199 puck is used, which means less residual monomer so that the chances of a patient having any allergic side effects are greatly reduced (Fig. 13). In addition, no stone is needed, so the ratios of water to stone for your model, or monomer to polymer for traditionally packing a denture, are nonexistent!

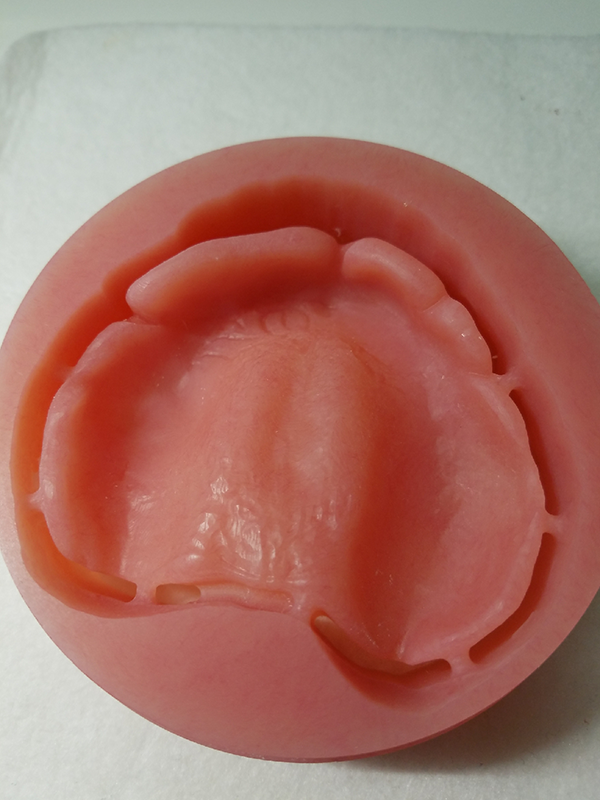


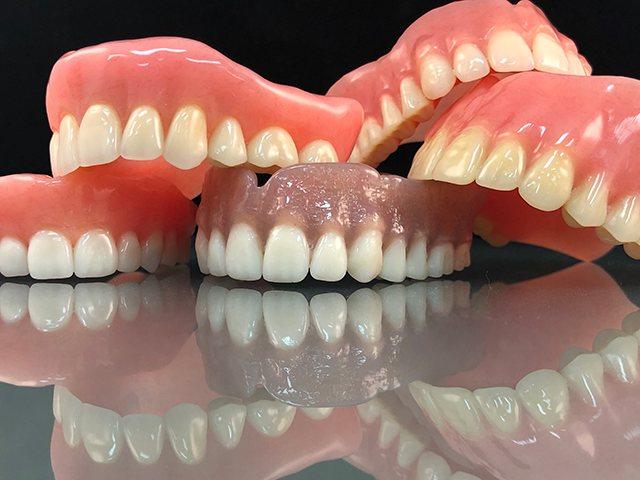
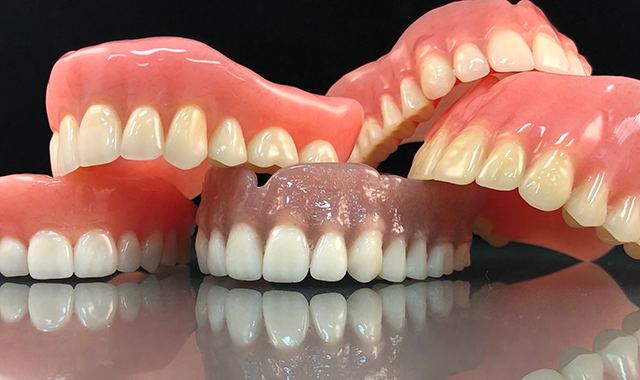
Fig. 13 Fig. 14
What’s more, the 3D printed try-in offers that extra comfort - there are no teeth set on a wax rim that can move or shift through transit from your office to the lab, resulting in an ill-fitted denture. Get ready to impress your clients and patients with the best esthetics and fit you’ve ever experienced (Fig. 14).


