How to complete a smile design case with ACTIVA BioACTIVE-RESTORATIVE


Sally suffered from years of neglect, trauma and abuse. Her teeth were a disaster, but her life was turning around, and she wanted to save her smile and regain her self-confidence (Fig. 1).
Traditional treatment options would be full-mouth reconstruction (FMR) or full-mouth extractions and dentures. FMR would require numerous root canals, build-ups and porcelain restorations, but with limited finances, this was not possible.
I knew Sally during better times, and I wanted to do the right thing for her, so I ruled out extractions. I decided on a direct restorative technique using a laboratory fabricated matrix and ACTIVA BioACTIVE-RESTORATIVE. The material has the flow and adaptability required for the technique along with mineral content and bioactivity to help preserve tooth structure.

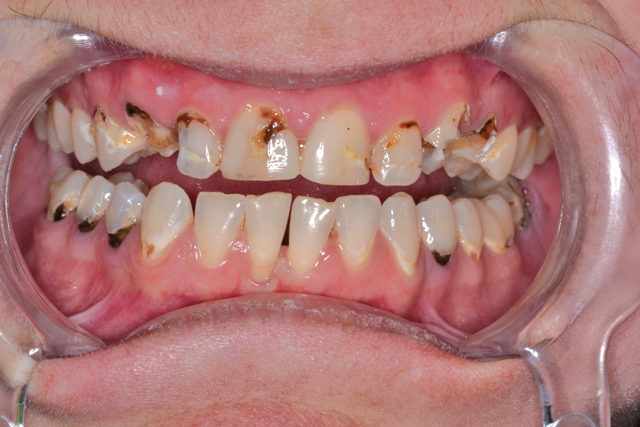

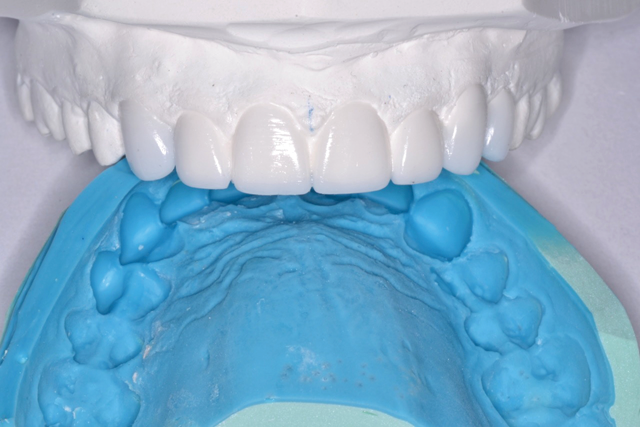

Fig. 1 Fig. 2
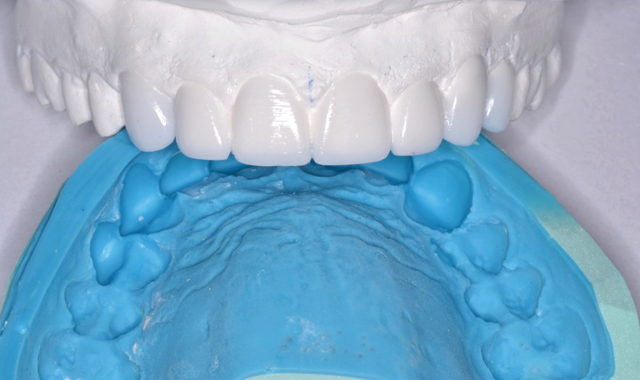
Sally started soft-tissue therapy while I worked with my lab to create an idealized diagnostic wax-up and refractory putty matrix (Fig. 2). At her pre-op hygiene visit, she presented with healthy tissue, and upon seeing the smile design wax-up, she was quite emotional.
Read more: How to easily perform quick, effective restorations with ACTIVA BioACTIVE
Using 3.5x loupes, caries detecting solution and slow speed excavation, I removed massive amounts of decay throughout the arch (Fig. 3). There were pulpal exposures in teeth # 6, 10 and 11, and I immediately performed same-day root canals.

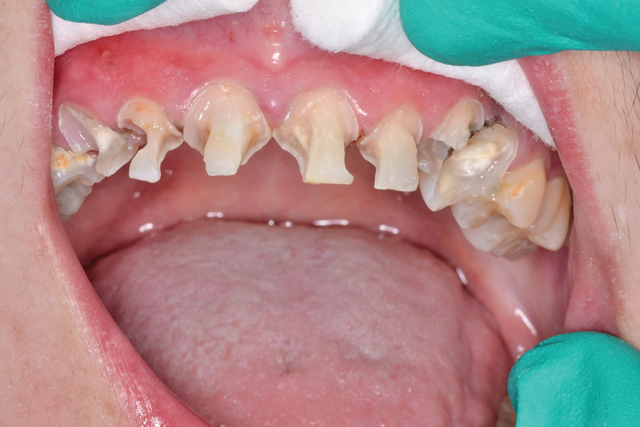
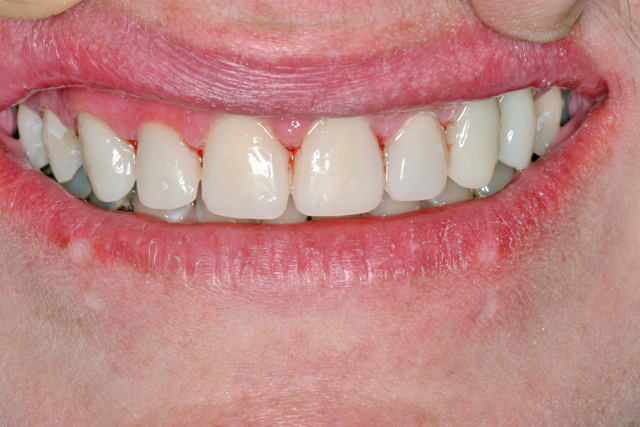

Fig. 3 Fig. 4
After etching and bonding, I loaded the putty matrix with ACTIVA BioACTIVE-RESTORATIVE A1 shade, syringed some additional material in and around the prepared teeth, and seated the matrix. To mitigate polymerization stresses, I allowed it to self-cure for a couple of minutes before light curing.
After removing the matrix, I easily removed excess with a scaler. Using serrated polishing strips, I separated each of the teeth proximally, and I made occlusal adjustments to achieve perfect contacts and anterior disclusion in all excursions. The case was completed in one long visit at a comfortable pace (Fig. 4).
From a time/cost/value perspective, this technique offers remarkable efficiencies and cost savings. Smile design cases can be completed with guides fabricated with minimal reduction and delivered with a smile matrix from the lab using ACTIVA BioACTIVE-RESTORATIVE.


