Bench Mastery: Using the anaxFORM system for provisionals [VIDEO]
More often than not, technicians outsource provisional restorations because it can be difficult to make provisional restorations predictably and to make them profitable. But what if the matrix and flask used to fabricate the provisional could also be used to fabricate the final acrylic restoration?
More often than not, technicians outsource provisional restorations because it can be difficult to make provisional restorations predictably and to make them profitable. But what if the matrix and flask used to fabricate the provisional could also be used to fabricate the final acrylic restoration?
Webinar: Learn the value of 3D printing in the dental lab
And what if the provisional prosthesis required little to no trimming or adjustments right out of the flask?
With the anaxFORM flasking system from anaxdent North America, that’s exactly how it works. It’s simple to transform the wax-up into an esthetic, long-term acrylic provisional. The final form wax-up is duplicated in tooth-color PMMA, then pink composite or acrylic is easily applied to the gingiva for a provisional that replicates esthetics, form and function. Plus, the precision anaxFORM flask eliminates time spent on adjustments to compensate for expansion and shrinkage.
Having control of the provisional means having control of the case. That control plus getting patient buy-in on esthetics and function during the provisional/healing phase makes implementation of this technique a no-brainer for any technician, especially those dealing with large implant cases like the one detailed in the following technique.
Check out this video with images of the restoration ...
01 Once the final-form wax-up is complete (Fig. 1), a split-cast base is created in the anaxFORM base former (Fig. 2) using a washer to engage the magnet in the base-former and the base of the flask. Now, the model will register precisely on the flask base.
02 Remove the soft-tissue model (a soft-tisssue mask around the implant sites is recommended) and press anaxdent Matrix Form 60 silicone putty on the lingual side of the model, pushing the putty underneath the wax-up to capture detail on the intaglio surface (Fig. 3). Then press putty on to the vestibular side of the model, adhering it to the previously placed putty. Trim any undercuts on the buccal border, then apply Divorce silicone separator to the entire surface of the putty matrix (Fig. 4).
03 Place the model in the flask and adjust the number of washers on the side rods to position the flask lid at the best height for the model, leaving around 5-7 mm clearance between the wax-up and the flask lid (Fig. 5). Remove the lid, leaving the model attached to the flask base and apply a thin layer of Matrix Form 60 putty to the entire surface of the wax-up (Fig. 6) and place the model in a dry pressure pot at 2 bar for four-to-five minutes, allowing the putty to capture all details on the wax-up.
04 To complete preparation of the matrix, fill the flask lid with Matrix Form 70 silicone putty, then push the lid onto the flask base until you reach the vertical stop created by the washers. Screw down all three bolts to lock the flask lid in place (Fig. 7). Trim the excess putty flush with the flask lid, and any excess on the sides of the flask and allow to set for four to five minutes before removing the bolts and flask lid.
05 Carefully remove the model and wax-up from the matrix in the flask lid (Fig. 8) and use the included hand-drills to create a sprue hole in the most distal area on both sides of the arch (Fig. 9). The trajectory must be such that the drill exits as close to the center of the flask opening as possible, so sprue access is simple during the injection process. Lastly, cut away putty around both sprue holes to create a reservoir for extra acrylic to fill during injection.
Trending Article: What are dentists charging for endo treatments?
Check out this video with images from the restoration ...
06 Next, the model is placed back onto the flask base with temporary abutments and reinforcement material of choice (fiber, wire, frame), and the flask lid with the putty matrix is put back in place with all three bolts screwed down completely. The assembly is now ready for injection.
07 Mix long-term provisional PMMA (New Outline, anaxdent) powder and liquid in the appropriate dentin shade and pour the mixture into a tipped syringe. Allow the acrylic to polymerize until it reaches a honey-like consistency (60-90 seconds), and be sure to allow any air bubbles to escape.
08 To inject the PMMA, hold the flask at a 45° angle to the counter, then insert the syringe tip into the lower sprue hole and inject the acrylic slowly with consistent pressure until the material exits the other sprue hole (Fig. 10). Then, lay the flask flat on the course and continue injecting the acrylic as you remove the syringe tip from the sprue hole, filling the reservoirs around both holes with acrylic.
09 Place the flask in a pressure pot at 2-3 bar with hot water a few millimeters from the top of the flask. The flask should be surrounded by hot water, but not submerged (Fig. 11), because if the acrylic in the reservoirs comes into contact with the hot water, the acrylic will begin to cure from the outside first. This would prevent excess acrylic from pulling down the sprue channels to compensate for material shrinkage as the acrylic cures. Curing time is 15 minutes.
10 Once fully cured, remove the acrylic duplicate from the flask by breaking the reservoir material off with a lab knife, allowing the duplicate to be easily removed from the putty matrix in the flask lid, revealing an exact duplicate of the wax-up with little to no flash (Fig. 12). Depending on the desired result for the provisional, a monolithic restoration can be sufficient.
11 New Outline PMMA is available in a full range of dentin and incisal shades. To enhance the esthetics of monolithic provisionals, mix dentin and incisal powders in a 70:30 dentin to incisal ratio rather than injecting a dentin shade only.
Trending Article: Bringing the dental lab in-house
Check out this video with images from the restoration ...
12 For a natural look, cut back the dentin duplicate, add internal stains (anaxblend colors S, anaxdent) (Fig. 13), inject or press the incisal layer in the flask, place the flask back into the pressure with hot water and allow to cure for 15 minutes.
13 Next, remove the duplicate and cut back the gingival area to make room for pink composite or acrylic. In this case, pink composite was chosen (anaxgum, anaxdent). Apply a thin layer of light cure bonder (Bond LC, anaxdent) to the PMMA surface and cure for one minute to prepare the surface for bonding to the composite. Then, apply shade Light Pink to the root areas, Dark Pink interproximally and Orange Pink to blend the Light Pink and Dark Pink together (Fig. 14). When gingiva characterization is not as essential, Orange Pink is a very universal shade that, when applied to a white background as shown here, has a level of translucency that allows the shade to appear lighter where it is applied in a thinner layer (root areas) and darker where it is applied in a thicker layer. For ethnicities that require more violet or brown gingival shades, the composite is also available in Purple Pink and Brown Pink, plus it comes with a line of tinting paints that give the technician or dentist plenty of ability to customize the shade.
14 Finally, polish the restoration with a firm Robinson wheel, then soft Robinson, followed by a chamois or lambswool wheel. Steam and dry, then apply a thin layer of light cure glaze (Skin Glaze, anaxdent or Optiglaze, GC America). The resulting provisional prosthesis (Fig. 15) can perform reliably for up to one year.
Conclusion
The value of a predictably fabricated provisional prosthesis that truly represents the plan for the final restoration is irrefutable. With anaxdent’s anaxFORM system and their modern PMMA and composite materials, technicians gain the control, predictability and profitability that traditional techniques and materials do not offer. Also, the anaxFORM system’s low start-up cost (around $2,500) and versatility (processes full dentures accurately too) make it a highly cost-effective investment.
anaxFORM System


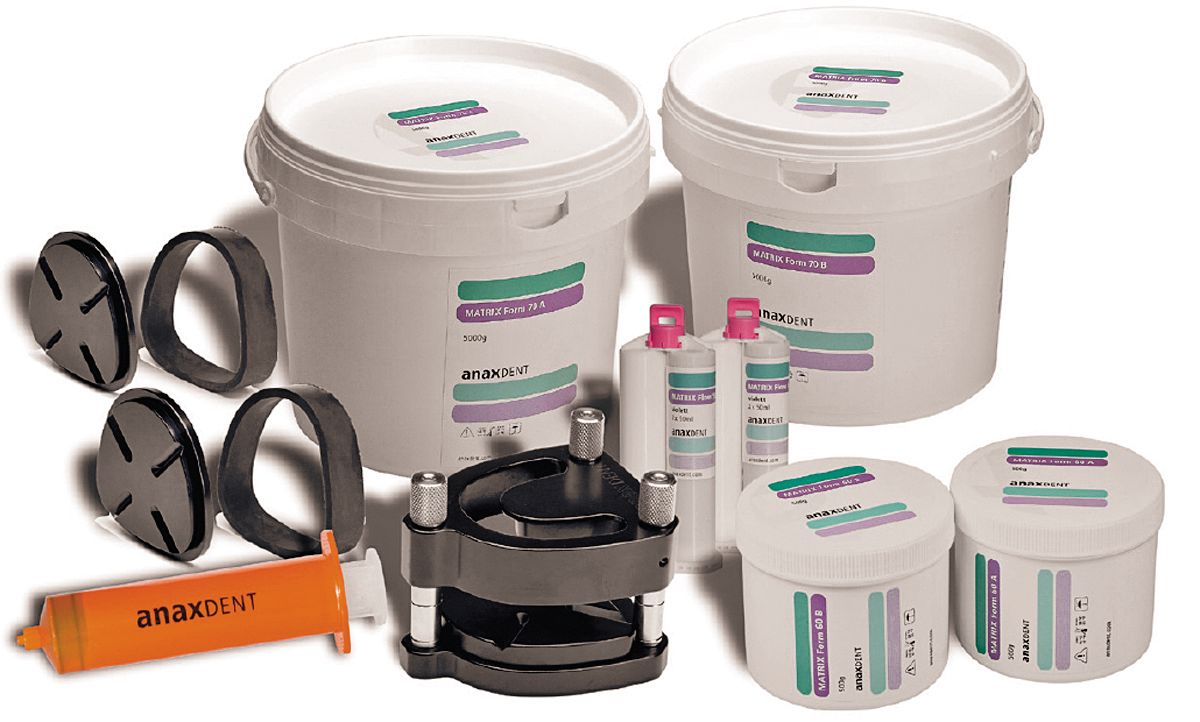
This flasking system enables a lab to transform a wax-up into a long-term acrylic provisional.
Features:
- Go from wax-up to final product in just a few steps
- Makes large-scale implant cases easier to complete
- Use one system to complete provisional restorations


