Behind the Mask: Getting to Know Opaquers in Restorative Dental Procedures
Opaquers are materials that you don't need all the time, but when you do need them, you really need them. We get to know these valuable materials better.


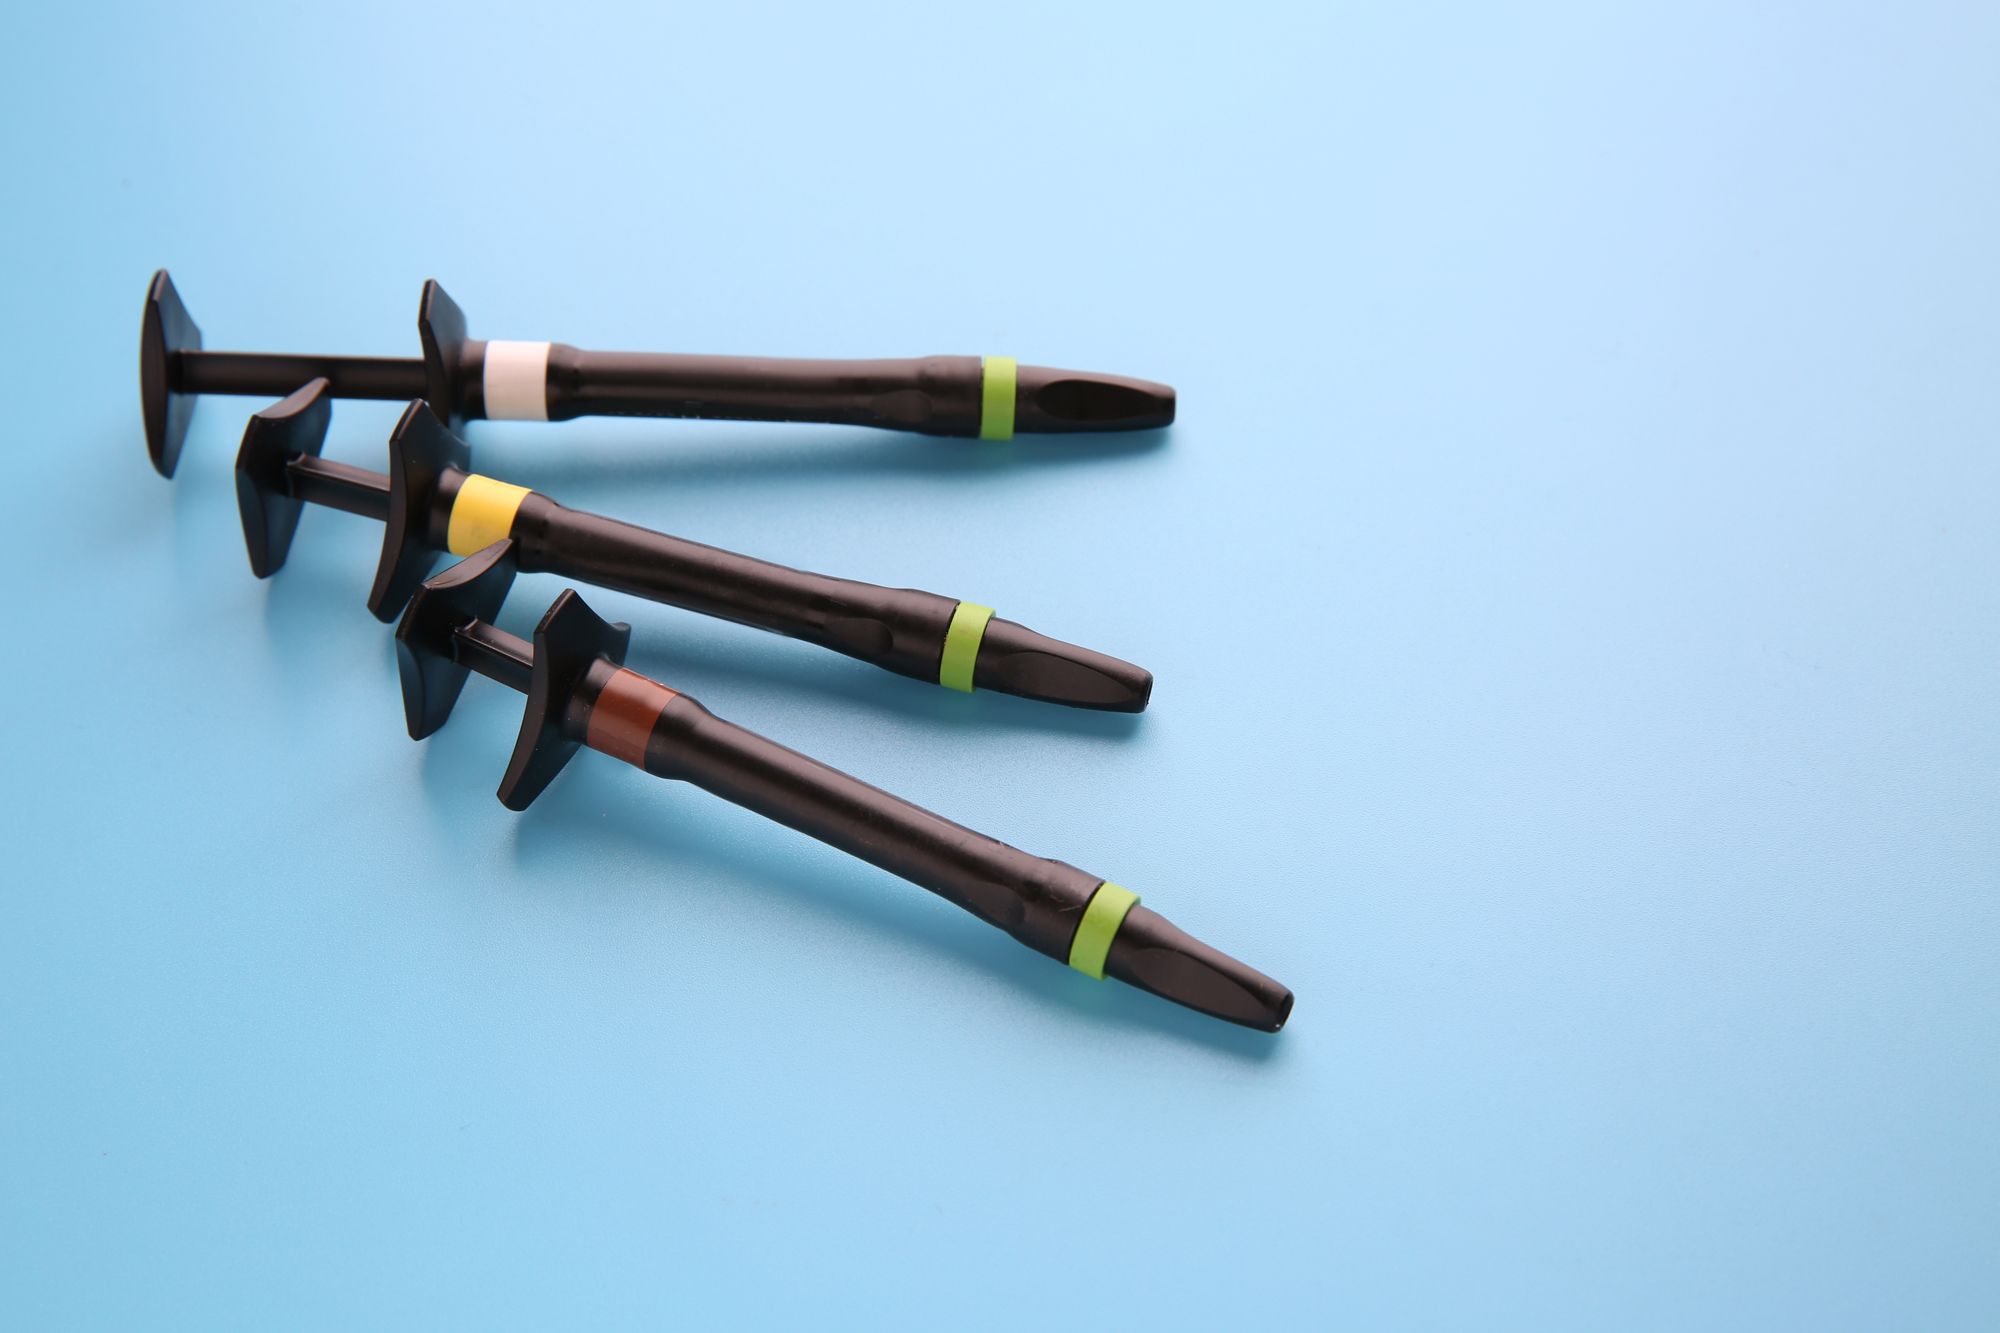
Behind the Mask: Getting to Know Opaquers in Dental Restorative Procedures. Photo courtesy of Pixel-Shot/stock.adobe.com.
One might say that the most esthetic dental restorations are the ones you don't notice at all. However, creating these invisible restorations takes more than a bit of artistry and experience. In addition, creating natural-looking restorations might also require blocking out some things you don't want to see with an opaquer.
Opaquers are valuable materials that block out what you don't want to see. Whether it's a part of the tooth or material that is too translucent or color underneath the surface of the restoration, opaquers can mask these areas from view.
Opaquers can also create effects with your composite resin material. For example, you might need to add white spots and hypoplasia to match the surrounding dentition or change the dental composite restorations' color. Opaquers are also helpful when you need to increase value or brightness, particularly when you want to mask metal or dark colors in your restorations.
Materials manufacturers create opaquers to help your restorative work with higher esthetic demands. They have a viscosity designed for excellent handling and microfilled additives to create a better-looking finish. Opaquers also come in shades that cover the entire VITA classical A1-D4® shade guide.
Despite all these significant advantages and indications, opaquers are not usually your go-to material. Todd Snyder, DDS, FAACD, FIADFE, ASDA, ABAD, and founder of Legion.dentist, says he doesn't use opaquers every day, but if you do cosmetic work, you will need them. For example, if he encounters a discolored tooth from tetracycline staining or a silver filling leaching out metal oxides, Dr Snyder is glad there are opaquers to mask it.
"Once in a blue moon, you might have a buildup you want to leave behind that you want to mask out," Dr Snyder says. "But one of the downsides of using opaquer is that the light doesn't pass through the tooth the same based on how thick the material is. Even sometimes when they're thin, they will still mask the light a little bit, so it will change the light properties if you shine a light from the backside."
Jeff Lineberry, DDS, FAGD, FICOI, AAACD also uses fewer opaquers these days. The improved performance of universals and the plethora of different shade types available, from the body to dentin to opaque and enamel shades, can achieve the same results. However, opaquers still come out once in a while.
"I may use an opaquer when I'm trying to match a single tooth in a very high esthetic case, and the other teeth have all kinds of characteristics to them," Dr Lineberry says.
Troy Schmedding, DDS, AAACD, appreciates how opaquer allows him to do resin-based dentistry instead of indirect in cases with dark-colored teeth. He also thinks opaquers are beneficial when you want to mask access fills for root canals or block out the underlying metal or blend zirconia in other cases.
"They are still prevalent," Dr Schmedding says. "They just aren't used often."
Dr Schmedding also uses opaquers to neutralize the dark underlying shade on a root-canal-treated tooth when doing composite work. He says offsetting that underlying shade allows him to get an "even playing field" with the surrounding dentition. For example, this approach is helpful when working on 2 adjacent teeth with different shades underneath the surface.
"I can incorporate the composites at the same level, using them in terms of thickness and opacities that allow you to get a similar, lifelike appearance between the 2 front teeth," Dr Schmedding says.
Dr Schmedding also likes to use opaquers with preps for indirect restorations. For example, if he takes off an old crown that is dark underneath, he will do a cutback technique on the prep itself and build it out with opaquers and composites to get a match to the tooth next to it. He says equalizing the prep makes it easier for the lab to match shades.
"So, you can use it both indirect and direct to make the restoration a less challenging case in terms of dark, discolored teeth," Dr Schmedding says.
Another way Dr Schmedding uses opaquers to block the internal access hold for root canal-treated teeth. He says you can block out the metal or zirconia there, so the composite matches better. This approach is essential to the patient experience as you move forward in the mouth because it hides the dental work.
"It gives the patient a sense of pride," Dr Schmedding says.
What Every Dentist Should Know About Working with Opaquers
Dr Snyder says less is more with opaquers. Also, he recommends adding dimension to the layer. One way he achieves this effect with opaquers is to use a rake brush, which has uneven bristles and leaves brush strokes to break up the regularity of the restorative surface.
"It creates different planes and depths that allow the light and the appearance to be slightly different. Also, by breaking up the light, the tooth doesn't look perfectly symmetrical, which looks more realistic versus something uniform," Dr Snyder explains.
"A little goes a long way," Dr Lineberry agrees. "You don't need very much to get an opaquer to do what it needs to do."
Another tip for improving the esthetics of the restoration with opaquers is to vary the depth of the opaquer layer, Dr Snyder says. So, for example, if you have a thinner layer of opaquer in a spot where what you are trying to mask shows through a little, although not enough to change the tooth's appearance, that is good.
"It breaks up the dark color just enough while at the same time it doesn't look like flat wall paint," Dr Snyder says. "The amount that you use depends on how much space you have for your filling. When you put your filling over it, you may mask those areas by putting layers on top. But those little thin spots of opaquer allow a little bit of light to penetrate and appear more realistic."
What to Avoid When Working With Opaquers
Dr Snyder prefers minimally invasive preps whenever possible. Therefore, he says the more you can avoid a thick opaquer layer where you have to correct the dead flat surface, the better.
"My goal is to do the least invasive, smallest filling I can so that we can maintain as much tooth structure as possible," Dr Snyder says. "So, with that mentality, I try to make this extremely thin layer and then add my various layers on top of that to get a three-dimensional depth instead of a flat, opaque surface."
Dr Schmedding says that when working with opaquers, it is essential to give yourself enough room for composite to go over the top of it. Those uppermost layers will give the restoration a natural look. However, too much opaquer below it, which puts it too close to the restorative surface, will provide a bland-looking restoration. Dr Schmedding says designing the prep with enough room lets the opaquer work well below the surface.
"Having a strategy of what you're trying to accomplish esthetically is important because you want to build in that opaquing level to a certain degree," Dr Schmedding says.
Dr Lineberry says that he thinks using too much opaquer to hide transition lines or create an effect in the restoration is the most common mistake dentists make with these materials. Moreover, when you use too much of it, the opaquer stands out. Plus, that isn't an easy fix.
"If you have too much, you have to take it back out," Dr Lineberry says.
He compares using opaquer to mask something in the restoration to painting over a stain on the wall. Dr Lineberry explains that you often use a couple of coats in that situation. He recommends the same approach to using opaquer.
"It's easy to put a little bit in the restoration and then see if that can give you the effect you need. If a little bit gives you the effect you need, you move on," Dr Lineberry says. "If it doesn't, you can always add a little more."


