All the Steps for Preps for Bonded Direct Restorations
We take a detailed look at all the steps you should do for dental preps and why they matter to your bonded direct restoration outcomes.


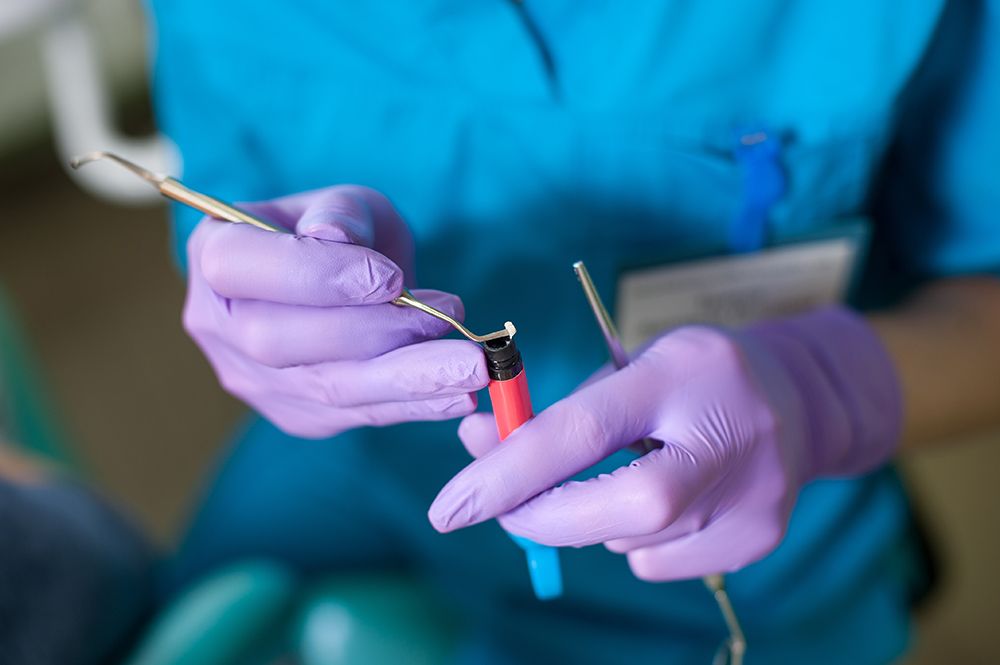
ANATOLIY GLEB / STOCK.ADOBE.COM
As a dental professional, you are no stranger to preparing teeth for bonded direct restorations. In fact, you probably do this all day long every day in your practice. Over time, preparations might become rote, a process so comfortable and familiar that you no longer think about them. However, this habitual process could have room for opportunity. Let’s take a closer look at all the steps you do for prep and why they matter to your bonded direct restoration outcomes.
Start by Being Shady
After anesthesia and before the dentist ever picks up a handpiece, shade matching occurs. Some new one-shade-fits-all materials have rendered this step pointless, as would restorative processes that involve metals. However, most dentists are using dental composite resin these days to deliver tooth-colored restorations to their patients. And for dentists using many universal or traditional restorative dental composite resins, the shade matching step is critical for the end result of the restorative process, particularly in the esthetic zone.
Shade matching requires dentists to consider 3 crucial things: Hue, Value, and Chroma. These are Albert Munsell’s 3 dimensions of color. Hue is the perceived color for the viewer, Value is the brightness of the color, and chroma is the intensity of it. On the VITA™ Shade Guide, the Hue is the letter, and the Chroma is the number.
In addition, there is also a critical consideration in how natural teeth react with light. Therefore,Translucency (how light passes through), Fluorescence (how the light absorbs and then emits), and Opalescence (how light reflects and transmits) should weigh in when matching surrounding dentition.1
Science lesson aside, shade matching is critical and requires a proven technique to get it right. The reason the shade matching step is first is because as the restorative process continues, the tooth dries out, which changes the tooth’s shade appearance. The problem here is obvious, once the surrounding dentition rehydrate, your restoration will not match. Therefore, keeping the tooth hydrated while shade matching is critical. Using a natural light source is another excellent way to get the best match. Also, use the shade guide that corresponds to the materials you use rather than a universal shade guide (and make sure it isn’t one that you have had lying around for a long time or disinfected a bunch of times).2
To learn more about shade matching, read Shade Secrets: Best Dental Practices for Getting Your Shade Matching Correct.
Check the Occlusion
Before you rebuild the patient’s occlusion, you have to know what the patient already had. The British Dental Journal has a handy acronym to help with this, Examine, Design, Execute, Check, or EDEC. It starts by asking the patient to bite down on a thin articulating paper or foil to get both a static and dynamic occlusion mark. Then, visualize how this information affects the cavity preparation. Next, you execute the cavity prep. Finally, after the restoration, you ensure that the occlusion of your restoration is the same as the patient’s original occlusion.3
To read more about EDEC or the importance of the occlusal check from the British Dental Journal, please click here.
Isolate Well
Most bonded composite restorations need a field clear of fluid and contamination to bond properly. This requires excellent isolation of the area you want to restore. Not isolating properly can lead to adverse restorative outcomes that could include sensitivity, contamination, and microleakage.
All dentists know that a rubber dam is effective for isolation of the restorative area. To summarize, it has excellent moisture control, retracts the soft tissue to allow for access to improve interproximal access if necessary, improves patient safety for ingestion of harmful dental materials and instruments, and prevents the transfer of infection. Also, rubber dams provide clinical benefits, including improved access and visibility to the operative procedures. They also protect the soft tissue from sharp instruments and burs, particularly in posterior restorative work. Furthermore, it might provide an enhanced adhesive environment, although that last bit is not 100 percent proven by the literature.4
However, there are other options for proper isolation, too, which is great news since many clinicians feel like rubber dams are time consuming to place. The Zyris Isolite® Whole Mouth Solution for example, which includes dental isolation, illumination, and suction. They also have the Isodry® that does keep the area dry, but doesn’t have all the lights.
Of course, there are always cotton rolls and retraction, which some dentists find sufficient. However, a 2016 study from China indicates that rubber dams outperform cotton rolls for increasing dental restorations’ survival time, although the authors thought more study was needed in this area to draw a real conclusion on this point.5
To read more about isolation with rubber dams, try Why some dentists don’t give a rubber dam—and why some do.
Some dentists will also pre-wedge between the teeth. Per Styleitaliano.org, pre-wedging has a few benefits to your prep. First, it can protect the rubber which can break during cavity prep. Also, it can push the rubber and the gingiva toward the apex. Finally, wedges can separate the teeth in case you need to simplify proximal prep, if needed.6
Drilling and Trimming as NeededHow much tooth you drill and trim varies depending on the restorative treatment you are using. Closing diastemas, fixing chips, or veneering the anterior teeth might not require much trimming. Fixing decayed teeth, sometimes teeth that are extremely damaged, requires more drilling.7
Your diagnosis, treatment planning, and past experience will dictate what you do here. However, so should the material you intend to use for the restorative treatment. The way you prep the tooth will facilitate the way you adhere the restorative materials to the remaining natural tooth.
A direct restoration caries prep has 3 main steps. It starts by accessing the tooth, then removing the caries, and then finishing the walls of the cavity you formed.7 Once you have prepared a restoration for composite placement, it's a good idea to check the texture of the convergent walls with a mirror to ensure you have all the decay and that the walls of the prep are smooth. You can also confirm that you got all the caries using an explorer at the base and sides of the prep. Then, you can aid retention of the composite resin material by roughening the enamel walls with a diamond bur.8 In the case where you have a proximal preparation, you might also then apply a metallic matrix and ring for rebuilding the proximal walls.6 For some types of caries, using an enamel bevel helps with bonding and also to create a gradual transition from material to healthy tooth. In these cases, retention is also aided by using a diamond bur to roughen the surface for a micromechanical retention of material.9
Clean it Up
You have to clean the surface before you bond anything. Having debris on the surface will degrade the bond.
A 2014 study in the Journal of Prosthetic Dentistry suggests that the surface-cleaning technique you use could affect bond strength or composite resin restorations. They compared the occlusal surfaces of 25 molars that were divided into 5 groups depending how they were cleaned, which included microairborne-particle abrasion, alcohol, rubber-rotary instrument, desiccating agent, and control. The microairborne-particle abrasion group was significantly better for cleaning the surface and increasing bond strength.10
Many dentists will clean the surface of their preps with other solutions. Some popular ones use chlorhexidine applied before the bonding agent. These solutions will clean away microbials or other contaminants. Moreover, by adhering to the tooth’s prepped surface, it can act like a primer that re-wets the collagen. Then, when the bonding agent is applied afterward, it can bond with the tooth in the dentin. Some popular versions are Cavity Cleanser™ (BISCO) and Consepsis™ (Ultradent Products). Another option is GLUMA® (Kulzer), which acts as a desensitizer as well as an antimicrobial for the prepared surface.
To read more about cleaning and other examples of overlooked steps of direct restoration, please click here.
Bonded direct restorations rely on technique for their longevity and function. It starts by prepping the area properly and following the steps. Of course, the need for technique doesn’t end here, but at least if you made it this far with good technique, you have an excellent foundation on which to build your restoration and provide the highest standard of patient care.


