How to prep for all-ceramic anterior crowns with Expert Kit 4573ST
This step-by-step technique shows how to use Komet's Expert Kit 4573ST for all-ceramic anterior crowns.
All-ceramic restorations have long been recognized for their outstanding clinical qualities.


The esthetically desirable results attained with these metal-free, all-ceramic restorations have prompted more and more patients to successfully request them. To achieve a successful all-ceramic restoration, however, all necessary clinical parameters must be considered during the preparation stages (“think ceramic”).
Premature loss of ceramic restoration often is a result of insufficient cavity depth or lack of attention to proper layer thickness. The following recommendations enable the dentist to safely prepare for an all-ceramic anterior crown.
Continue to the next page to see the step-by-step technique


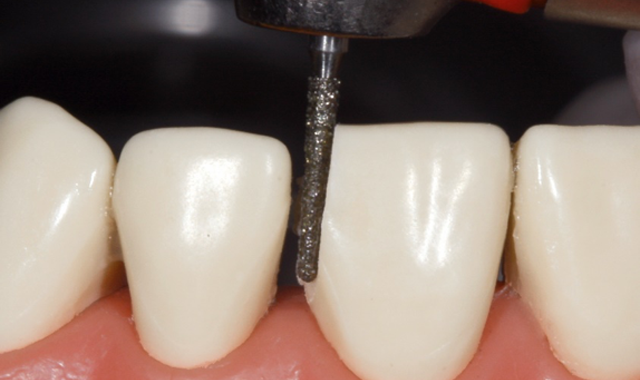
Step 1:
Use the thin instrument (6856.FG.012) to obtain the interdental separation.


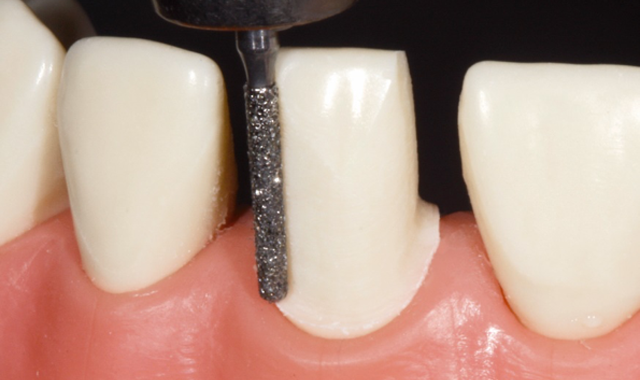
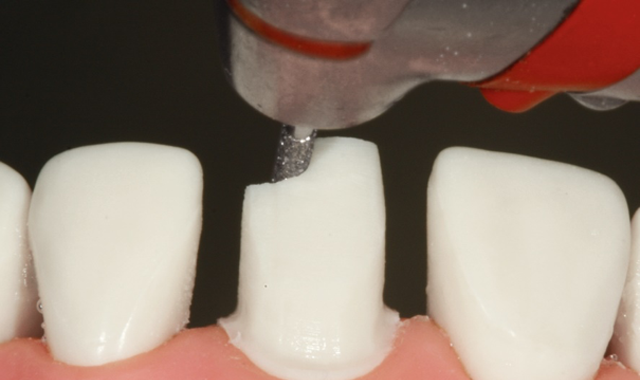
Step 2:
Use instrument 6837KR.FG.012 to prepare a 1 mm sized uniform shoulder approximately 0.5 –1 mm above the future preparation limit.

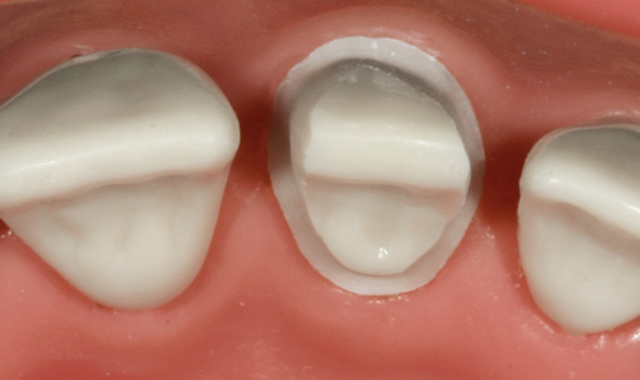
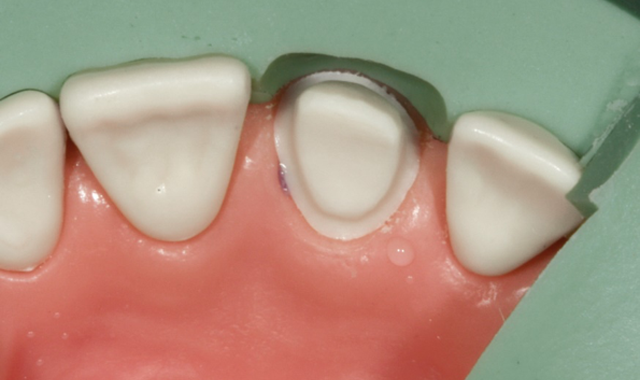
Step 3:
The occlusal view clearly shows the 1 mm circumferential shoulder following the root contour.

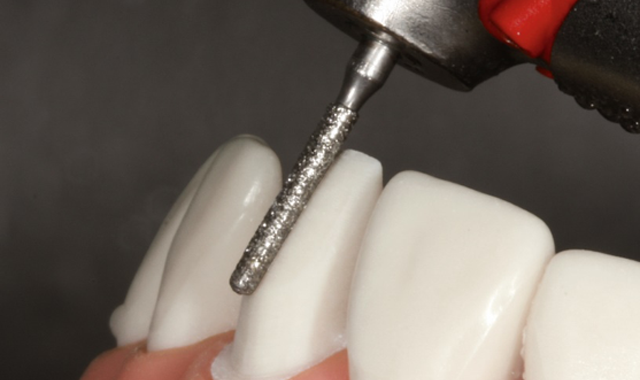
Step 4:
Using instrument 6837KR.FG.012 (see step 2), reduce the labial surface of the sagittal curve of the crown by 1 mm.

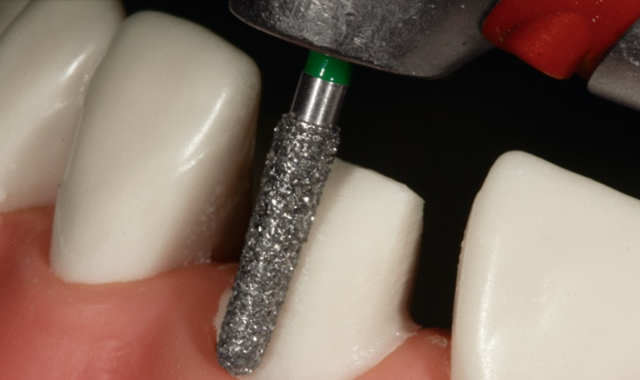
Step 5:
Reduce the incisal aspect with instrument 6836KR.FG.014, a short cylinder with rounded edges and a green ring. When the instrument is completely introduced, a minimal substance removal of 1.4 mm can be easily accomplished. An occlusal substance removal of up to 2 mm is possible.
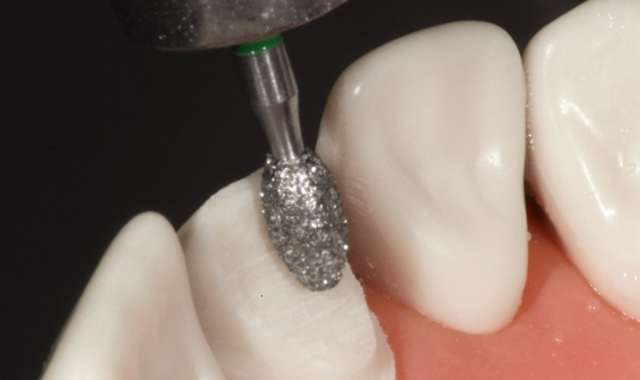

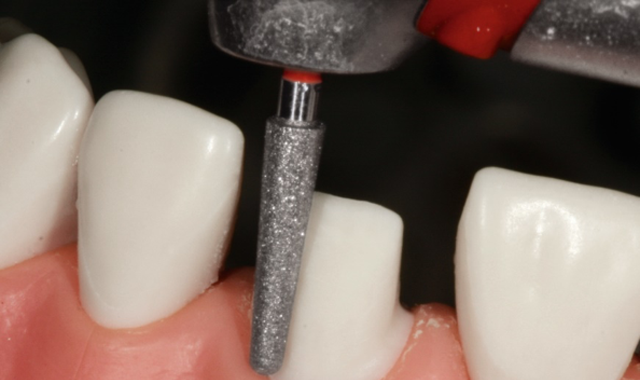
Step 6:
With the egg-shaped instrument (6379.FG.023), reduce the palatal aspect by at least 1 mm. To protect the gingiva, placement of retraction cord is recommended following the initial preparation.

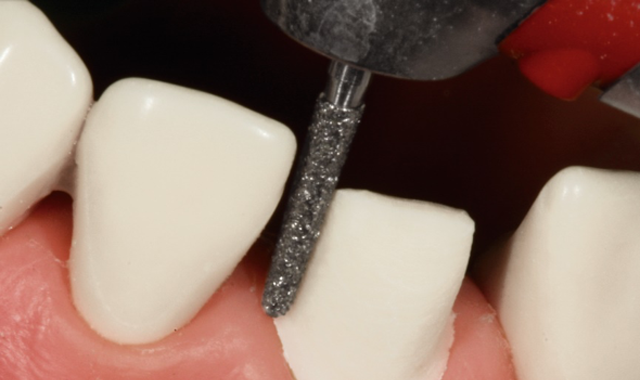
Step 7:
For final shaping of the preparation limit to achieve a chamfer with a radius of 0.8 mm, use the larger instrument (6856.FG.021) to simplify access to oral and vestibular areas. When using this instrument, make certain to avoid damage to adjacent teeth.

Step 8:
If adjacent teeth require no preparation, create the chamfer in the interdental areas with the thinner instrument (6856.FG.018) first.

Step 9:
Define the final preparation limit with finishing instruments of matching shape, i.e., 8856. FG.018 and 8856.FG.021.
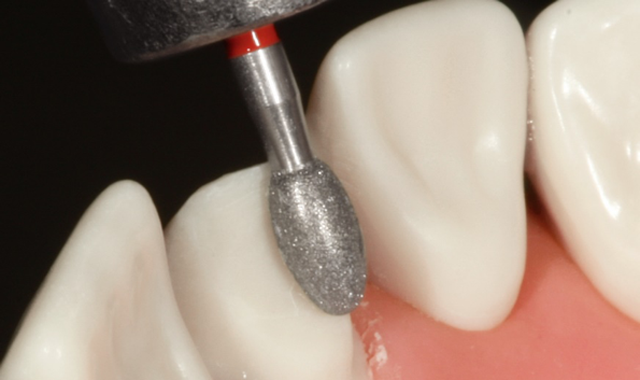

Step 10:
With the egg-shaped, fine-grit instrument (8379.FG.023 finish the palatal surfaces.

Step 11:
Using a silicone index, ascertain that sufficient substance has been removed.

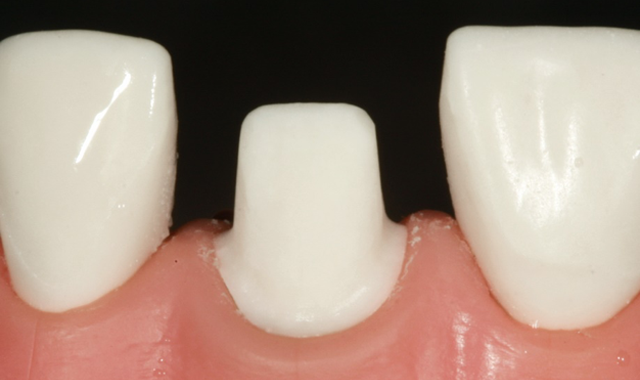
Step 12:
To complete the preparation for an all-ceramic restoration, round off all sharp edges and corners. Komet flexible polishing discs are particularly suitable for this purpose.


