How to perform rapid tooth reduction with diamond instruments
A technique showcasing the Deep Purple™ diamond instruments from Komet USA LLC. and how they can simplify process the of tooth reduction.


Functional and esthetic requirements in conjunction with material strength dictate the amount of tooth reduction required for a specific case.
Recently, dentistry has seen a shift from gold-based metallic restorations to milled materials (e.g., e.max® lithium disilicate [Ivoclar Vivadent] and zirconia) due to lower production costs. Because both lithium disilicate and zirconia can be

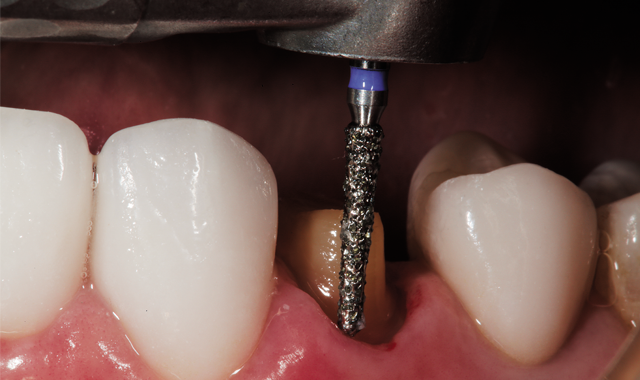
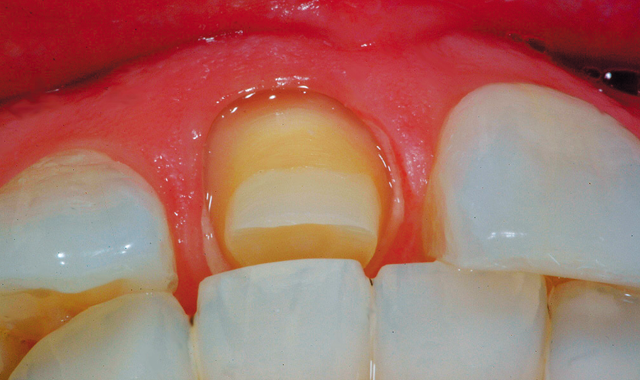
Fig. 1
conventionally cemented or bonded to tooth structure (zirconia requiring a metallic primer for maximum bond strength), the reduction requirements may vary depending on the choice of cement.
For conventional cementation, high-strength ceramics generally require the same amount of tooth reduction as traditional porcelain-fused-to-metal crowns. Generally, 1.5 to 2.0 mm of space is recommended for occlusal and incisal clearance so these crown materials can perform well in high-stress functional areas without the risk of fracture. Furthermore, rapid, efficient tooth reduction minimizes biologic trauma to the tooth and dental pulp during the preparation process.
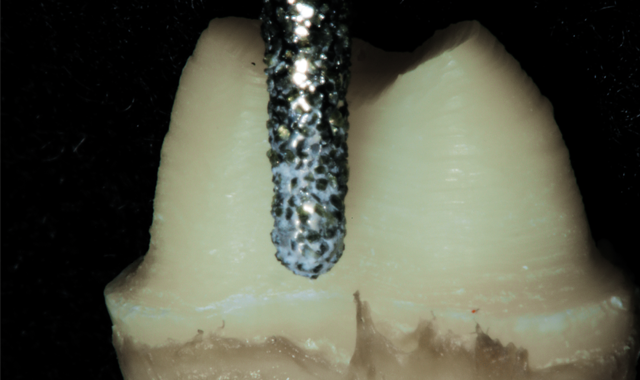
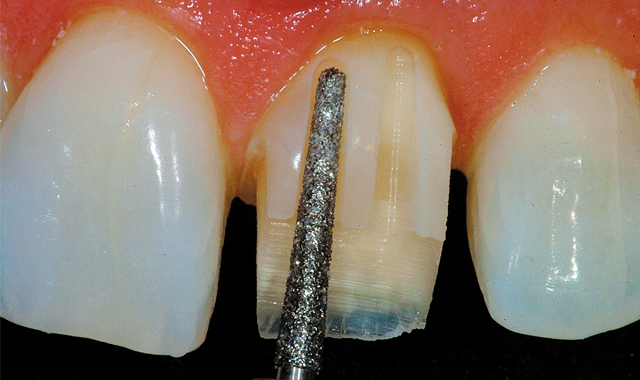
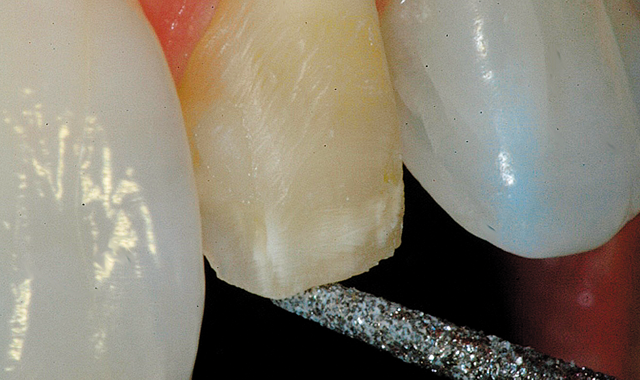
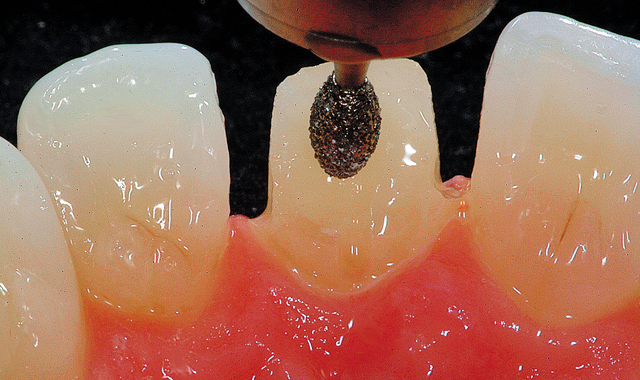
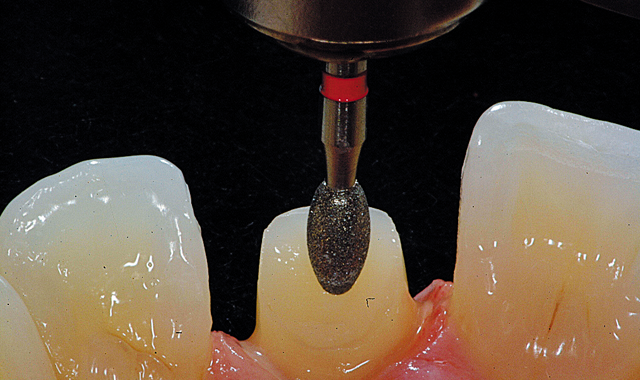
Deep Purple™ diamonds (Komet USA LLC) have been specifically designed for ultra-fast, effective removal of tooth structure, offering measurably greater tooth reduction without sacrificing operator control (Figs. 1-3). This is achieved by using a new diamond-grit size of 230 micrometers (versus the average 181-micrometer particle size of standard super-coarse diamonds), uniformly sized at an optimal depth to produce an efficient cut without instrument clogging.

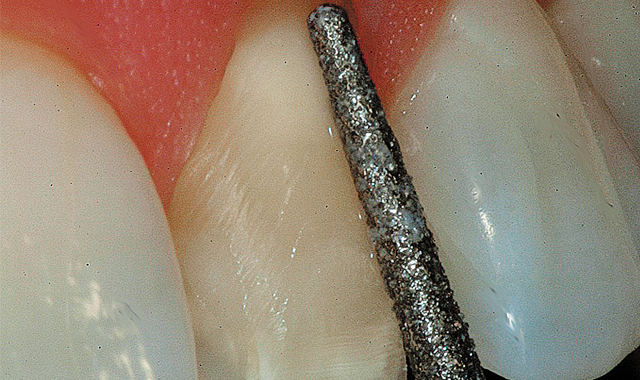
Fig. 2
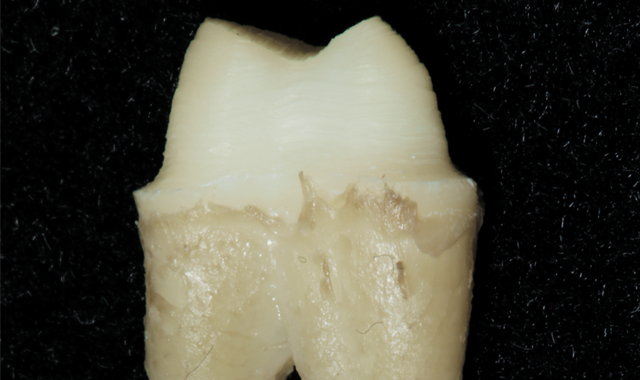
Fig. 3
Following gross reduction with Deep Purple diamonds, a fine-grit finishing diamond instrument is recommended for finishing and smoothing the preparation for a more intimate fit of the restorative material. Note: Identically matched Komet® 8856 finishers correspond in size and configuration with Deep Purple diamonds.
Read more: Komet USA launches Deep Purple™ diamonds for efficient crown prep
Up next: Crown preparations for high-strength ceramics


Crown preparations for high-strength ceramics
Uniformity of tooth reduction is important to the successful fabrication of indirect dental restorations. With the various types of materials available, it is important to understand preparation requirements so the proper amount of tooth structure is removed

Fig. 4
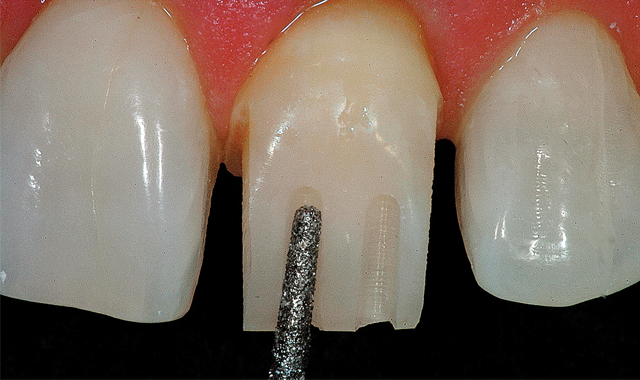
according to the functional and esthetic requirements of the restorative material. The following technique outlines the proper steps for tooth preparation prior to indirect restoration with a high-strength ceramic.
Create vertical depth cuts into the middle and incisal one-thirds of the tooth, following the angle of the facial plane in the incisal one-third. The diameter of the instrument (856XC.FG.016) at the tip is 1.6 mm; therefore, the diamond should produce a depth cut to approximately one-half its total diameter (approximately 0.8 mm) (Fig. 4). Note: As a safety option, Komet USA’s PrepMarker depth-marking diamonds enable the user to reliably achieve and maintain the minimum layer thickness for all-ceramic restoration preparations.
Click here to see the depth-marking diamonds in action!
To “erase” the depth cuts, “paint” with the bur in a horizontal plane (Fig. 5).
Place depth cuts in the cervical plane to approximately one-half the depth of the end of the bur. This leaves a rounded shoulder finish line with a 90-degree cavosurface angle (Fig. 6).

Fig. 5
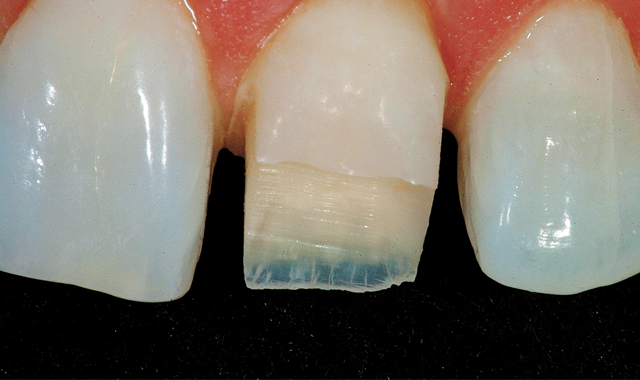

Fig. 6
Up next: More tips on how to achieve great results with diamond instruments


The two-plane labial reduction is shown from the facial aspect. A three-quarter view shows the refinement of the two-plane reduction, with the bur positioned parallel to the cervical one-third plane of reduction (Figs. 7-8).

Fig. 7
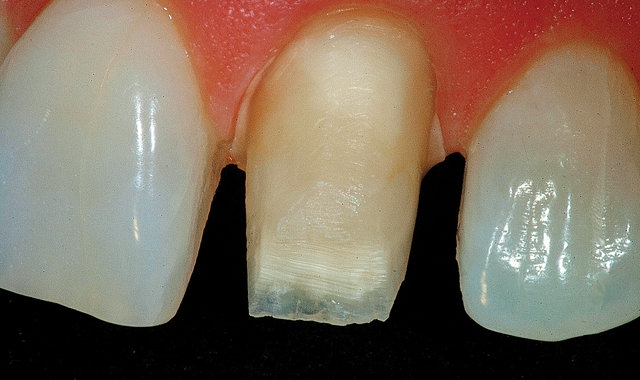

Fig. 8
Use the 856XC.FG.016 tapered-cylinder diamond to place 1.0-mm depth grooves on the incisal edge (Fig. 9 ), and reduce the incisal edge to form an acute angle to the facial surface (Fig. 10).

Fig. 9


Fig. 10
Cut a depth groove by applying the 856XC.FG.016 rounded-cylinder diamond on the lingual surface, taking care to follow the natural contour of the tooth. The cervical plane formed by preparation of the cingulum should diverge 10 to 15 degrees from the cervical plane on the labial surface (Fig. 11).
With a football-shaped diamond (5379.FG.023), eliminate the depth groove in the lingual concavity only (middle and incisal one-thirds of the lingual surface) (Fig. 12).

Fig. 11
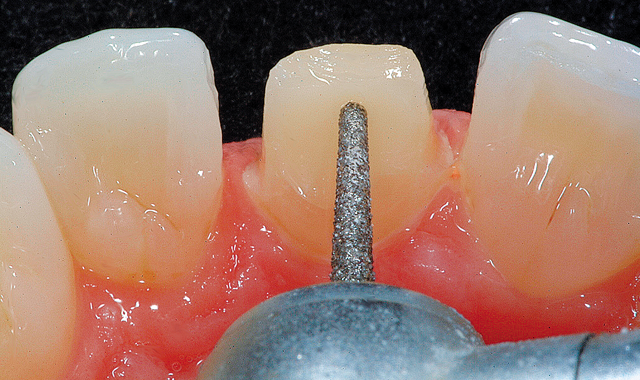

Fig. 12
Reduce the cervical third of the lingual surface and blend the finish line to both proximal aspects with the 856XC.FG.016. Note: Remember to keep the depth uniform in the axial direction (Fig. 13).
Verify the lingual reduction by asking the patient to close in centric occlusion: Observe the uniformity of lingual reduction as the patient moves forward in protrusive with light incisal contact (Fig. 14).

Fig. 13
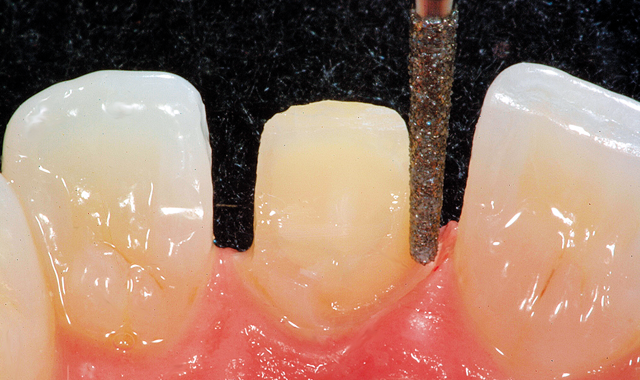

Fig. 14
Use a 46-micron, round, tapered-cylinder finishing diamond (8856.FG.016) to refine and smooth the axial walls on all aspects of the preparation, followed by the incisal edge (Fig. 15).
Apply a 46-micron football-shaped finishing diamond (8379.FG.023) to finish the lingual concavity of the preparation (Fig. 16).

Fig. 15


Fig. 16
Polish the preparation (Fig. 17).
Figure 18 shows a labial view of the completed all-ceramic crown preparation. Note the uniform thickness of the finish line circumferentially as well as the overall smoothness of the transitional line angles. The preparation should be as smooth as possible to increase accuracy of fit and ease of delivery. The final result is a combination of structural strength and esthetic beauty-the “ideal” dental restoration in every sense of the word.

Fig. 17
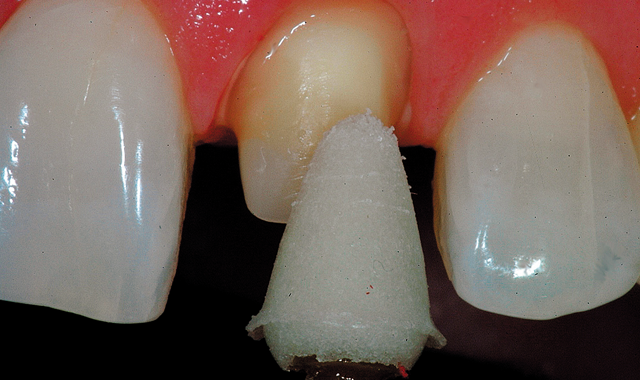

Fig. 18
Conclusion
Proper application of this technique enables predictable tooth preparation with extra-coarse diamond instruments, maximizing success with today’s esthetic restorative materials. By following this methodical approach and taking a good final impression and appropriate records, the dentist, with the help of the ceramic technician, is able to deliver consistent quality in esthetic dental restorations.
For more information on Deep Purple prep diamonds, call 888-566-3887 or visit www.kometusa.com.


