How to fabricate a single Ceramco PFZ crown
To create a natural-looking crown, follow these crucial steps.


Zirconia is equipped with valuable properties such as biocompatibility, translucency and opacity, and it has the possibility of portraying colorized copings. Compared to precious alloy - due to its ubiquitous availability - the base material is of low price.
To create a natural-looking crown, three steps are crucial:
1. The adequate design of the framework to create sufficient support for the longevity of the ceramic.
2. The correct layering of the ceramic. An even amount of ceramic has to be applied around the framework to avoid failures when the ceramic is fired.
3. Ceramco® PFZ (PZ shades) are extremely easy to use and provide a natural appearance with shade matching that’s keyed to the VITA® 3D-Master Shade Guide.
Trending article: How digital workflow is affecting dental laboratory artistry
Case study
Step 1: Zirconia coping
A 73-year-old patient presented himself with a fractured lingual cusp of tooth #12. Cusp support on the lingual aspect was needed to avoid problems with ceramic (i.e., chipping) (Fig. 1).
You’ll see here a properly fitting zirconia coping with adequate ceramic support. There’s a perfect seal of the margin (Fig. 2).


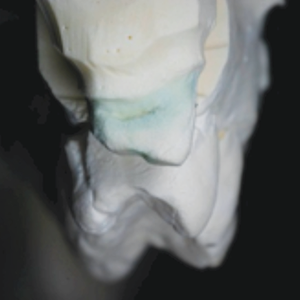

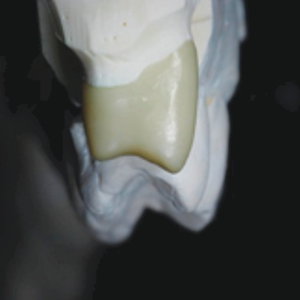
Fig. 1 Fig. 2
Step 2: PFZ margin porcelain and modifier
Margin porcelain mixed with glaze liquid was used. It was fired at 60°C/min to 1000°C with a hold for one minute (Fig. 3).
With margin porcelain modifiers (Ceramco), the chroma can be increased in certain areas (Fig. 4).

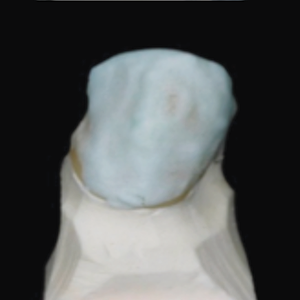

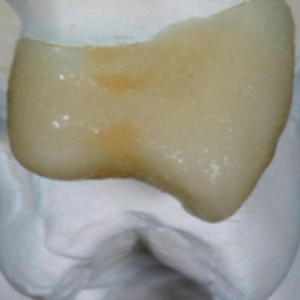
Fig. 3 Fig. 4
Step 3: PFZ internal stains
To accentuate color, such as in the cervical areas, PFZ stains can be used. Even with a thin layer of ceramic, the proper color that enhances the depth was attained (Fig. 5).
Step 4: PFZ opaceous dentin
A thin layer of opaceous dentin porcelain was applied to cover the coping (Fig. 6).


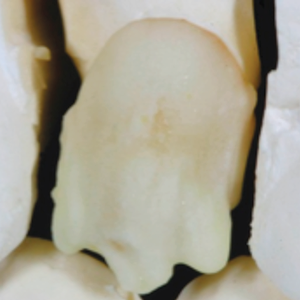
Fig. 5 Fig. 6
Continue to page two to read more...
Step 5: PFZ clear
Clear was applied 60° around the incisal area and contact points of the adjacent teeth (Fig. 7).
Step 6: PFZ dentin
Dentin mixed with 50 percent dentin modifier was applied only over the occlusal table. The surface was covered as thin as possible with this mixture (Fig. 8).

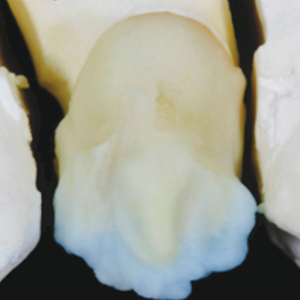

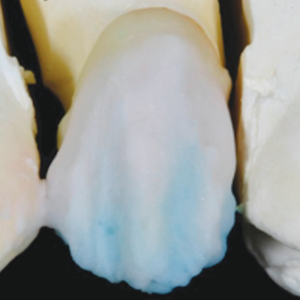
Fig. 7 Fig. 8
Step 7: PFZ dentin and dentin modifier
Two-third of the tooth structure and parts of the mamelon area were covered with dentin ceramic (Fig. 9).
Read more: Are dental laboratories still relevant?
Step 8: Dentin, opaceous and modifier firing
The ceramic was baked and the crown was fitted on the cast model and adjusted as needed (Fig. 10).


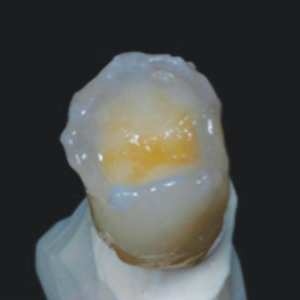
Fig. 9 Fig. 10
The only purpose of this initial bake was to obtain color and volume (Fig. 11).
The chroma should be a little bit chromatic than the shade desired because the anatomy and final volume will be created during the second bake. Adjustments were made before applying the enamel (Fig. 12).

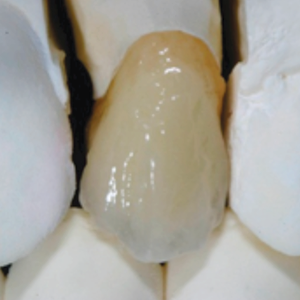
Fig. 11 Fig. 12
Step 9: Enamel light and ivory
With enamel (natural enamel light and ivory), chroma was easily achieved, and only limited contraction occurred during the bake. Recommendation: second bake should be 10°C less than the first one (Fig. 13).
Step 10: Finishing
After cooling, adjustments were made to the occlusion with a large wheel to create wear facets (Fig. 14).

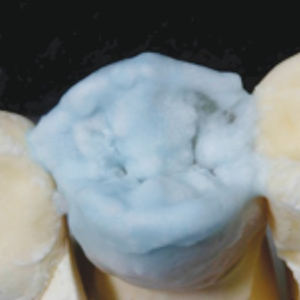


Fig. 13 Fig. 14
The surface was polished (Fig. 15). I then used a diamond bur to produce the correct texture (Fig. 16).

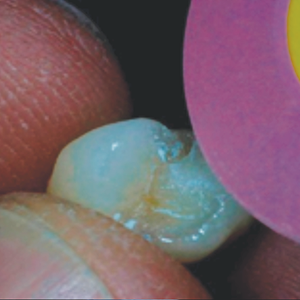


Fig. 15 Fig. 16
Continue to page three to read more...
Glazing:
Figure 17 shows polishing of the surface.
Polishing:
I then used a diamond bur to produce the correct texture (Fig. 18).

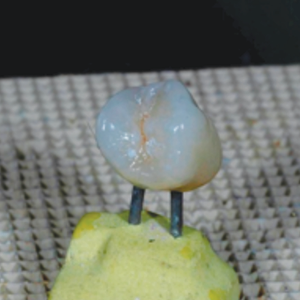

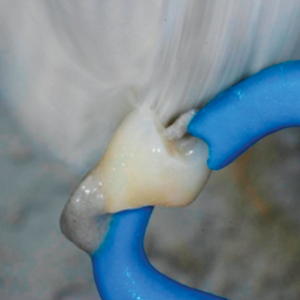
Fig. 17 Fig. 18
After polishing:
Trending article: 3 reasons to be excited about dentures in 2019
Here’s an occlusal view, basal view and distal view of the crown after polishing (Figs. 19-21).

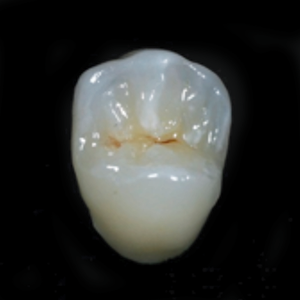

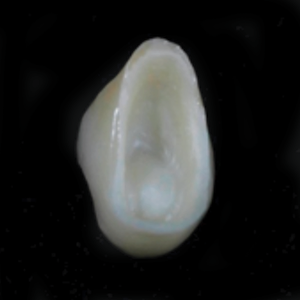
Fig. 19 Fig. 20
The tooth was then prepared. Notice the deep chamfer at the preparation margin (Fig. 22).


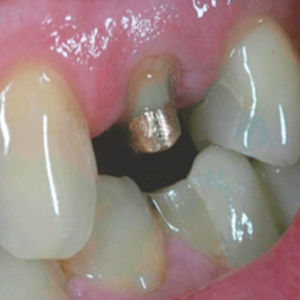
Fig. 21 Fig. 22
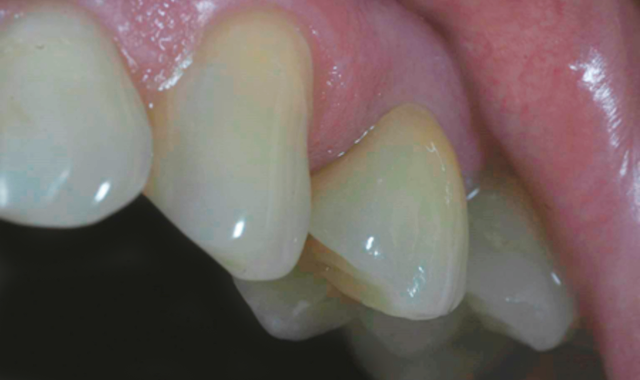
The crown was placed (Fig. 23) and the result was an exceptionally aesthetic-looking tooth. (Fig. 24).

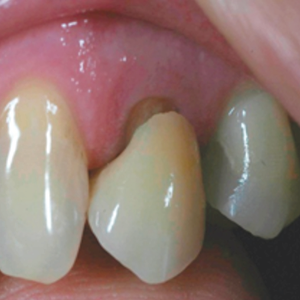

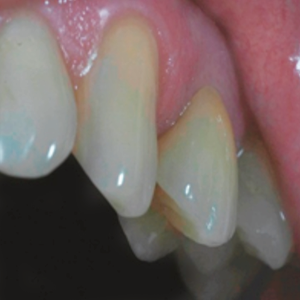
Fig. 23 Fig. 24


