How to color match with porcelain laminates
One practitioner explains how he achieved superior color matching in laminate veneers.


A young woman presented to my office for a consultation regarding her maxillary central incisors. She had porcelain veneers in place but was not satisfied with the color. Though she agreed that they looked good, she did not feel that they matched her adjacent teeth.
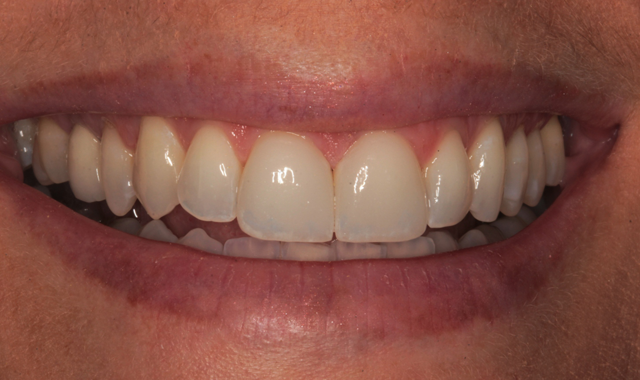
Figure 1 is a facial view of the first veneers in place. In the incisal view (Fig. 2), you can see that the veneers were used to close a central diastema. The reading from Vita Shade Light showed that the lateral incisors were 1M1 on the Vita 3D Shade Guide (Fig. 3).

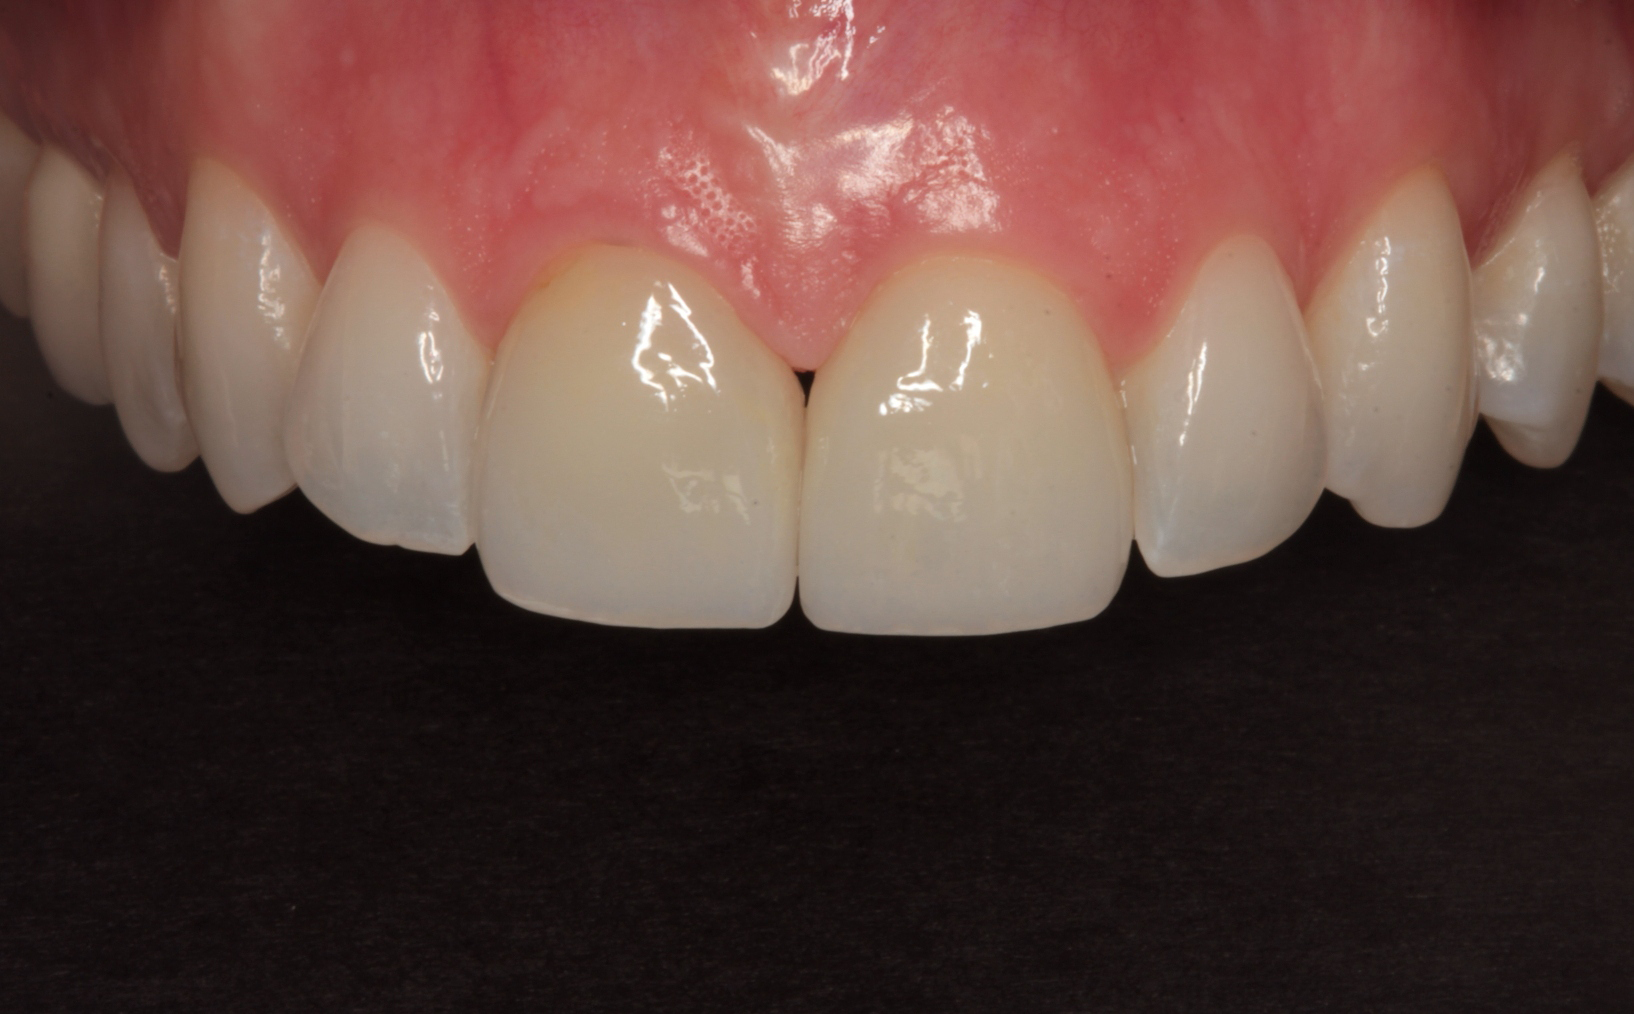


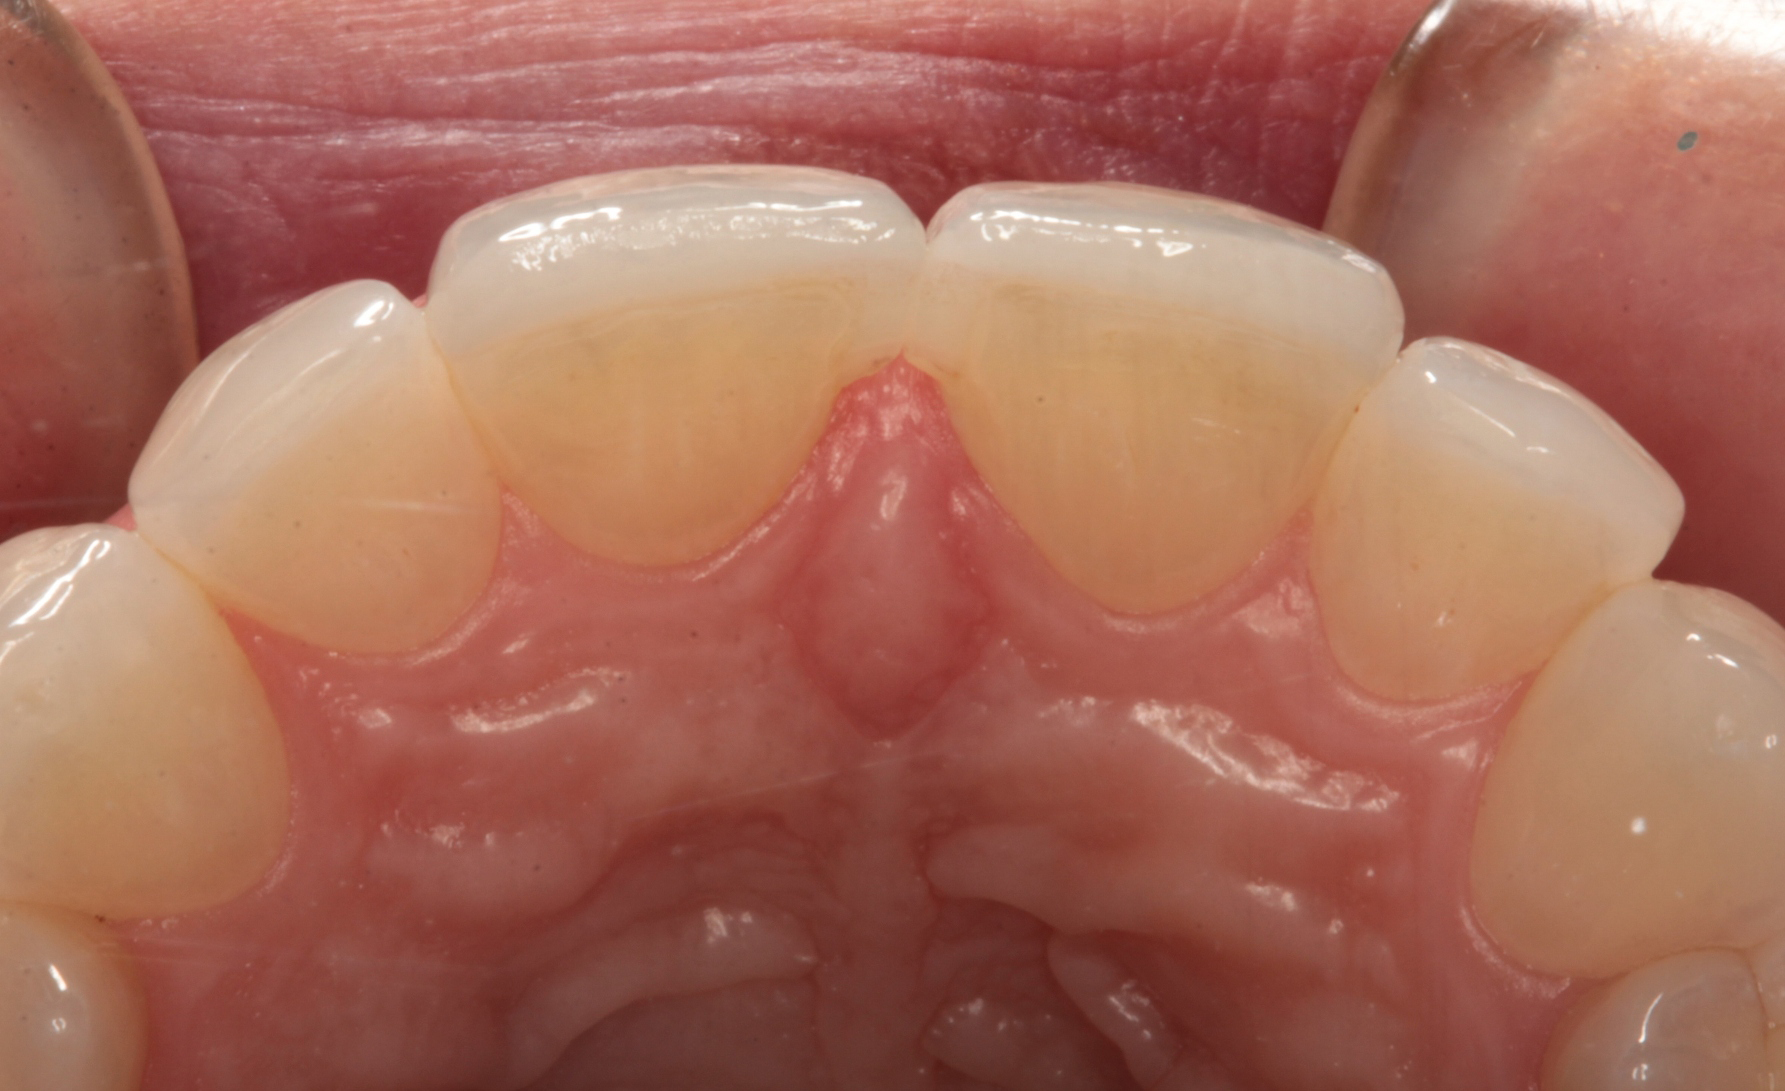

Fig. 1 Fig. 2
After a discussion with the patient regarding her expectations, I decided to remove her veneers and have new ones fabricated. I chose Peter Kouvaris of New York City to fabricate the new laminates from eMax ceramic based on my previous experience with his shade matching.

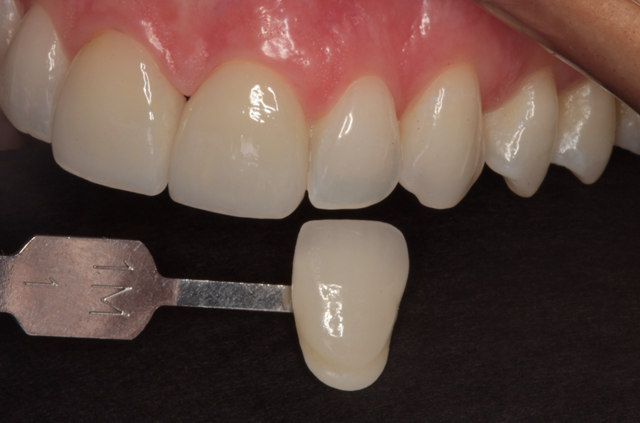

Fig. 3
Continue to the next page to read about the case and see the shade matching process.


The process
A preoperative impression was taken using Silginat alginate alternative impression material by Kettenbach. The previous laminates were carefully removed using a fine diamond bur (Brasseler) in a high speed handpiece with water spray. The prepared teeth can be seen from the facial view in Figure 4. The incisal view of the prepared teeth is shown in Figure 5. All prepared surfaces were in enamel.

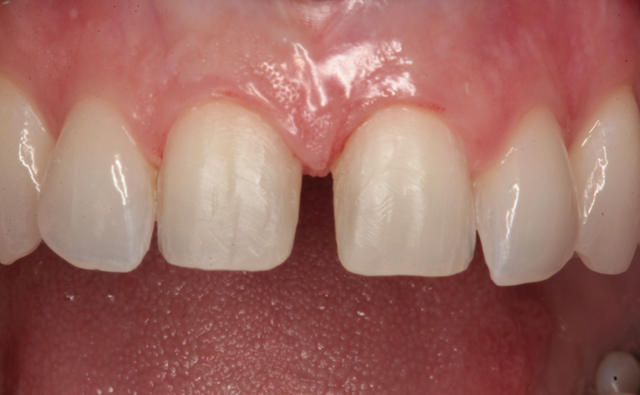


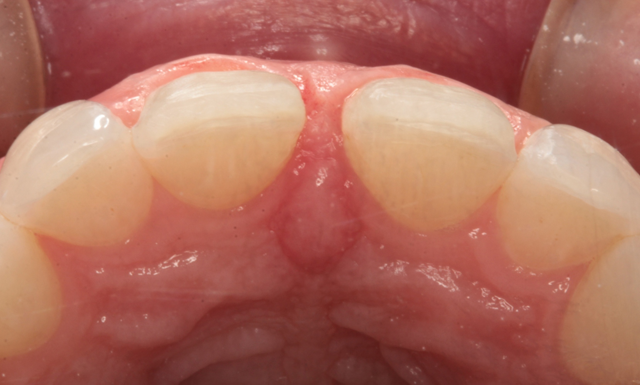
Fig. 4 Fig. 5
A final impression was taken with Panasil A-silicone impression material (Kettenbach) and an opposing impression was made with Silginat. A bite registration was taken using Futar by Kettenbach . In the preoperative impression a multifunctional acrylic composite temporary material (VISALYS, Kettenbach) was injected into the area of the central incisors and placed back over the prepared teeth. After two minutes, the impression was removed leaving the provisional restorations on the teeth (Fig. 6).
The provisionals were adjusted and polished and the patient was instructed to be very judicious in her oral home care because the temporary veneers were splinted together to help in retention. A Sonicare tooth brush was recommended.

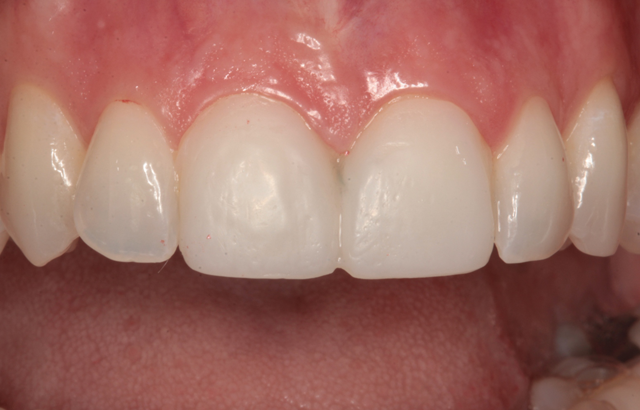

Fig. 6
I sent the impressions and bite registration as well as photographs of the preoperative veneers, prepared teeth and provisional restorations to the lab. I asked that Peter use eMax ceramic to fabricate two ceramic laminate veneers to match the adjacent teeth.
Continue to the next page to see the next steps.


At the lab with Peter Kouvaris
Upon arriving at our laboratory’s receiving area, the impression and bite registration were disinfected and the case was entered into our scheduling software in preparation for model work. Once the models were poured, the case was brought to me for its initial evaluation. I began by reviewing the case’s lab script along with its model work and the series of intraoral and facial photos provided for review. The photos most vital for color matching are the ones of the teeth with a shade tab closest to the foundation color in front of them. Please note to make sure the shade tab’s designation is unobstructed and can be seen clearly as shown in Figure 3.

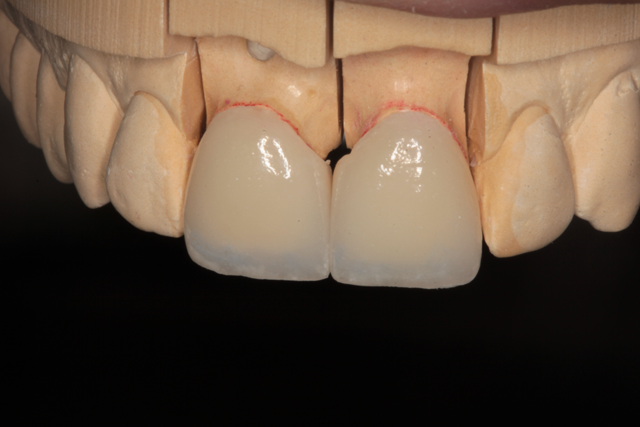


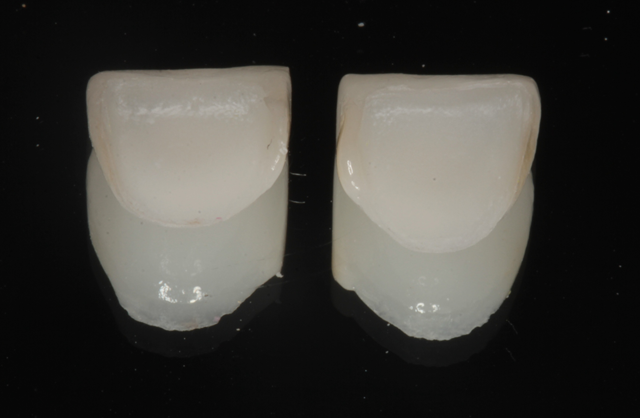

Fig. 7 Fig. 8
Once the case was analyzed and approved for fabrication, a proper ingot was chosen and pressed to full contour. After divesting, the restorations were cleaned and returned to the master cast for inspection of accurate fit. When shaping the restorations, special attention is given to the line angles and surface texture in order to replicate the natural look and feel of the adjacent teeth. The attention was subsequently focused on the photos depicting the natural dentition and their color nuances. Noting the blue color’s intensity and position in the incisal area, the cream colored band framing the edge of the laterals provided me with a mapping for layering purposes. This should also be noted for staining if a monolithic restoration is prescribed. Needless to say the proper preparation, impression accuracy and photo documentation are all necessary to achieve desirable results in any restoration process.
The eMax veneers can be seen on the working model in Figure 7. The intaglio etched surfaces are show on a mirror surface in Figure 8.
Continue to the next page for the delivery steps.
Delivery
At the delivery appointment, the provisional veneers were removed and the new laminate veneers were tried in using Calibra try in paste (Dentsply/Sirona). The patient was asked to look in a mirror and she approved the new veneers. The veneers were removed and thoroughly cleaned with water spray from an air/water syringe and dried with oil-free air. A silane primer (Calibra Silane Coupling Agent, Dentsply/Sirona) was used to treat the etched intaglio surfaces (Fig. 9), allowed to dwell for twenty seconds and air dried.


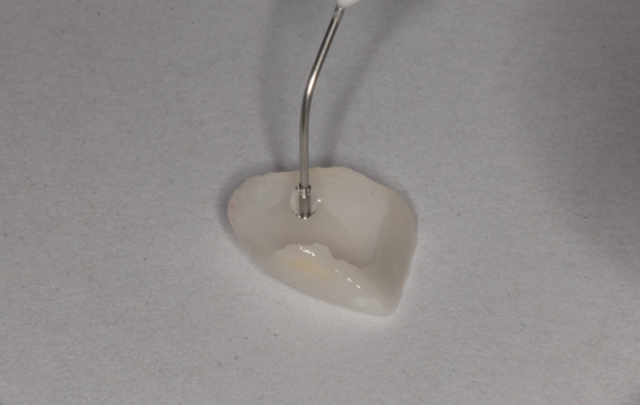


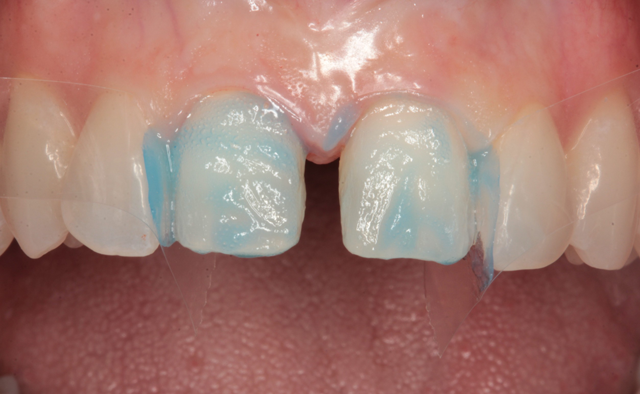
Fig. 9 Fig. 10
Celluloid strips were placed distal to both central incisors to protect the adjacent teeth. Phosphoric acid edging gel (Calibra, Dentsply/Sirona) was placed on the prepared enamel surfaces (Fig. 10), thoroughly rinsed after ten seconds (Fig. 11) and air dried (Fig. 12).

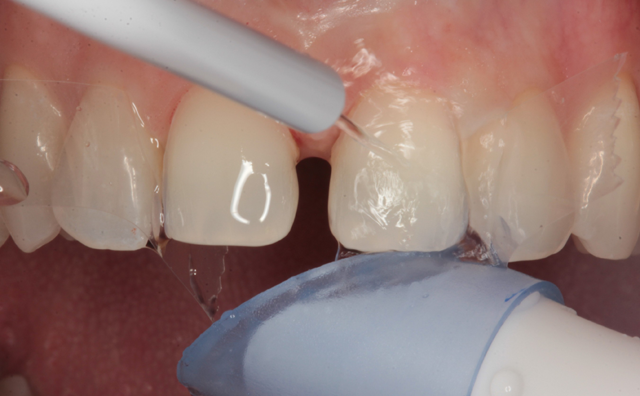


Fig. 11 Fig. 12
Continue to the next page for the next steps.
Bonding agent (Prime & Bond NT, Dentsply/Sirona) was applied to the prepared surfaces (Fig. 13) and air thinned (Fig. 14). The bonding agent was light cured for ten seconds with a LED curing light (Fig. 15). Veneer cement (Calibra Veneer, Dentsply/Sirona) was applied to the silane treated internal surfaces (Fig. 16).


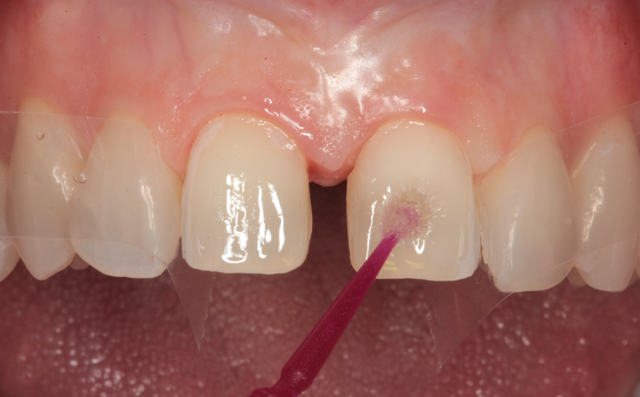


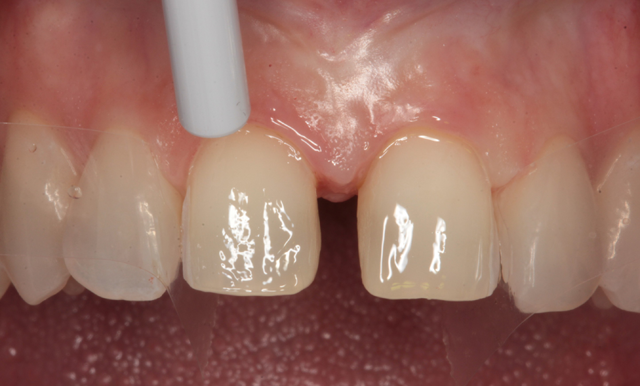


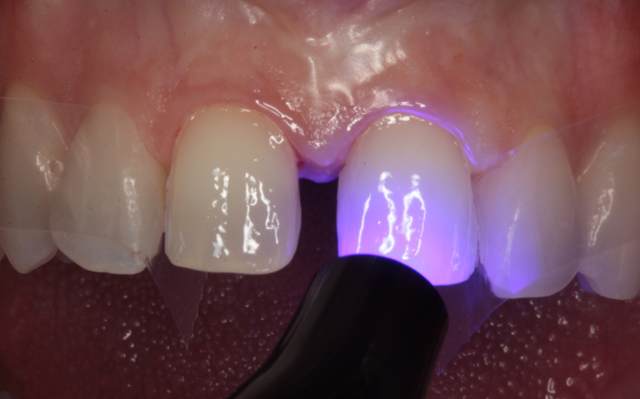
Fig. 13 Fig. 14 Fig. 15
The veneers were delivered to the teeth using a cotton plier (Fig. 17). A placement instrument (Veneer Stabilizer, Hu-Friedy) was used to lightly seat the veneers (Fig. 18). Excess resin cement at the margins was removed with a brush (Fig.19).


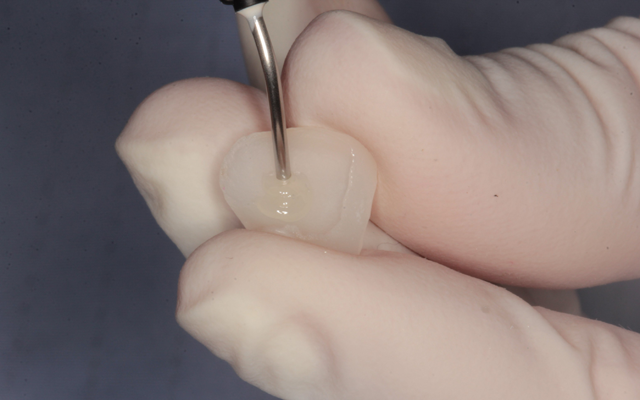


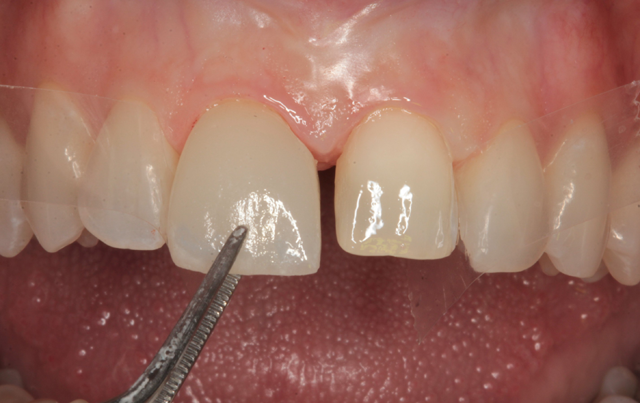

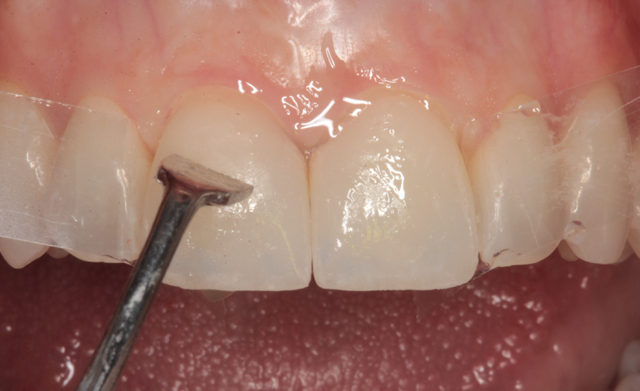

Fig. 16 Fig. 17 Fig. 18

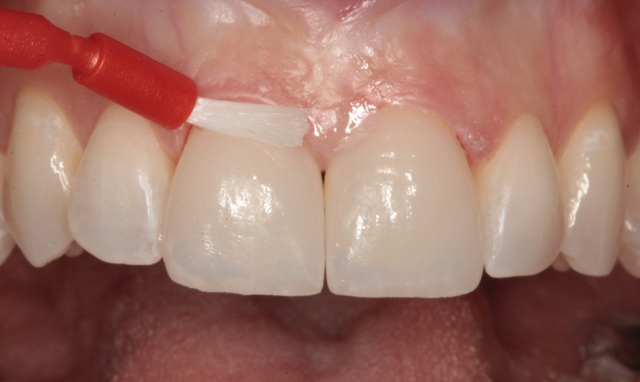

Fig. 19
Continue to the next page for the next steps.
The LED curing light was used to “tack” the cement for two seconds each tooth (Fig. 20). A celluloid strip was eased through the interproximal area between veneers (Fig. 21) and floss was worked through the distal contacts to remove unset cement (Fig. 22). The LED curing light was used to complete the cure by exposing the facial and lingual surfaces for 20 seconds each Figure 23.

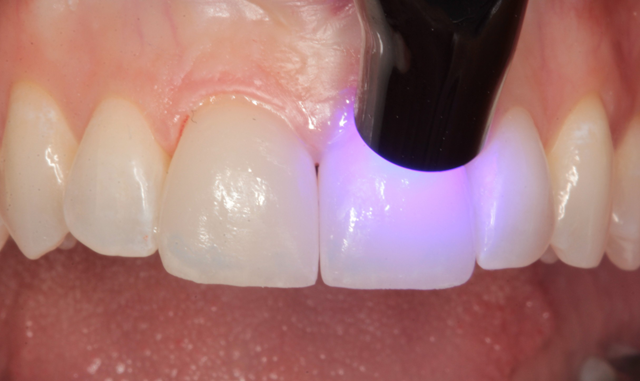


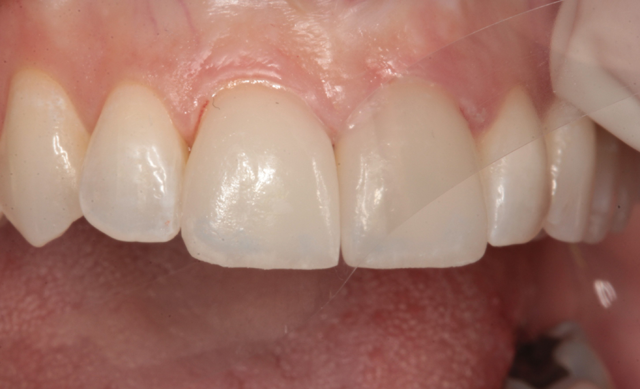

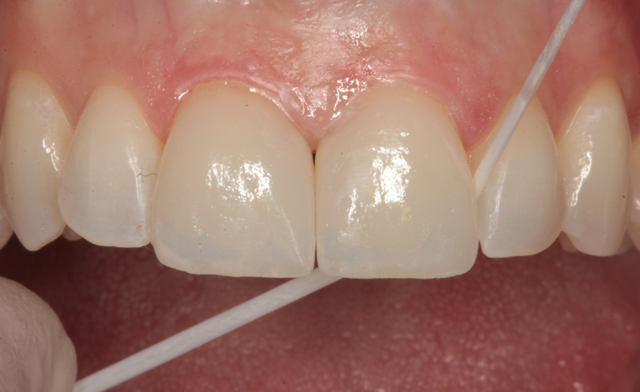

Fig. 20 Fig. 21 Fig. 22
A small carbide finishing bur was used to remove remaining excess resin at the margins (Fig. 24). A number 12 surgical blade was used to remove some excess resin at the interproximal margins (Fig. 25). An Enhance Cup (Dentsply/Sirona) was used to smooth and polish margins and remove excess resin on the ceramic surfaces (Fig. 26).

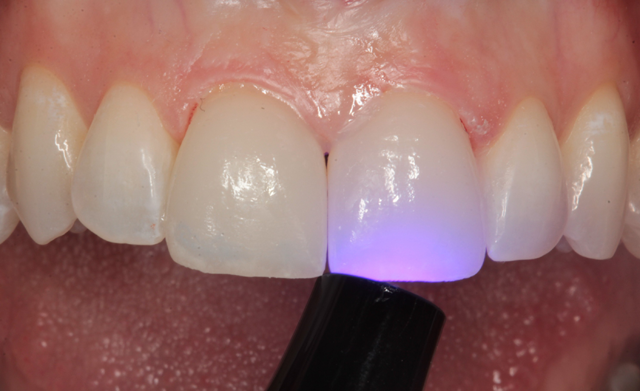

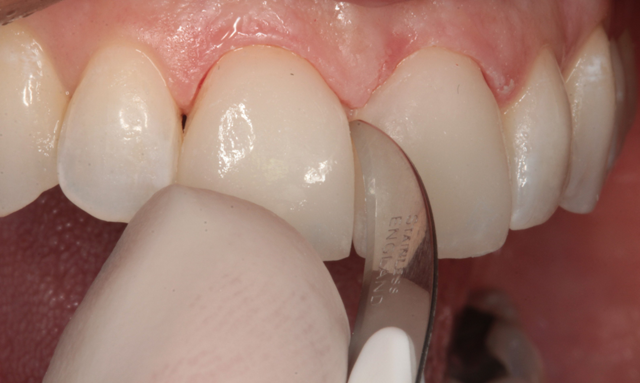

Fig. 23 Fig. 24 Fig. 25


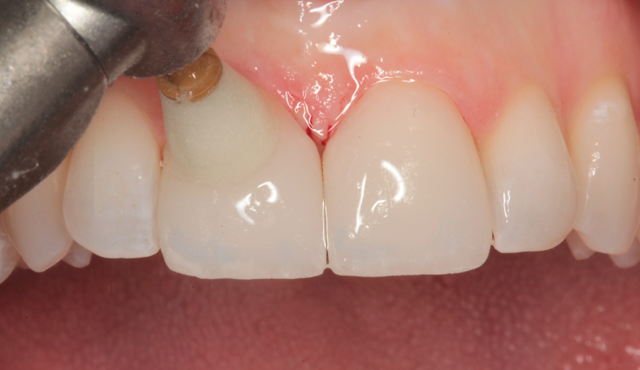
Fig. 26
Continue to the next page for the next steps.
The final result is shown from the incisal view in Figure 27. The facial view after treatment can be seen in Figure 28. The patient's new smile is shown in Figure 29.

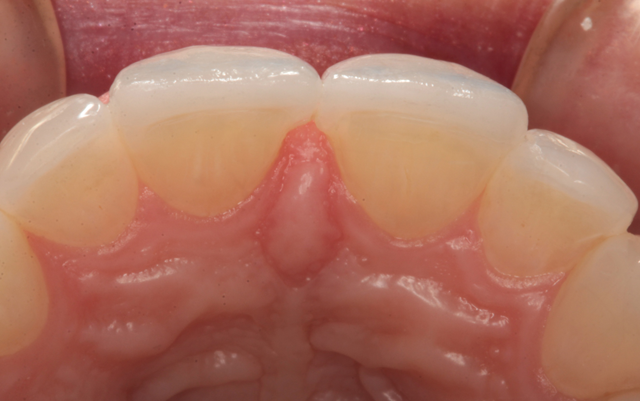


Fig. 27 Fig. 28
By using team treatment, Peter and I were able to achieve a superb color match with ceramic veneers that mimicked the appearance the surrounding neighbors. It was my job to prepare the teeth properly, acquire accurate impressions, provide excellent photography, choose a shade and deliver the finished laminates. Peter's job was to pour accurate models, produce the ceramic veneers and develop the color and contours to achieve the esthetic result.


Fig. 29


