Step-by-step: See how Aquasil Ultra+ material is the no-compromise dental impression solution
This video will examine tooth preparation and final impression taking using Aquasil Ultra+ impression material, two key components to a successful single-unit crown procedure.

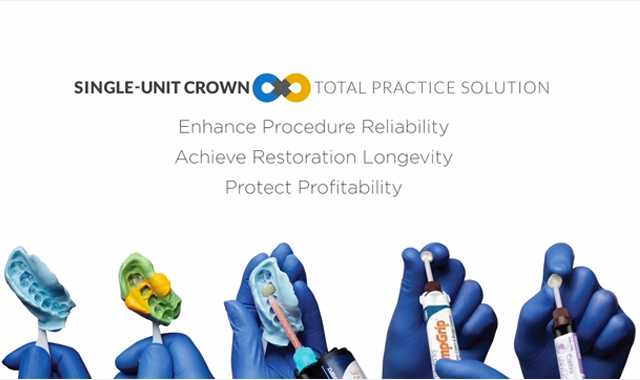

The Dentsply Sirona Restorative Single-Unit Crown Total Practice optimizes three critical procedural steps to enhance procedural reliability, achieve restoration longevity, and help protect the profitability of your practice.
This video will examine tooth preparation and final impression taking using Aquasil Ultra+ impression material, two key components to a successful single-unit crown procedure.
Preparation design is a critical component in creating a successful restoration. An all ceramic preparation requires a minimum of 1.0mm of axial reduction, 1.5mm across the occlusal surface and a full 2.0mm in the central fossa. An ideal preparation should have at least 3-4mm of axial wall height and an occlusal convergence or taper of between 8-10 degrees, to create inherent retention.
After preparation, the tooth and the surrounding anatomy are ready for the final impression. Aquasil Ultra+ Smart Wetting Impression Material is syringed around the prepared tooth beginning at the margin inter-proximally using the digit delivery system. Performance optimized with intraoral hydrophilicity and intraoral tear strength, Aquasil Ultra+ impression material is the idea material to use for this case. Syringing continues up the axial walls and onto the occlusal surface. Remember to keep the tip in the material at all times to prevent voids or bubbles in the final impression. The remaining wash material is placed across the adjacent occlusal surface to minimize potential for voids where the mix tip is withdrawn. The tray is then seated.
The tray is stabilized in the mouth. Two and one half minutes from the start of mixing, the material is set and can be removed. The final impression is checked to see that all detail has been recorded, that no errors have occurred, and that no voids, tears, or bubbles are detected. This Aquasil Ultra+ final impression can now be sent to the lab for final crown fabrication.
To explore the complete Single-Unit Crown Total Practice Solution including products, education, and support, please visit singleunitrestorations.com.


