Class II: Tips and Tricks for These Frequent Fillings
Efficient and effective Class II composite restorations require excellent technique. Here are a few tips and tricks we found that can help improve yours.


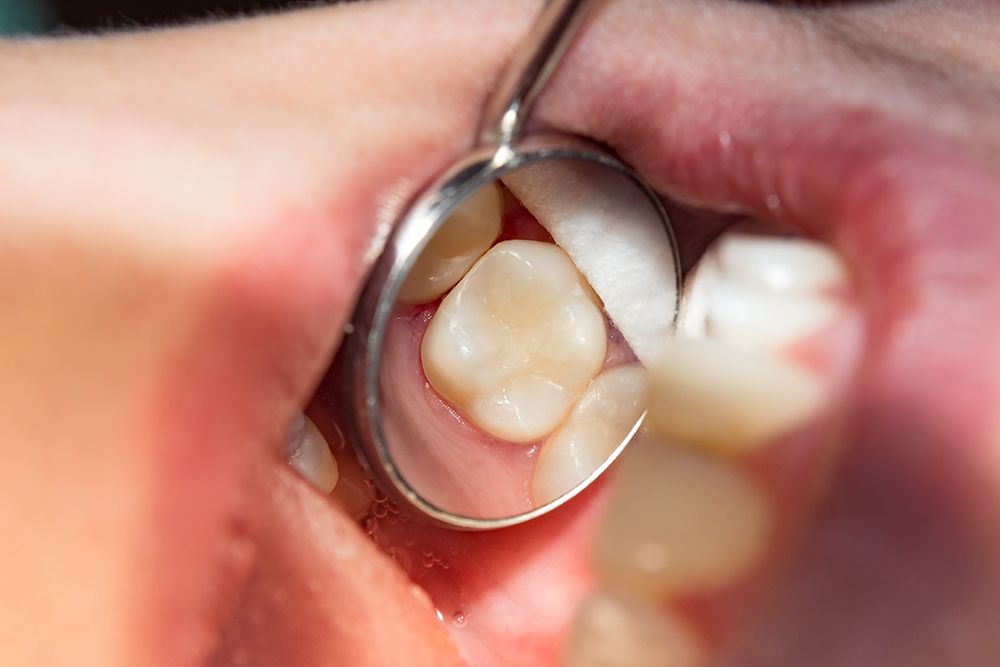
Сергей Кучугурный / STOCK.ADOBE.COM
It starts in the preparation.
Columbia University’s Center for New Media Teaching and Learning (CCNMTL) suggests that a Class II Composite Restoration’s success starts with an ideal cavity preparation. The authors suggest that when you have an ideal cavity preparation, clinicians can see the extent of the lesion on the pulpal, lateral, and axial walls. While it is essential to remove any remaining carious lesion, dental professionals should do so only after establishing the ideal internal and external outline forms.1
The CCNMTL recommends the Class II prep have 2 stages. First, establish the occlusal segment. Then, prepare the proximal segment. The pulpal floor should go .5mm into dentin and the walls should be connected by a smooth curve with no catches in the groove area. Once established, the authors suggest the occlusal and proximal segment have a smooth and continuous flow with an established reverse curve. The axial wall should be rounded and go .5mm to .8mm into dentin. The buccal proximal is 90 degrees to the tooth’s cavosurface margin and the lingual is 90 degrees to the tooth structure’s tangent. Also, the authors suggest that the bucco and linguo proximal walls meet at an acute angle. In addition, the gingival cavosurface margin is planed and all unsupported enamel is removed.1
To read the specifics of preparing the ideal cavity preparation per the CCNMTCL, please click here.
Get into the grooves to ensure retention.
Mental Dental, a free educational content channel on YouTube, has a video called Class II Composite Prep and Restoration by Aldridge D. Wilder, DDS, that demonstrates how to prep and restore a Class II composite restoration. They recommend adding proximal retention grooves to improve the retention of the material after placement. Mental Dental suggests using a quarter round or the tip of 169Ltaper fissure bur inside the dentin enamel junction. They suggest there should also be an occlusal dovetail at the mesial pit; this dovetail prevents proximal displacement of the restoration. Following the creation of the divots, dentists can roughen the enamel walls to increase surface area and improve the retention of the material.2
Create ideal contours and interproximal contacts.
Jeff Lineberry, DDS, FAGD, AAACD, is a private-practice dentist in North Carolina and a visiting faculty and contributing author for Spear Education. He says an essential part of having a great Class II resin restoration is to create ideal contours and interproximal contacts. However, he writes, getting ideal contours and interproximal contacts is also a significant challenge.3
Matrix bands help. Dr Lineberry writes that switching from the tofflemire matrix to the sectional, pre-contoured matrix bands and retaining rings, the results were predictable and straightforward, and produced tight proximal contacts and proper contours. However, he also says that keeping the sectional matrix in place is challenging if your patient has too much tooth structure missing or if the proximal box extends too far into the facial or lingual.3
In addition to using the sectional matrix, Dr Lineberry recommends ensuring that the isolation is adequate, so the gingival margin area is dry and does not seep between the tooth and the matrix band. He writes that using a wedge can manage that situation.3
To read Dr. Lineberry’s entire article on Class II restorations, please click here.
Round out the matrix side sub gingivally.
Sectional matrices have walls that are convex and concave, but they also have sides that are convex and concave. So, which side do you place gingivally? Per the Pivot Dental Company, there are 2 schools of thought on this question:4
If you place the matrix’s concave side gingivally, it allows the matrix to pull tighter and produce a round shape to the restoration.
If you place the matrix’s convex side gingivally (and even sub gingivally), it gives you a gingival extent that seals off that area well.
Brad Revering, DDS, says in the video that he prefers to place the matrix’s convex side sub gingivally, followed by the wedge and Bitine rings. In some cases, where the decay goes below where the convex matrix can reach, he uses a matrix with an extended convex side to get all the way down sub gingivally to where the decay stops. Clinically, he says, these types of tabs can help. However, Dr Revering says if you use a matrix with an extended tab for subgingival placement as a result of decay,it is critical to tell patients that the case is compromised and set proper expectations about the restoration.4
To watch Dr Revering’s entire video on Class II Fillings- Tips and Tricks, please click here.
Don’t forget the flowable composite.
Flowable composite resins have a lower viscosity than their sculptable counterparts. They are especially good at getting down in the nooks and crannies of a preparation.
For a Class II, flowables are an excellent way to make the bottom of the cavity more regular than it is in its unlined form, per StyleItaliano. Another benefit of using flowable composite to line the bottom of the cavity is that it reduces the depth of the layering that you need to do to fill the cavity.5
Another great use of flowable per StyleItaliano is to check the margins of your restoration under the matrix once you have polymerized the marginal crest. That way, if you have bubbles, you can fill them with a bit of flowable composite.5
To see the entire case with pictures on StyleItaliano, please click here.
Be blunt about preventing voids in the material.
Voids are a significant detriment to the success of your restoration and can cause postoperative sensitivity. Therefore, preventing them with your layering technique is essential.
Once you have placed the flowable liner, begin layering in composite. Mental Dental recommends compacting with a blunt hand instrument to prevent voids. Also, Mental Dental recommends dipping the instrument in a little adhesive to prevent the material from sticking to the instrument during the compacting process. Then cure the material per the manufacturer’s instructions before repeating for the next layer.
To watch the whole process for Class II Composite Preparation and Restoration on Mental Dental’s channel, please click here.
Each step of the process in a composite restoration from Class I to V is essential and builds upon the last one. Unimpeachable technique is crucial to ensure predictable outcomes and restorative success. By using these tips and tricks—creating an ideal preparation, adding proximal retention grooves, creating ideal contours and proximal contacts with sectional matrices, using the concave side of the matrix to seal gingivally, lining the prep with flowable composite, and using a blunt instrument to compact your layers and prevent voids—you have set up your Class II restoration for success.
References
1. Operative Dentistry: Class II Cavity Preparation.; 2006. Ccnmtl.columbia.edu. https://ccnmtl.columbia.edu/projects/virtechs2006/pdfs/opclass2prep.pdf. Accessed August 13, 2021.


