How to provide clear aligner therapy with ClearCorrect and CEREC
One practitioner shares how ClearCorrect easily and efficiently helped one patient become more confident in his smile.


Clear aligner therapy is a treatment where transparent plastic dental appliances are worn to apply pressure to teeth and gradually correct malocclusion.
Clear aligner therapy offers a discreet alternative to traditional braces while moving teeth effectively and quickly. The following case study examines the process of using CEREC Ortho intraoral scans to produce clear aligners with ClearCorrect for a patient’s orthodontic treatment.
The case
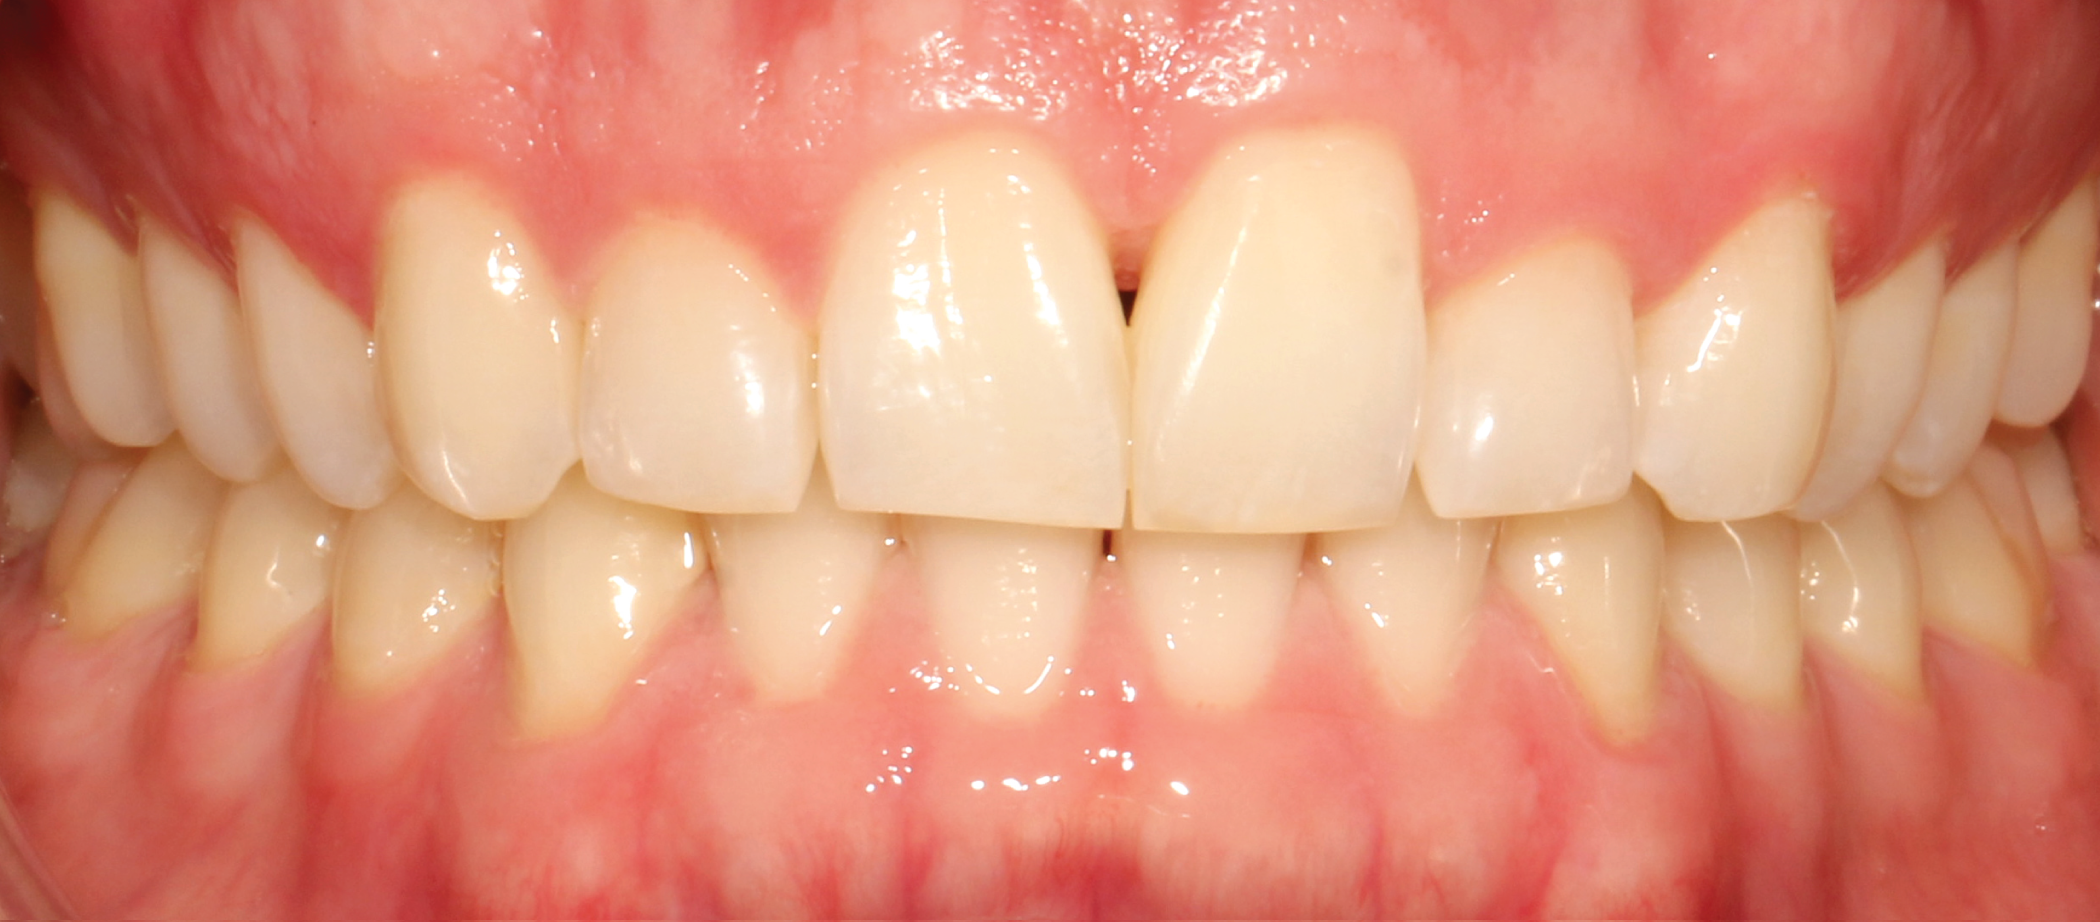
A 32-year-old male patient presented with a chief complaint of rotated tooth 9 and uneven anterior gingival heights. The patient was not interested in traditional orthodontic brackets and wires and decided on clear aligner therapy due to its esthetic and hygienic advantagesUpon reviewing the process with the patient, the decision was made to initiate ClearCorrect clear aligner therapy. The patient consented and the appropriate impressions and photos were submitted to ClearCorrect for a treatment setup.


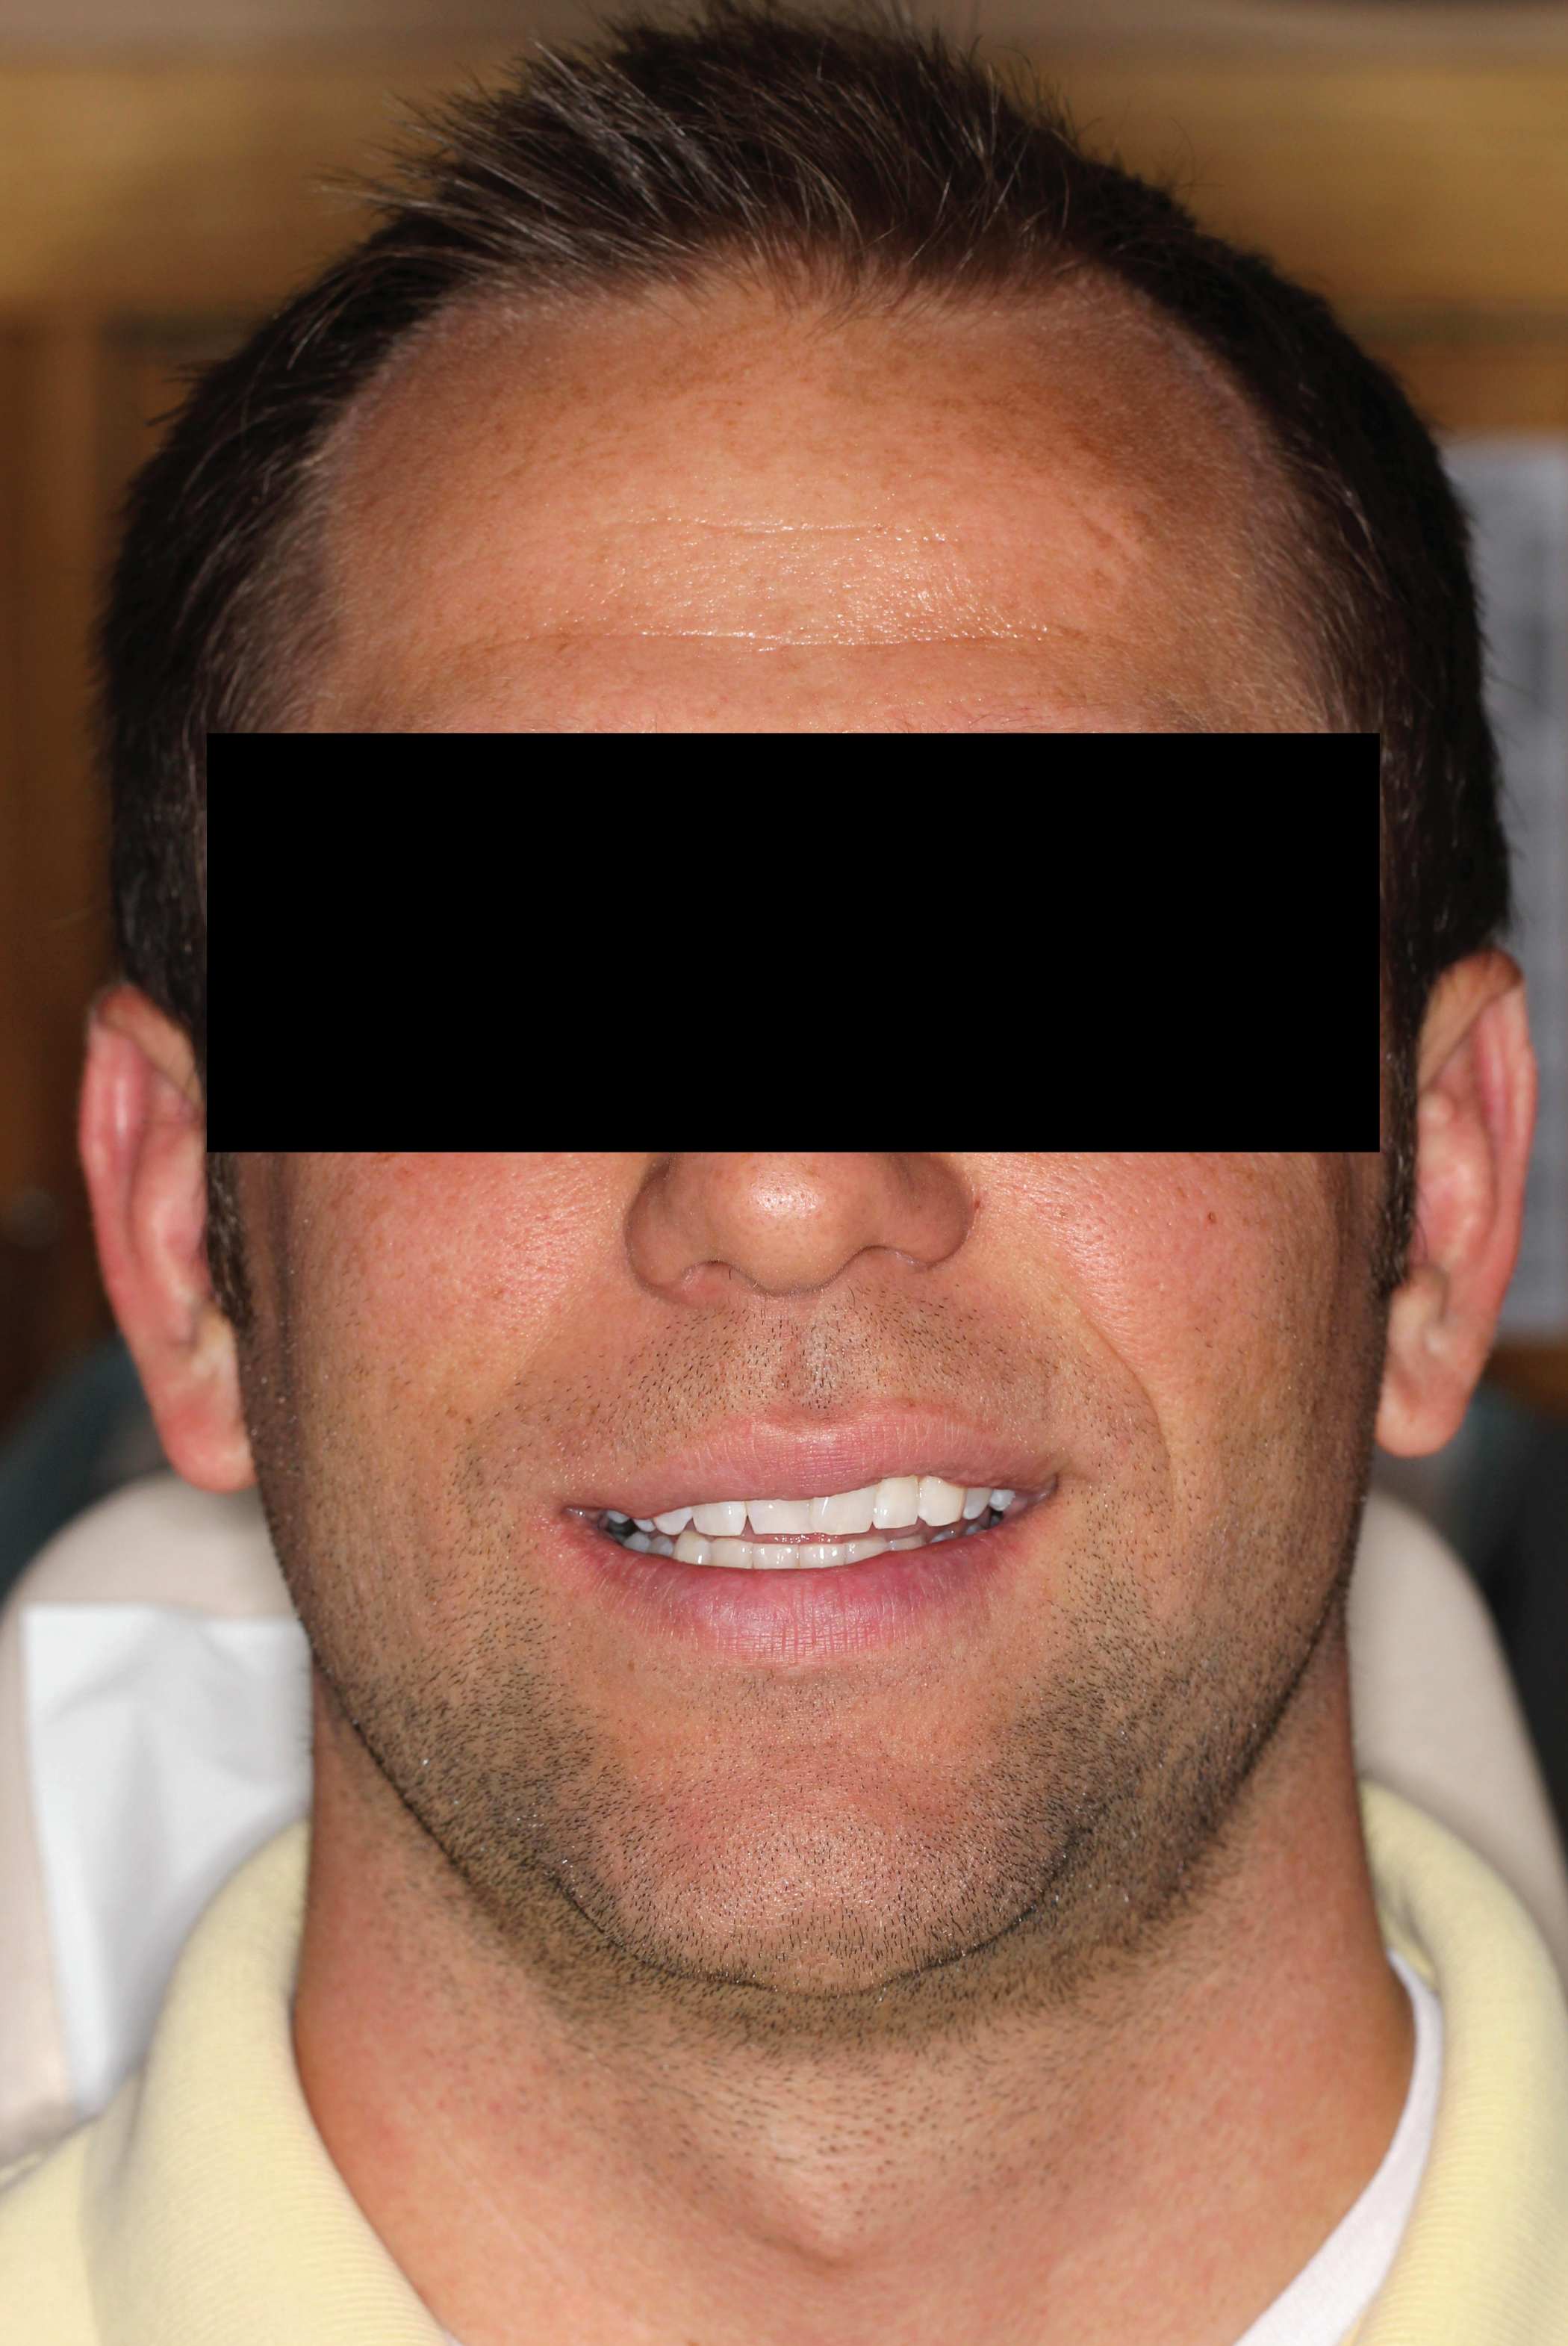

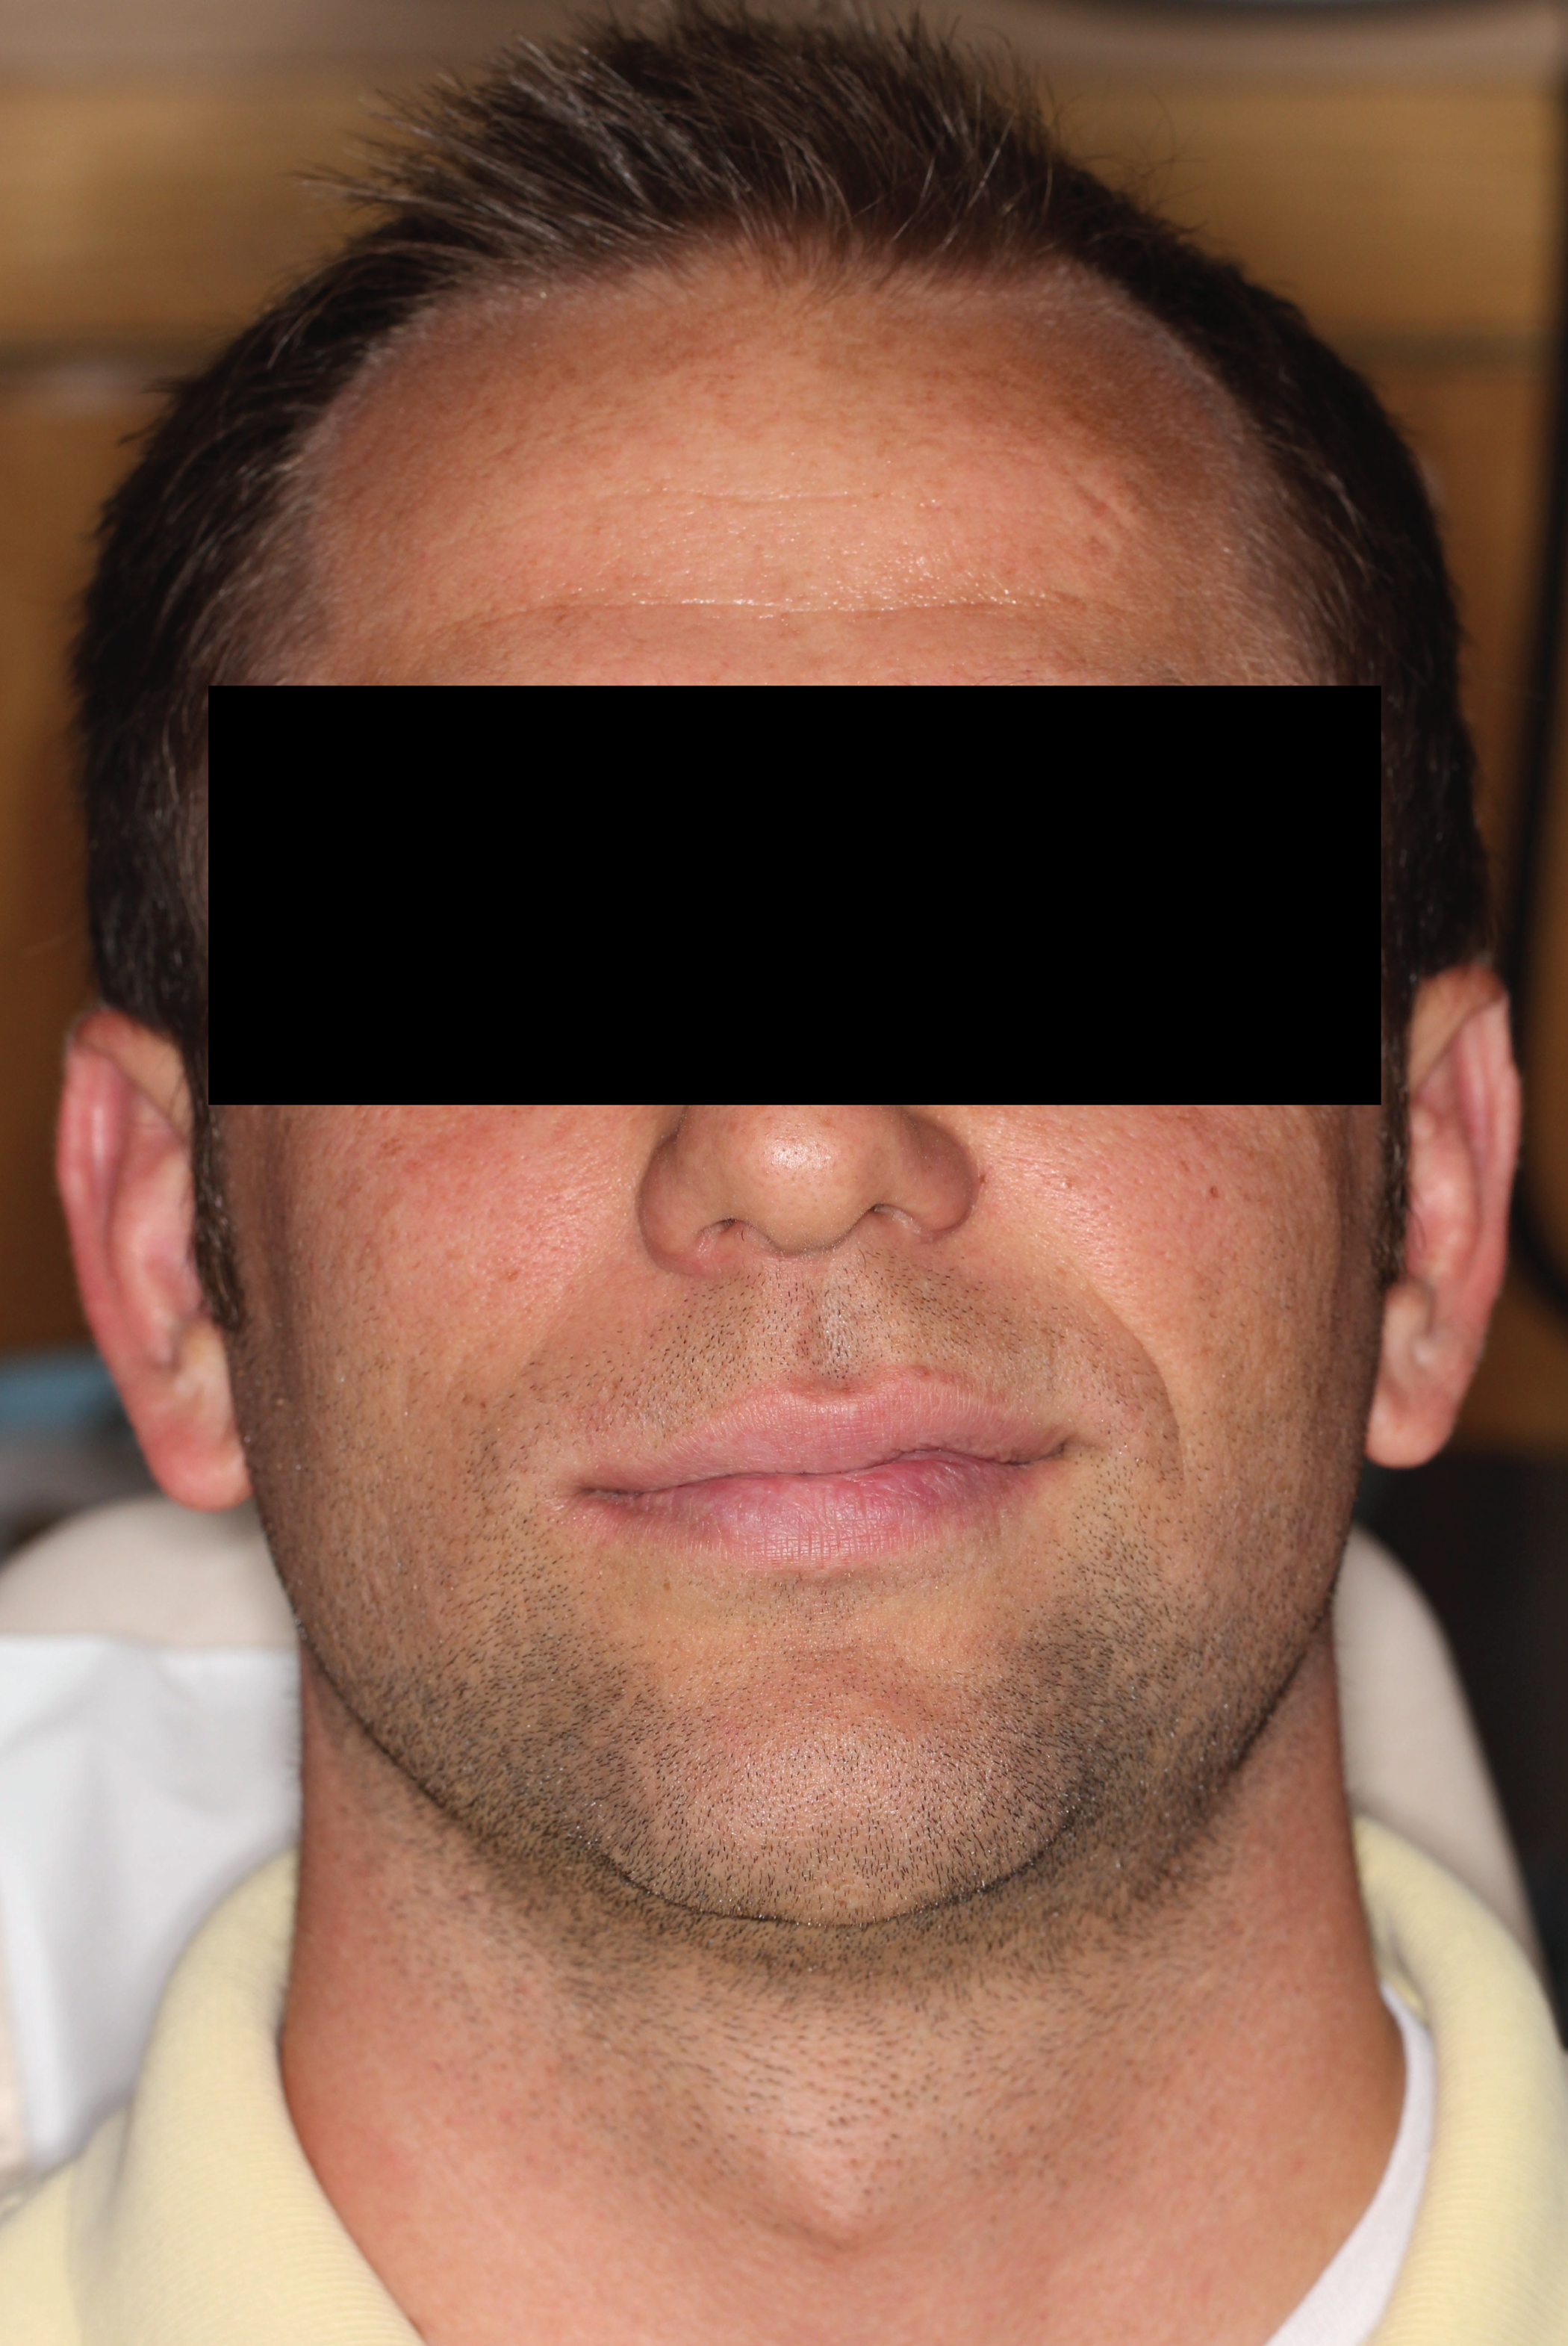
Fig. 1: Pre-op (full face, smiling) Fig. 2: Pre-op (full face, not smiling)
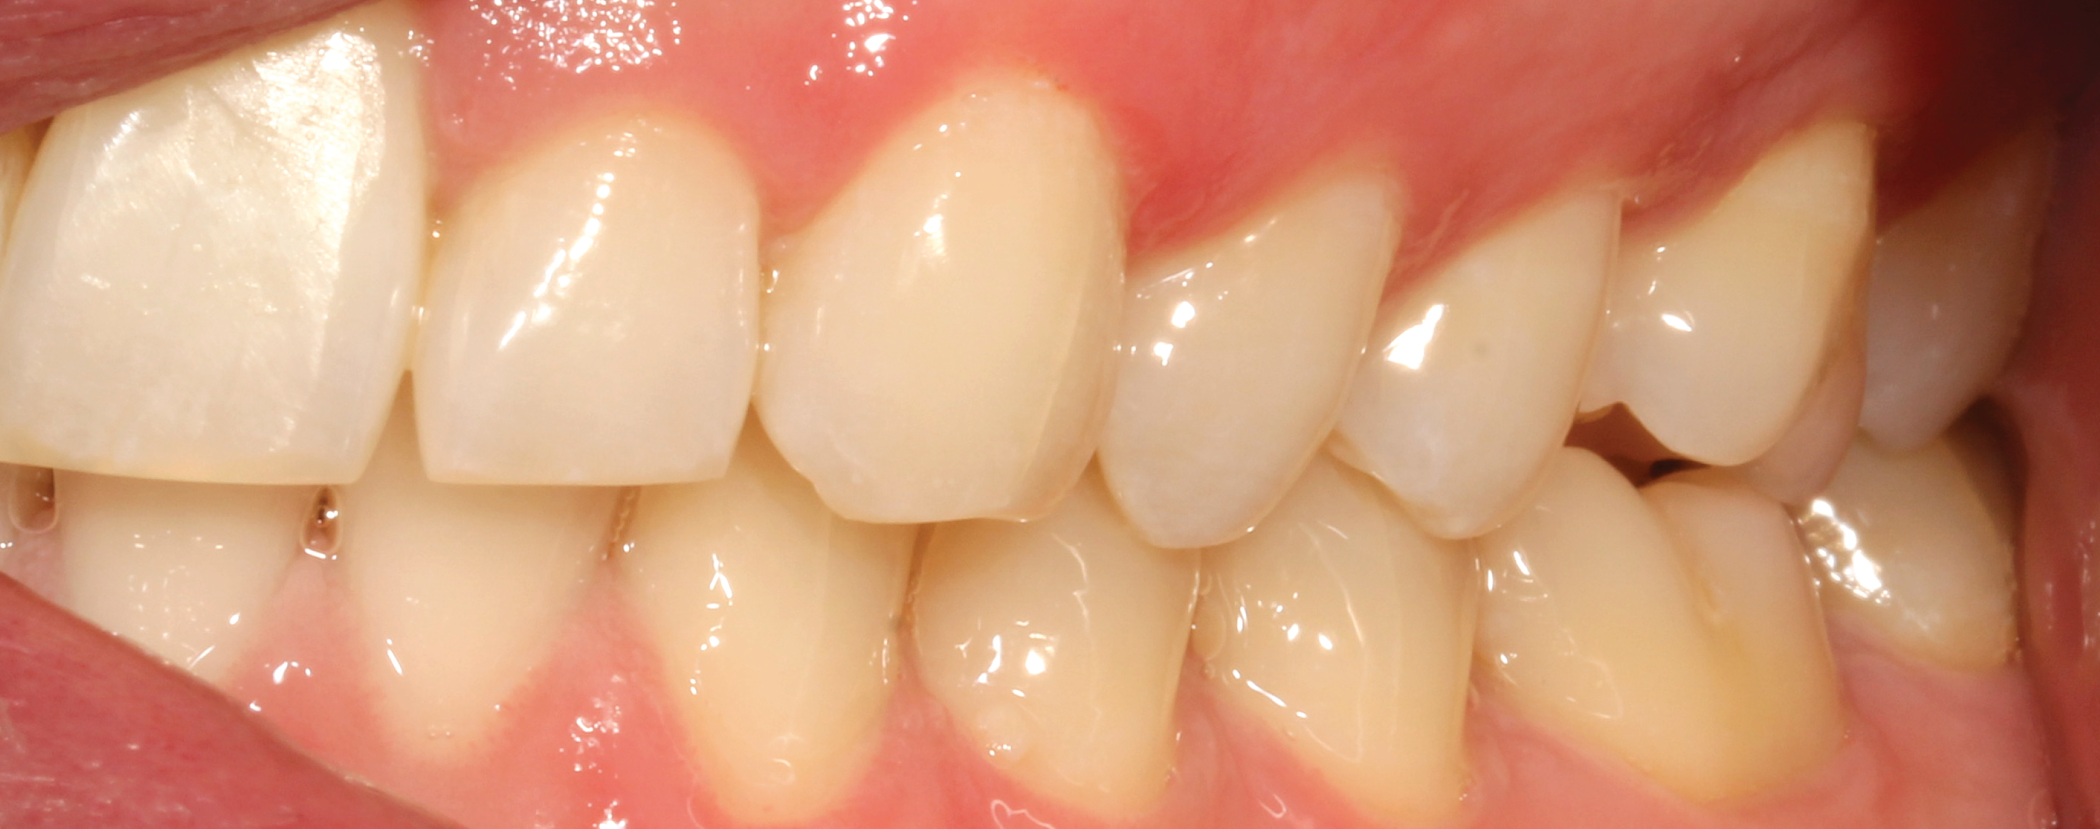
The treatment goals for clear aligner therapy were focused on rotating tooth 9, extruding tooth 9 and subsequent enameloplasty to even out the maxillary anterior teeth. The patient also had mild Class II molar and canine relationships with crowding and spacing discrepancies in the anterior teeth. The goal with the extrusion of tooth 9 was to move the adjacent bone and soft tissue coronal with the tooth movement. Additional space was needed for the maxillary teeth to accommodate the rotation of tooth 9 into the correct position. Lastly, extra spacing between the lower teeth was to be treated along with the mild Class II malocclusion (Figs. 1-8).
Continue to the next page to see how the case was treated.


Step one
With the new CEREC Ortho software, full arch digital impressions were obtained. The CEREC Ortho software captures the digital impressions through a guided scanning process to ensure proper stitching of all scans along with capturing all pertinent information. The software indicates any areas in the scans that have deficient information which allows the clinician to go back to the area and capture more information without having to redo the entire scan.
The CEREC Ortho software also allows for a double buccal bite impression which ensures accurate correlation between maxillary and mandibular scans. The ability to take a double buccal bite is an exceptional feature of the CEREC Ortho software and eliminates contralateral bite distortion with singular buccal bite scan.


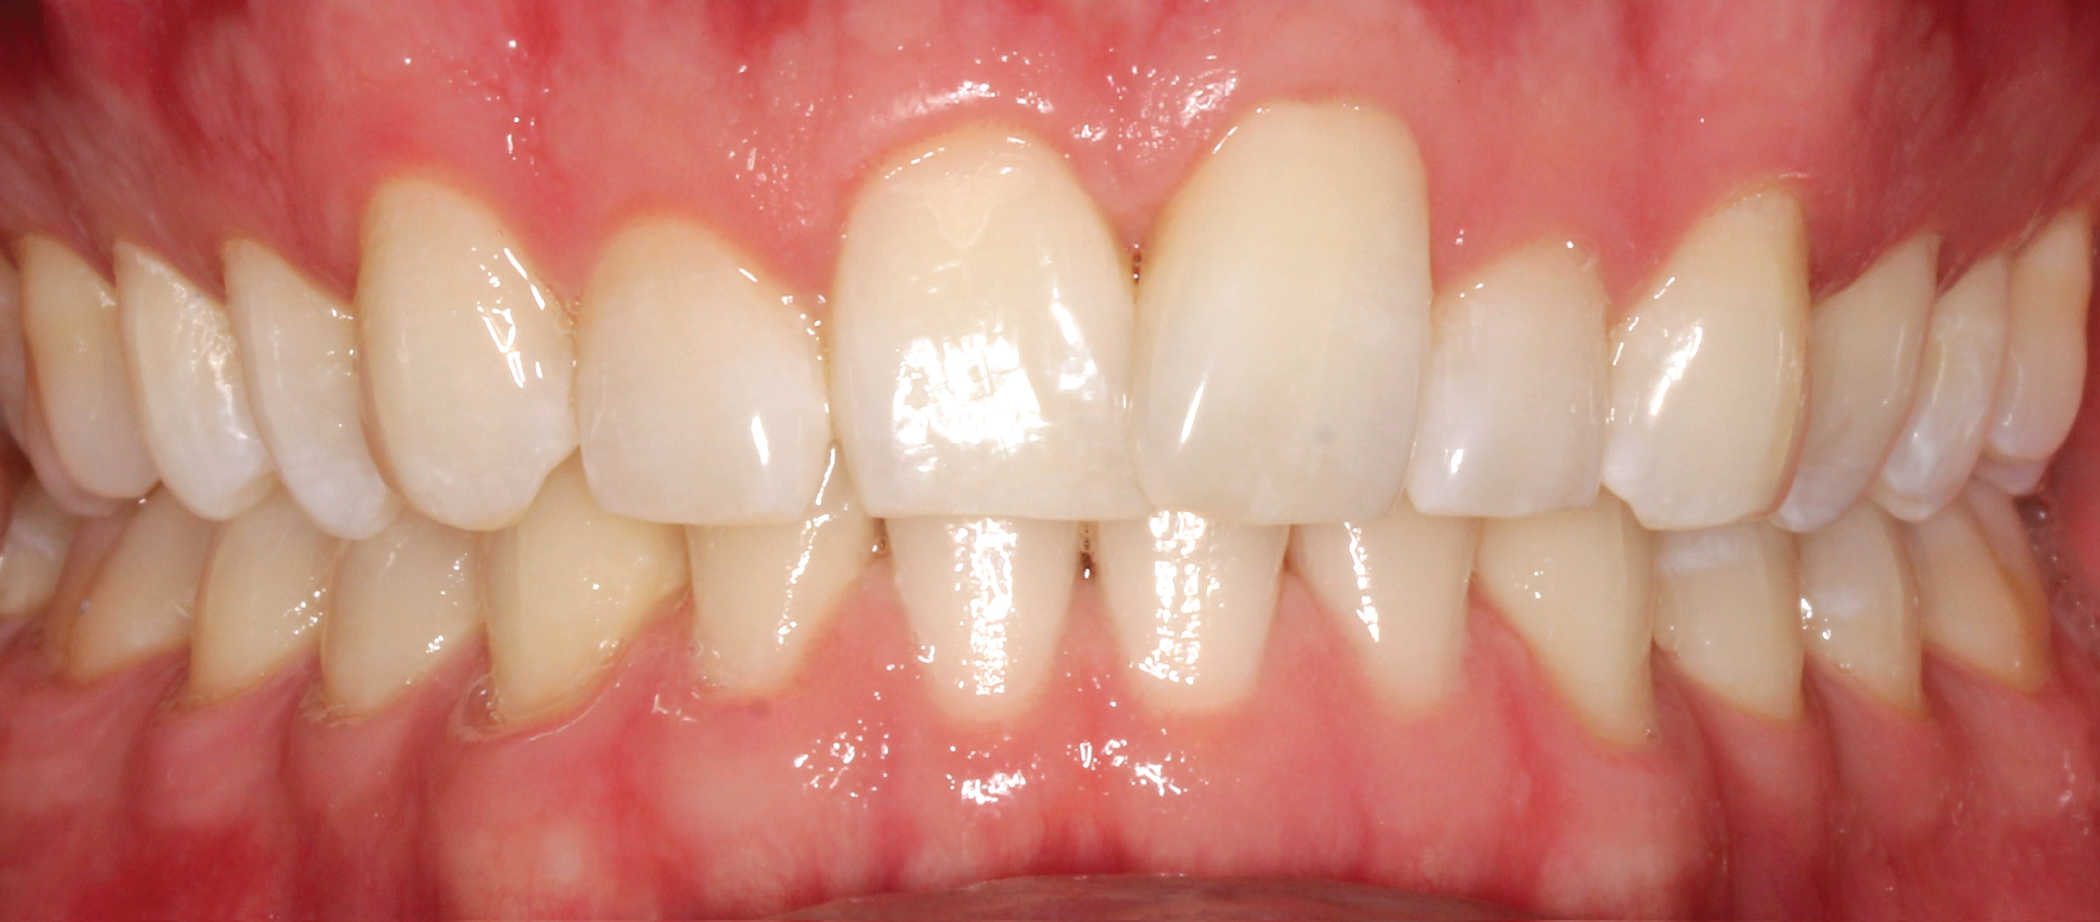


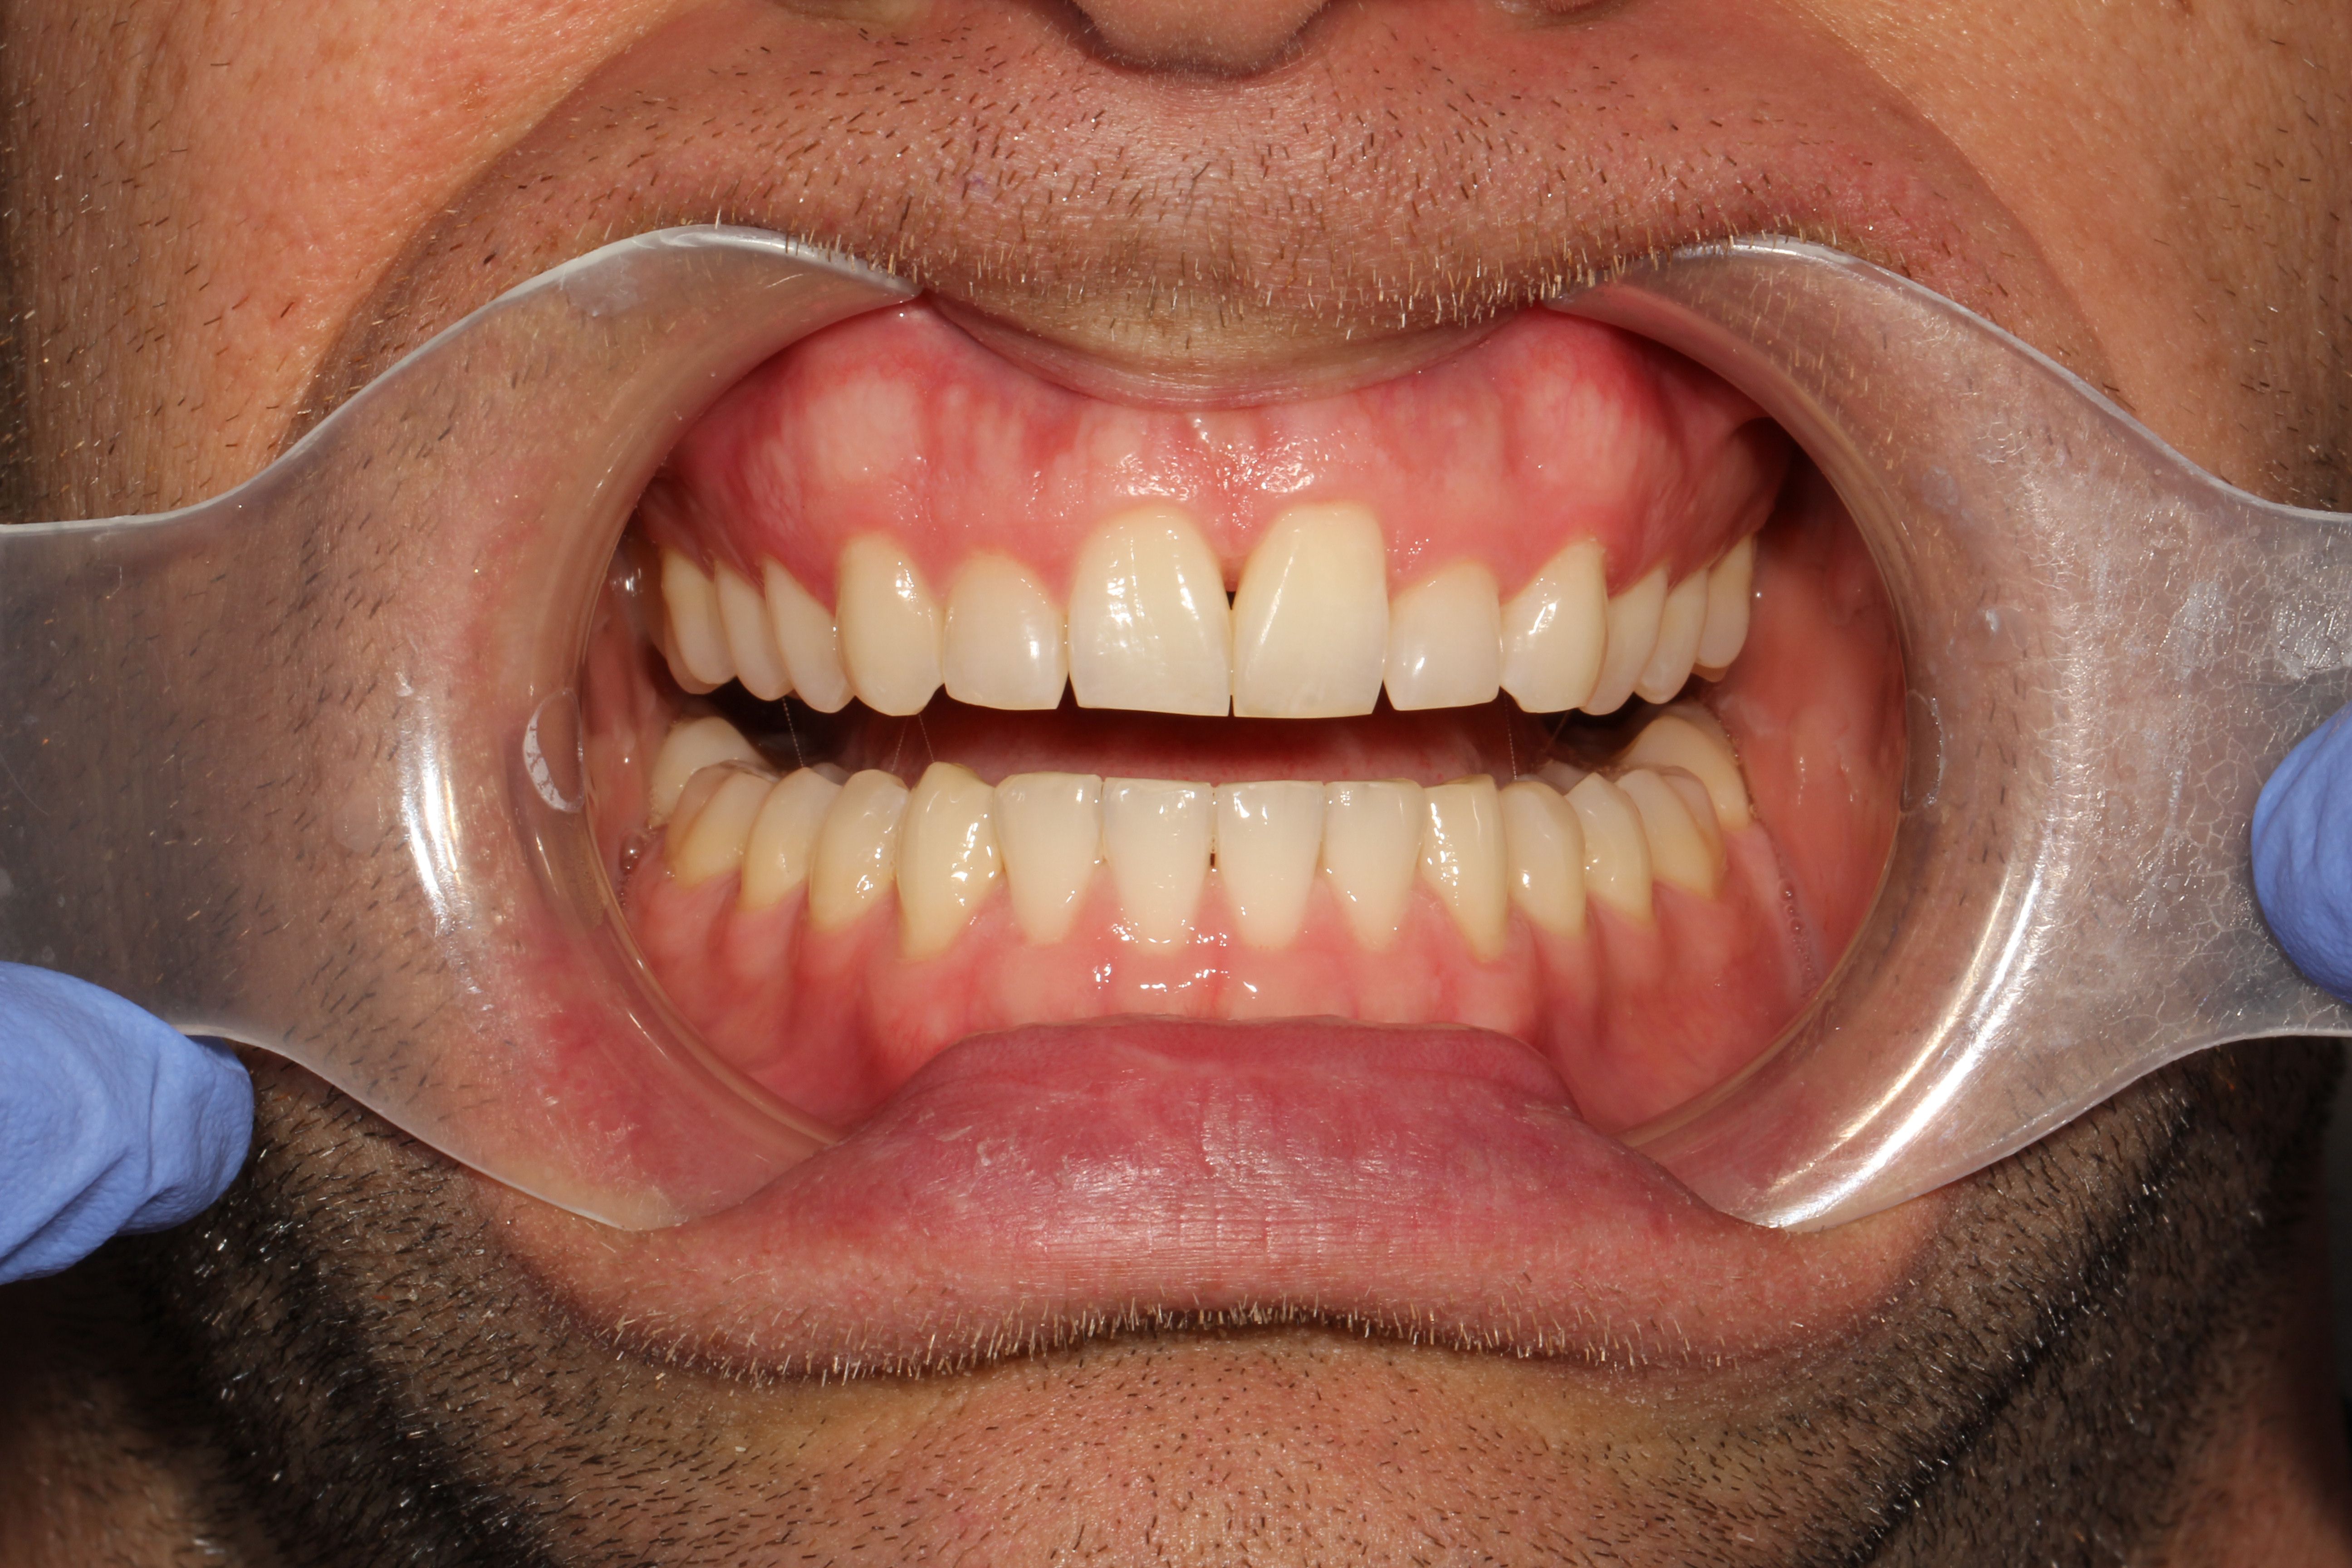
Fig 3: Pre-op (front view) Fig. 4: Pre-op (front view, open)
Step two
Once the scans were completed, they were sent to ClearCorrect via CEREC Connect. Radiographs, photographs and case details were uploaded to ClearCorrect through a secure portal for doctors called ClearComm. Based on the prescription, ClearCorrect developed a Limited 6 treatment setup and uploaded it to ClearComm for doctor approval.
The proposed treatment setup consisted of placement of four engagers, a sequence of IPR and approximately five months of treatment.Due to the significant rotation of tooth 9, a three-week wear schedule per step was prescribed to ensure the teeth were not moved too aggressively, while also allowing crestal bone and gingiva to follow the extrusion of tooth 9.


Step three
Once the patient reviewed and consented to the prescribed treatment setup, approval was sent through ClearComm to start shipping. The first phase of aligners arrived shortly thereafter. The patient was seen every six weeks for evaluation, IPR and transitioning to next set of aligners. The aligners fit well and at each appointment, the patient was given the next set of aligners to begin wearing in three weeks, which eliminated unnecessary appointments.


'


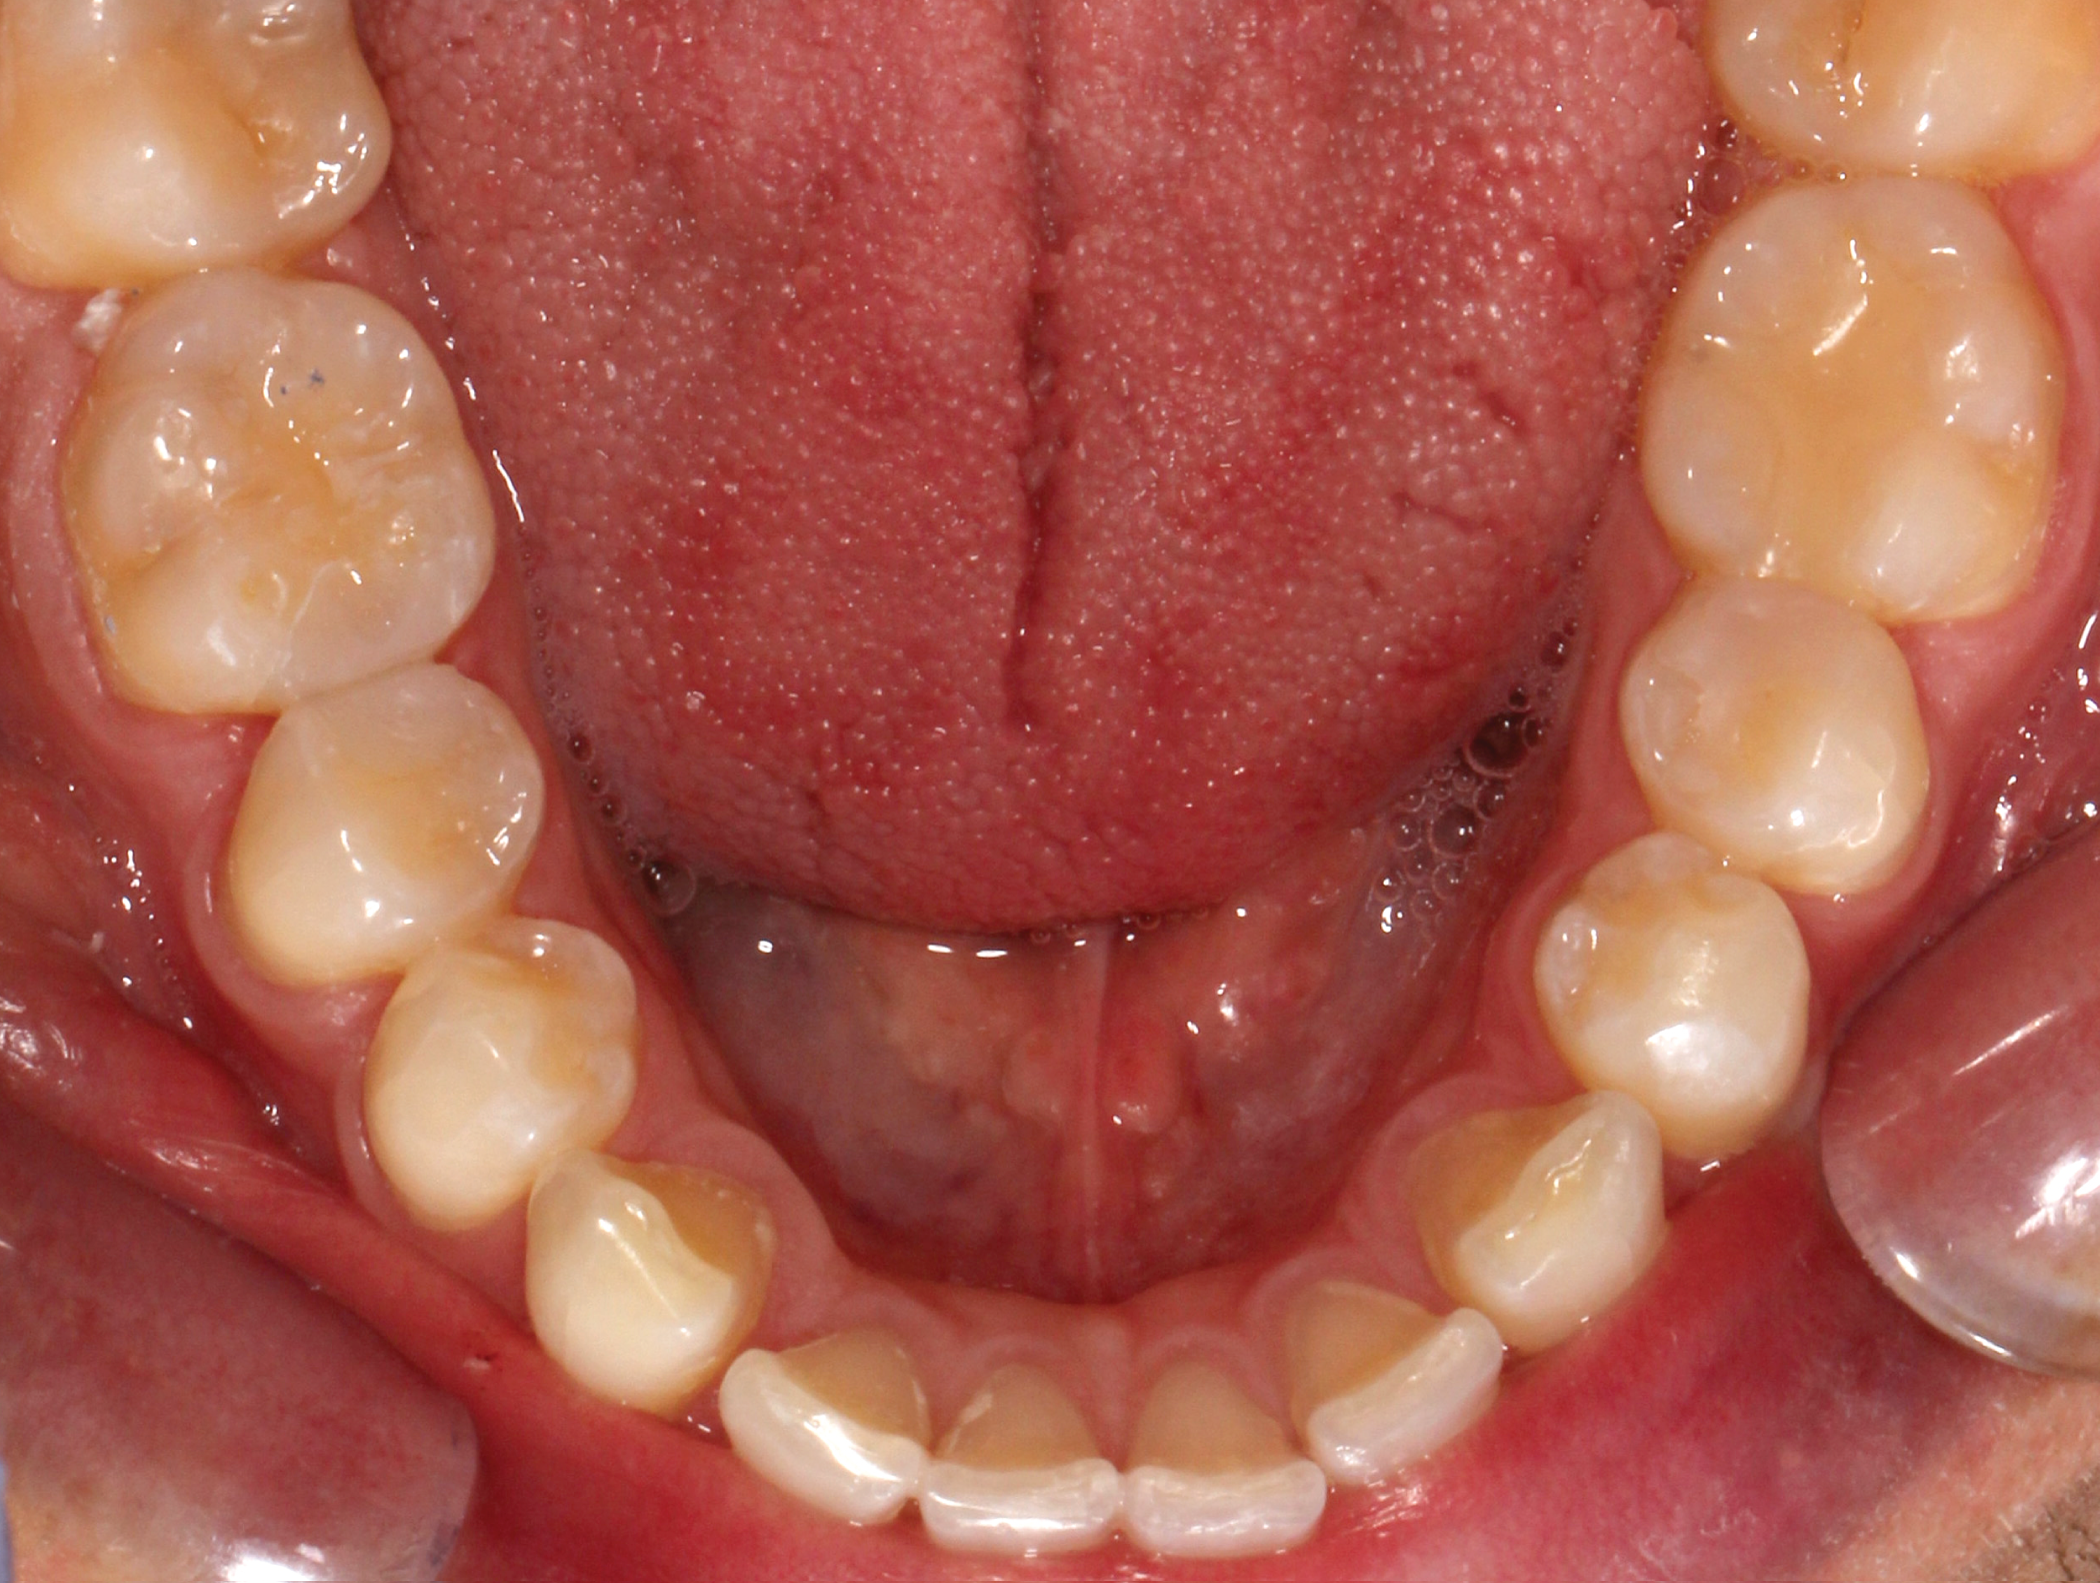
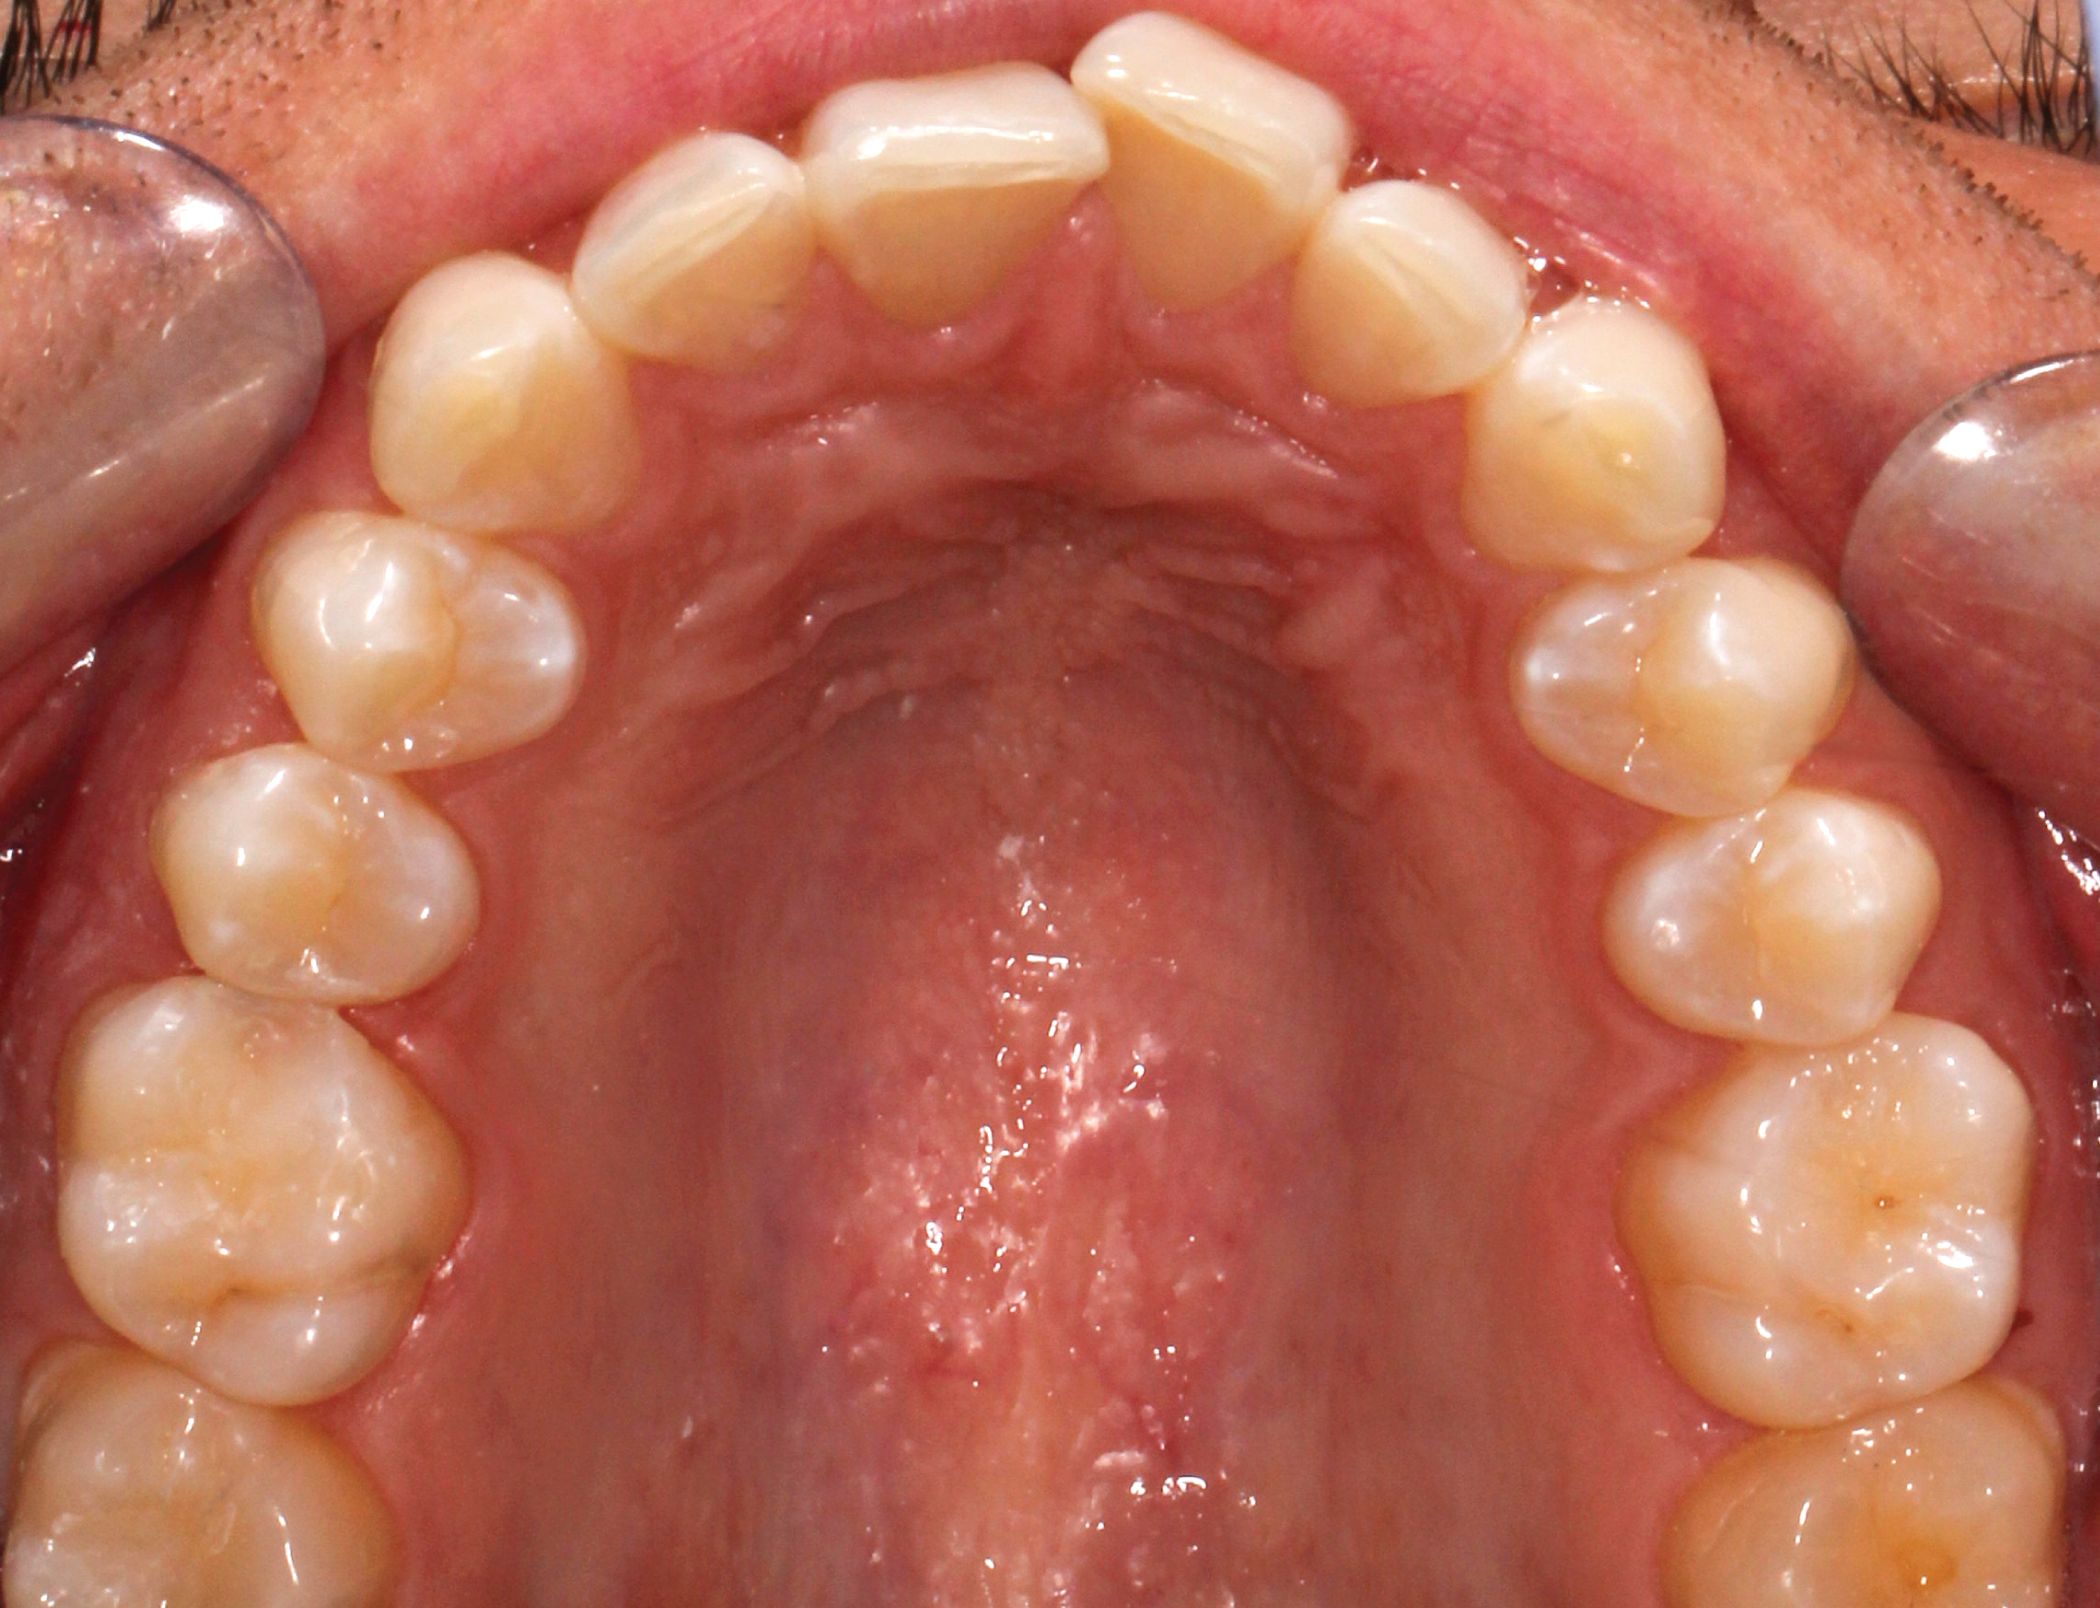
Fig. 5: Pre-op (upper occlusal view) Fig. 6: Pre-op (lower occlusal view)
Step four
Prior to delivering the second set of aligners, IPR was completed per the treatment plan. Additionally, four engagers were placed on teeth 9, 11, 22 and 28. These engagers were easily placed with the provided ClearCorrect template. Isolation was achieved by the use of an Isolite®.
The tooth was treated with 37% phosphoric acid which was left in place for 15 seconds. The tooth was then rinsed and dried. Ivoclar’s Vivapen® universal bond was scrubbed for 20 seconds on the teeth where engagers would be attached. The Vivapen bond was then air dried and light cured.
Step five
Packable Filtek™ Supreme composite was placed in the inside of the template in each engager space. The template was then placed onto the teeth and the composite was molded to the tooth. The engagers were then light cured and the template was removed. A fine diamond bur was used to remove extra flesh and the engagers were lightly polished.


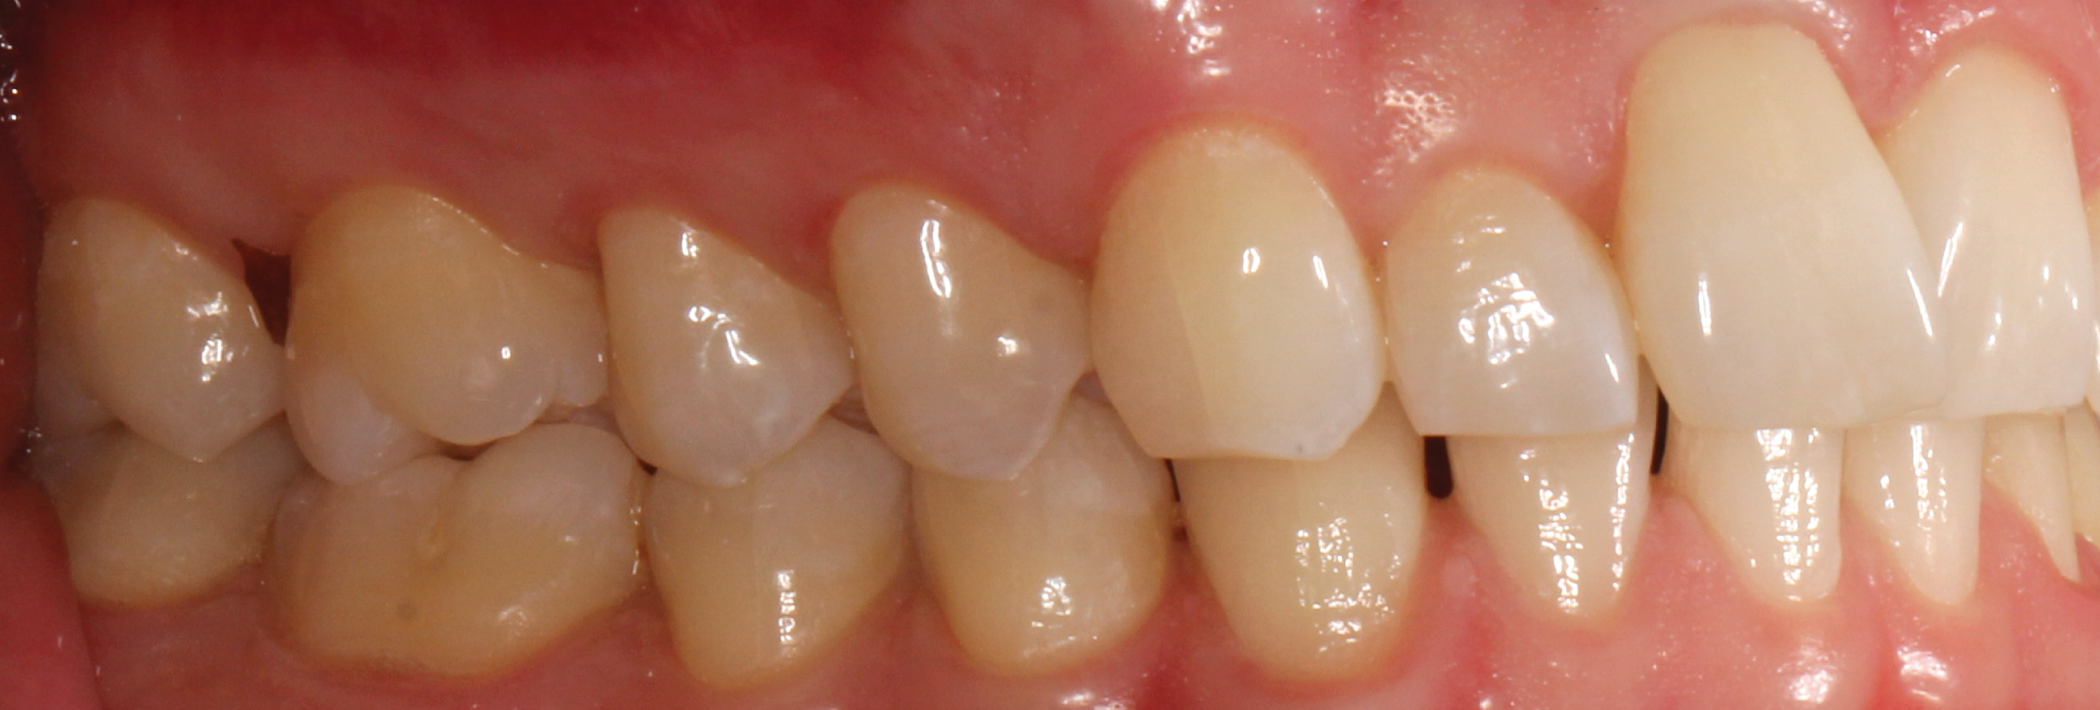


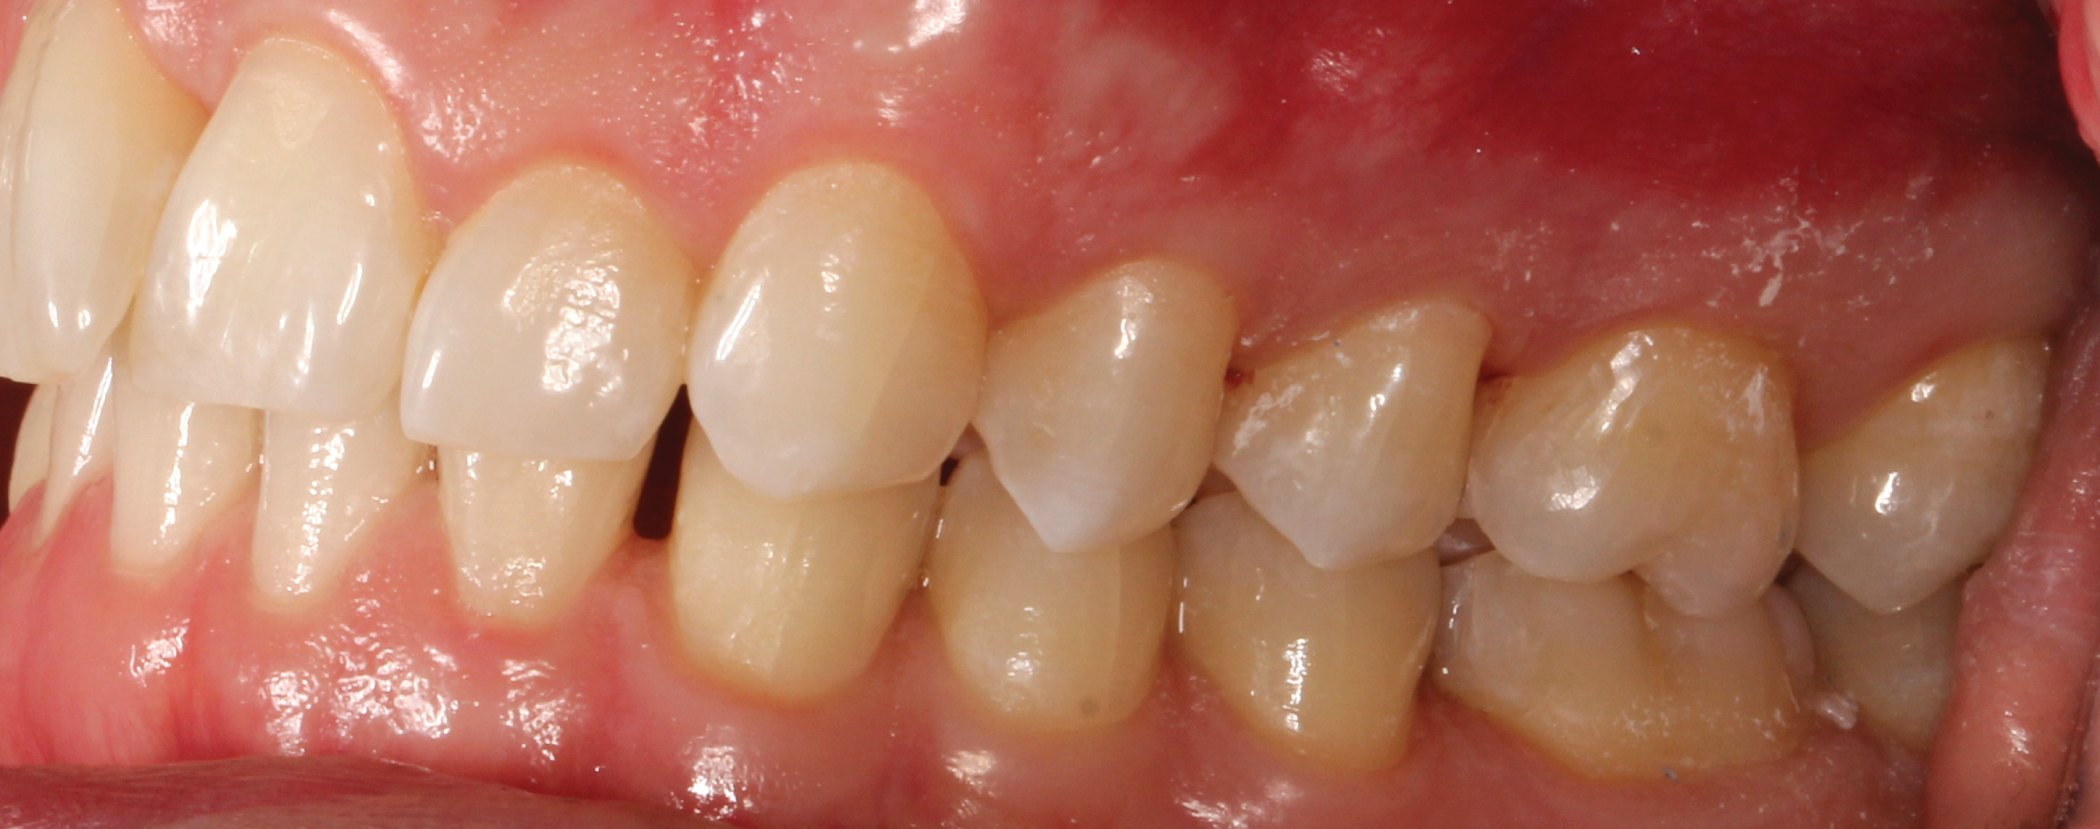
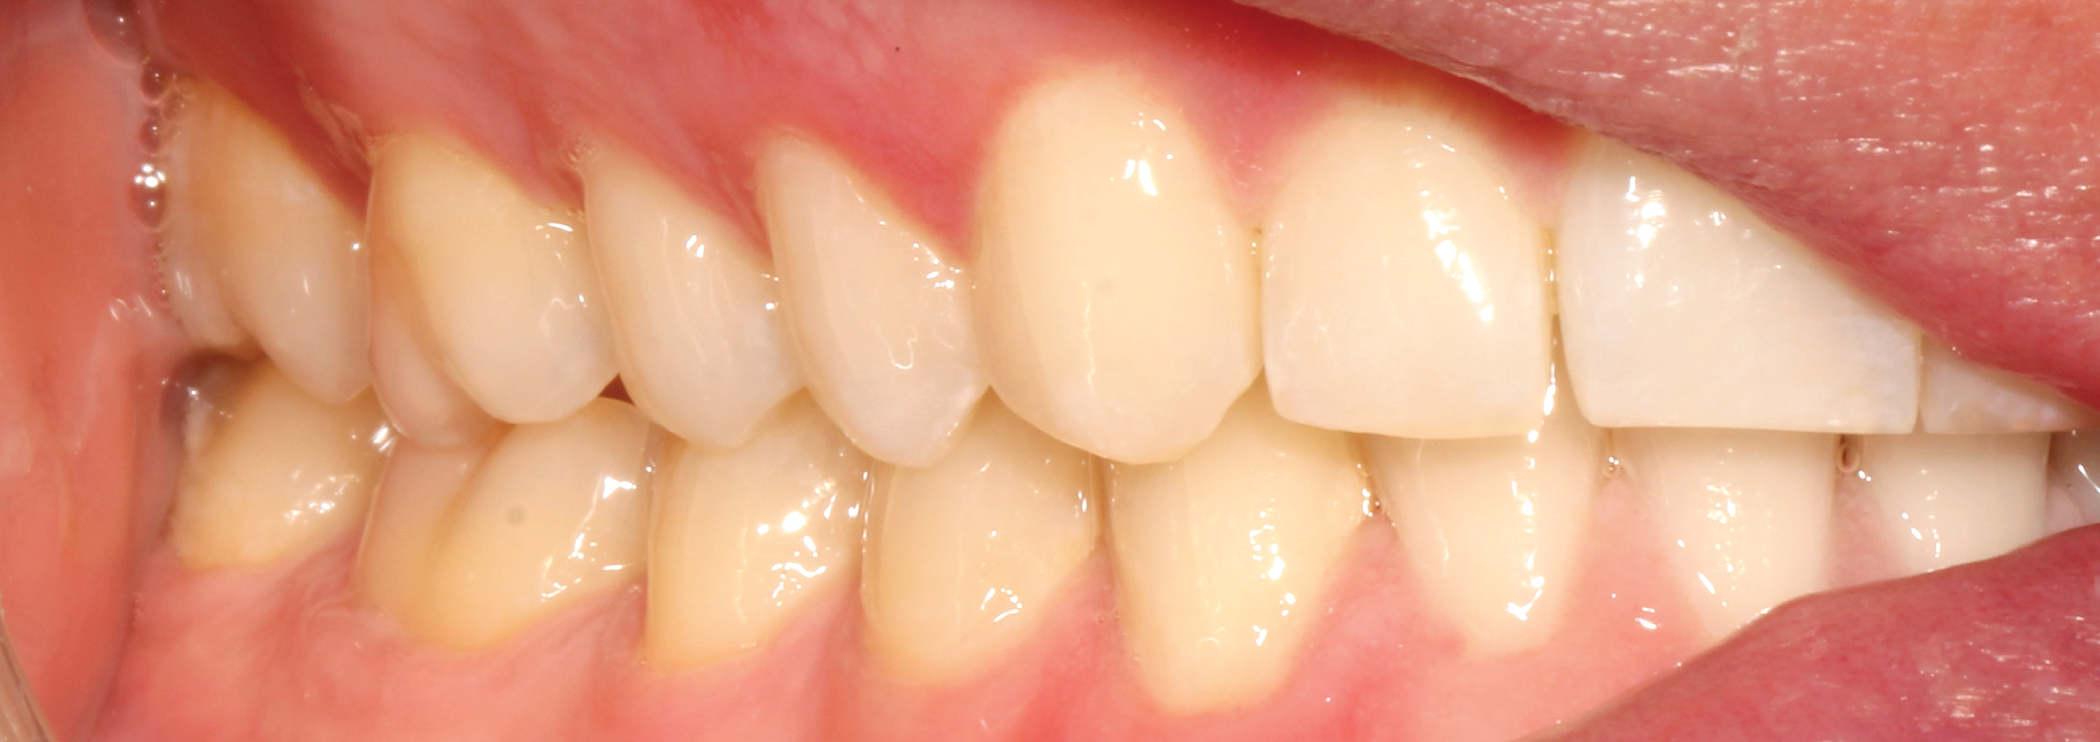
Fig. 7: Pre-op (right lateral view) Fig. 8: Pre-op (left lateral view)
Step six
The treatment process progressed nicely as the patient was very compliant and followed the approved treatment setup. At the end of the treatment, a review was completed of how well the teeth matched the original treatment goals; we observed that tooth 9 had lagged behind the planned movement.
A request for a revision was made to ClearCorrect in order to complete movement of tooth 9 into the desired position. Revisions requests are not uncommon for these types of tooth movement.
Step seven
The patient approved the revision, which involved an additional six weeks of aligner therapy, and the aligners were requested. Following six weeks of new aligners, tooth 9 rotated and extruded to an acceptable incisal gingival level. Because such an aggressive movement of tooth 9 was needed, the patient understood the challenge of developing this midline papilla.

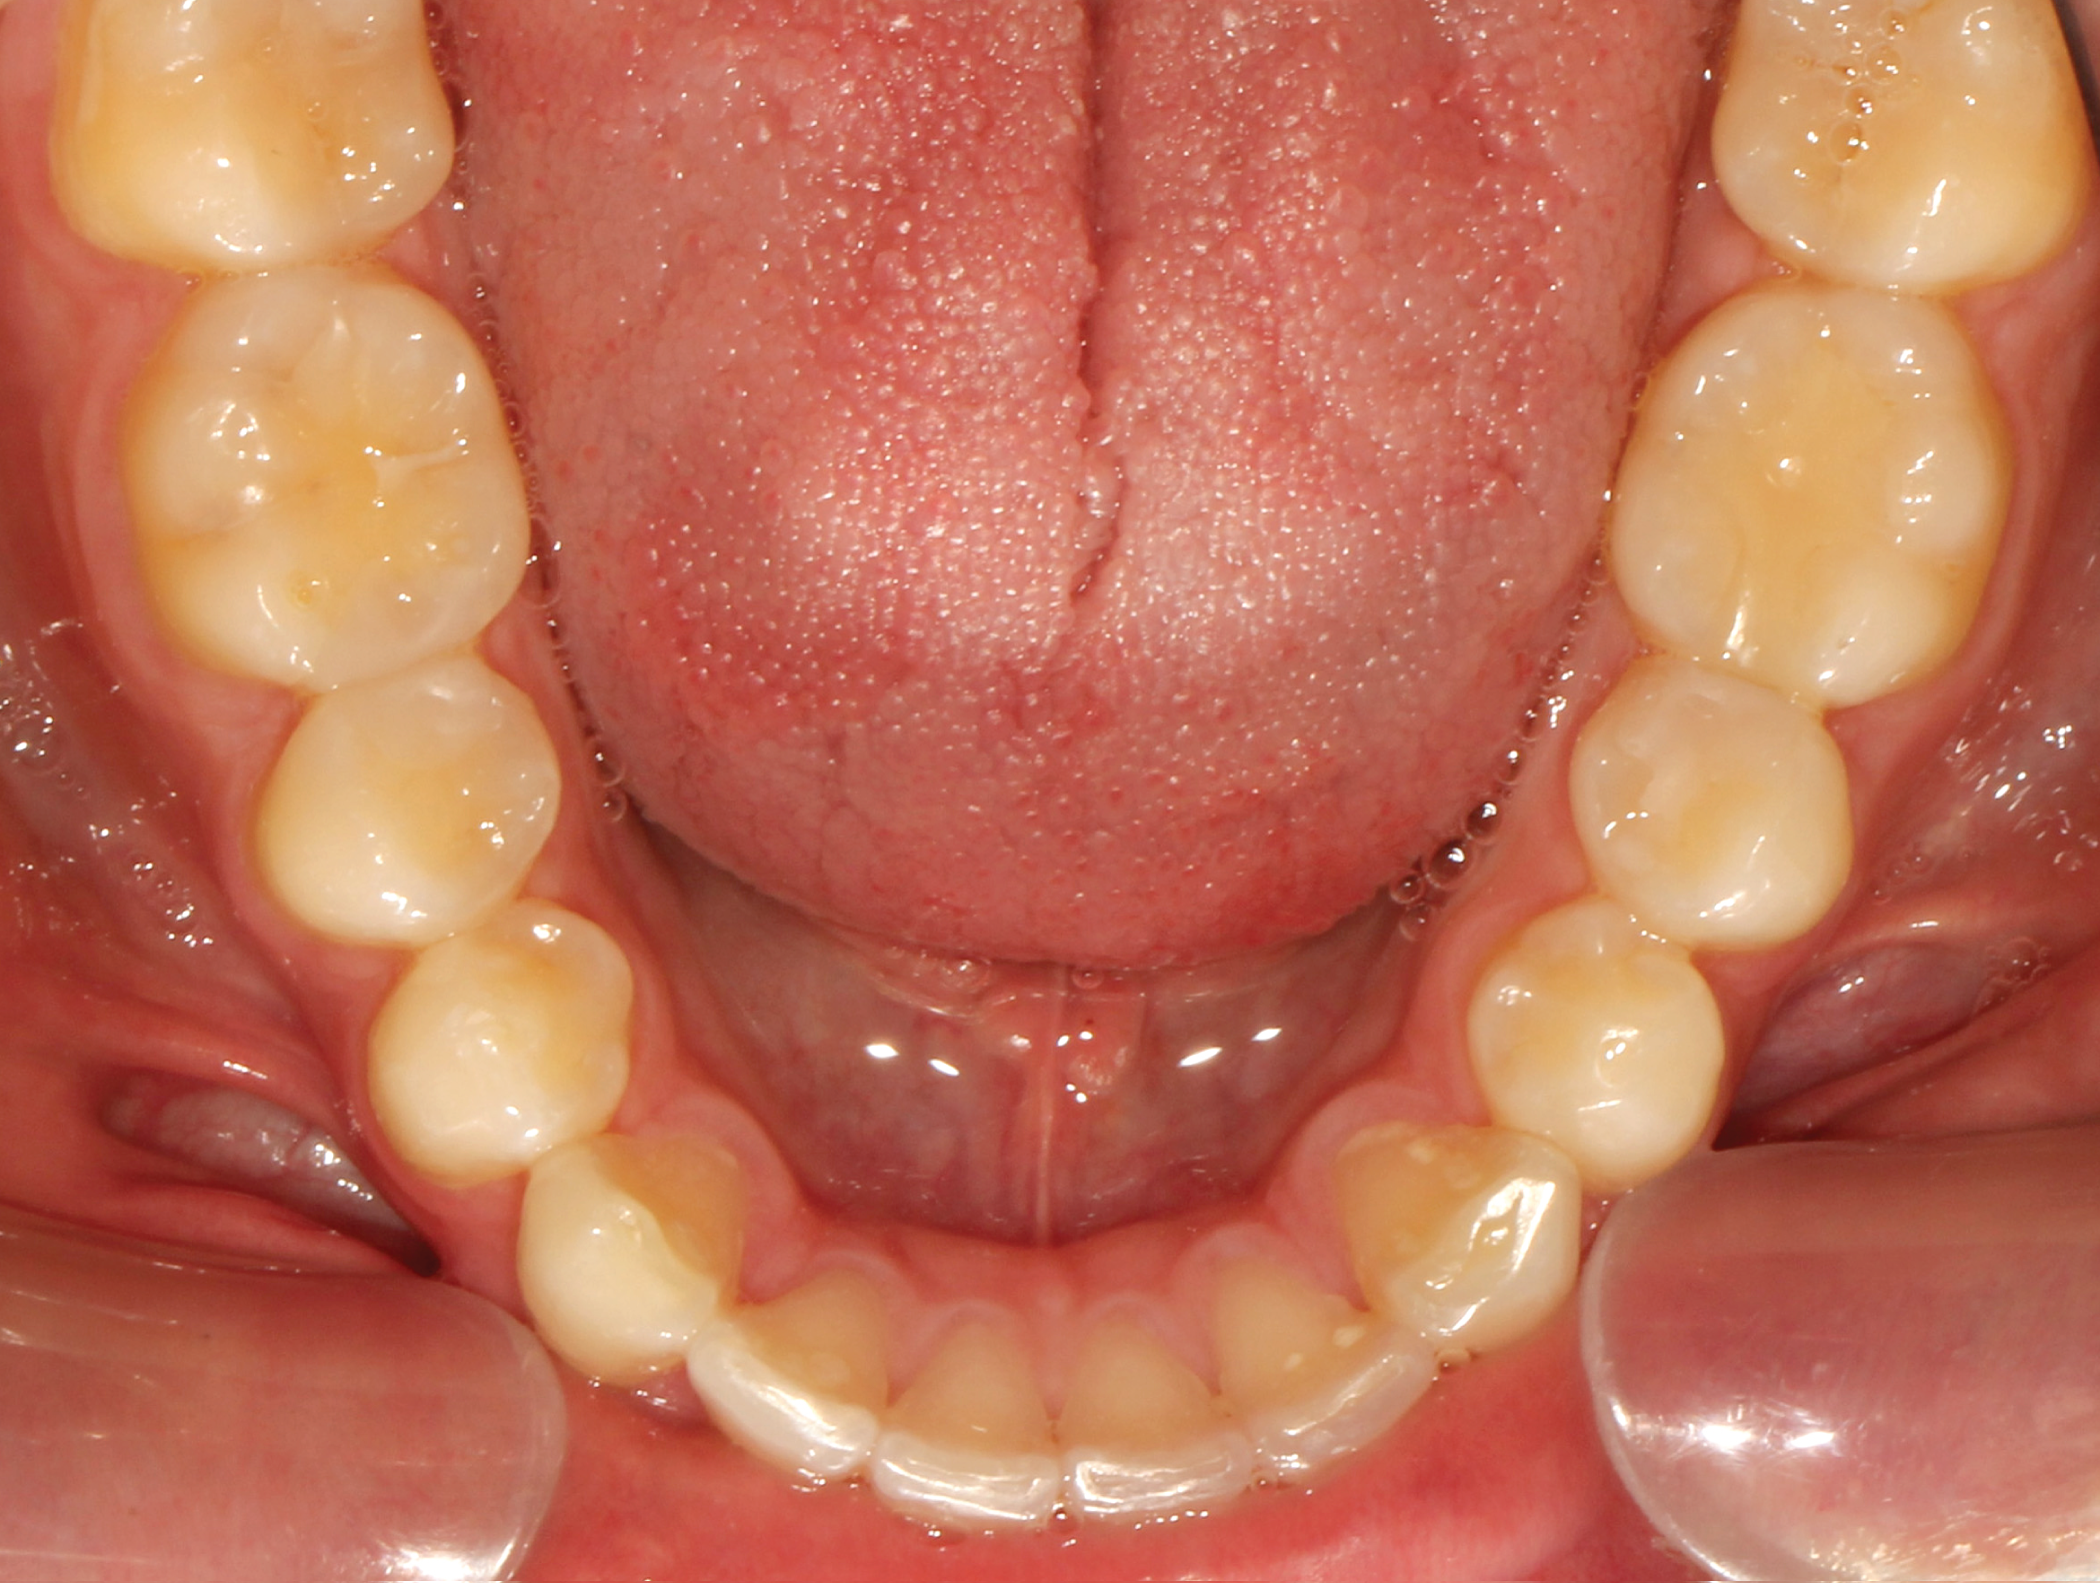

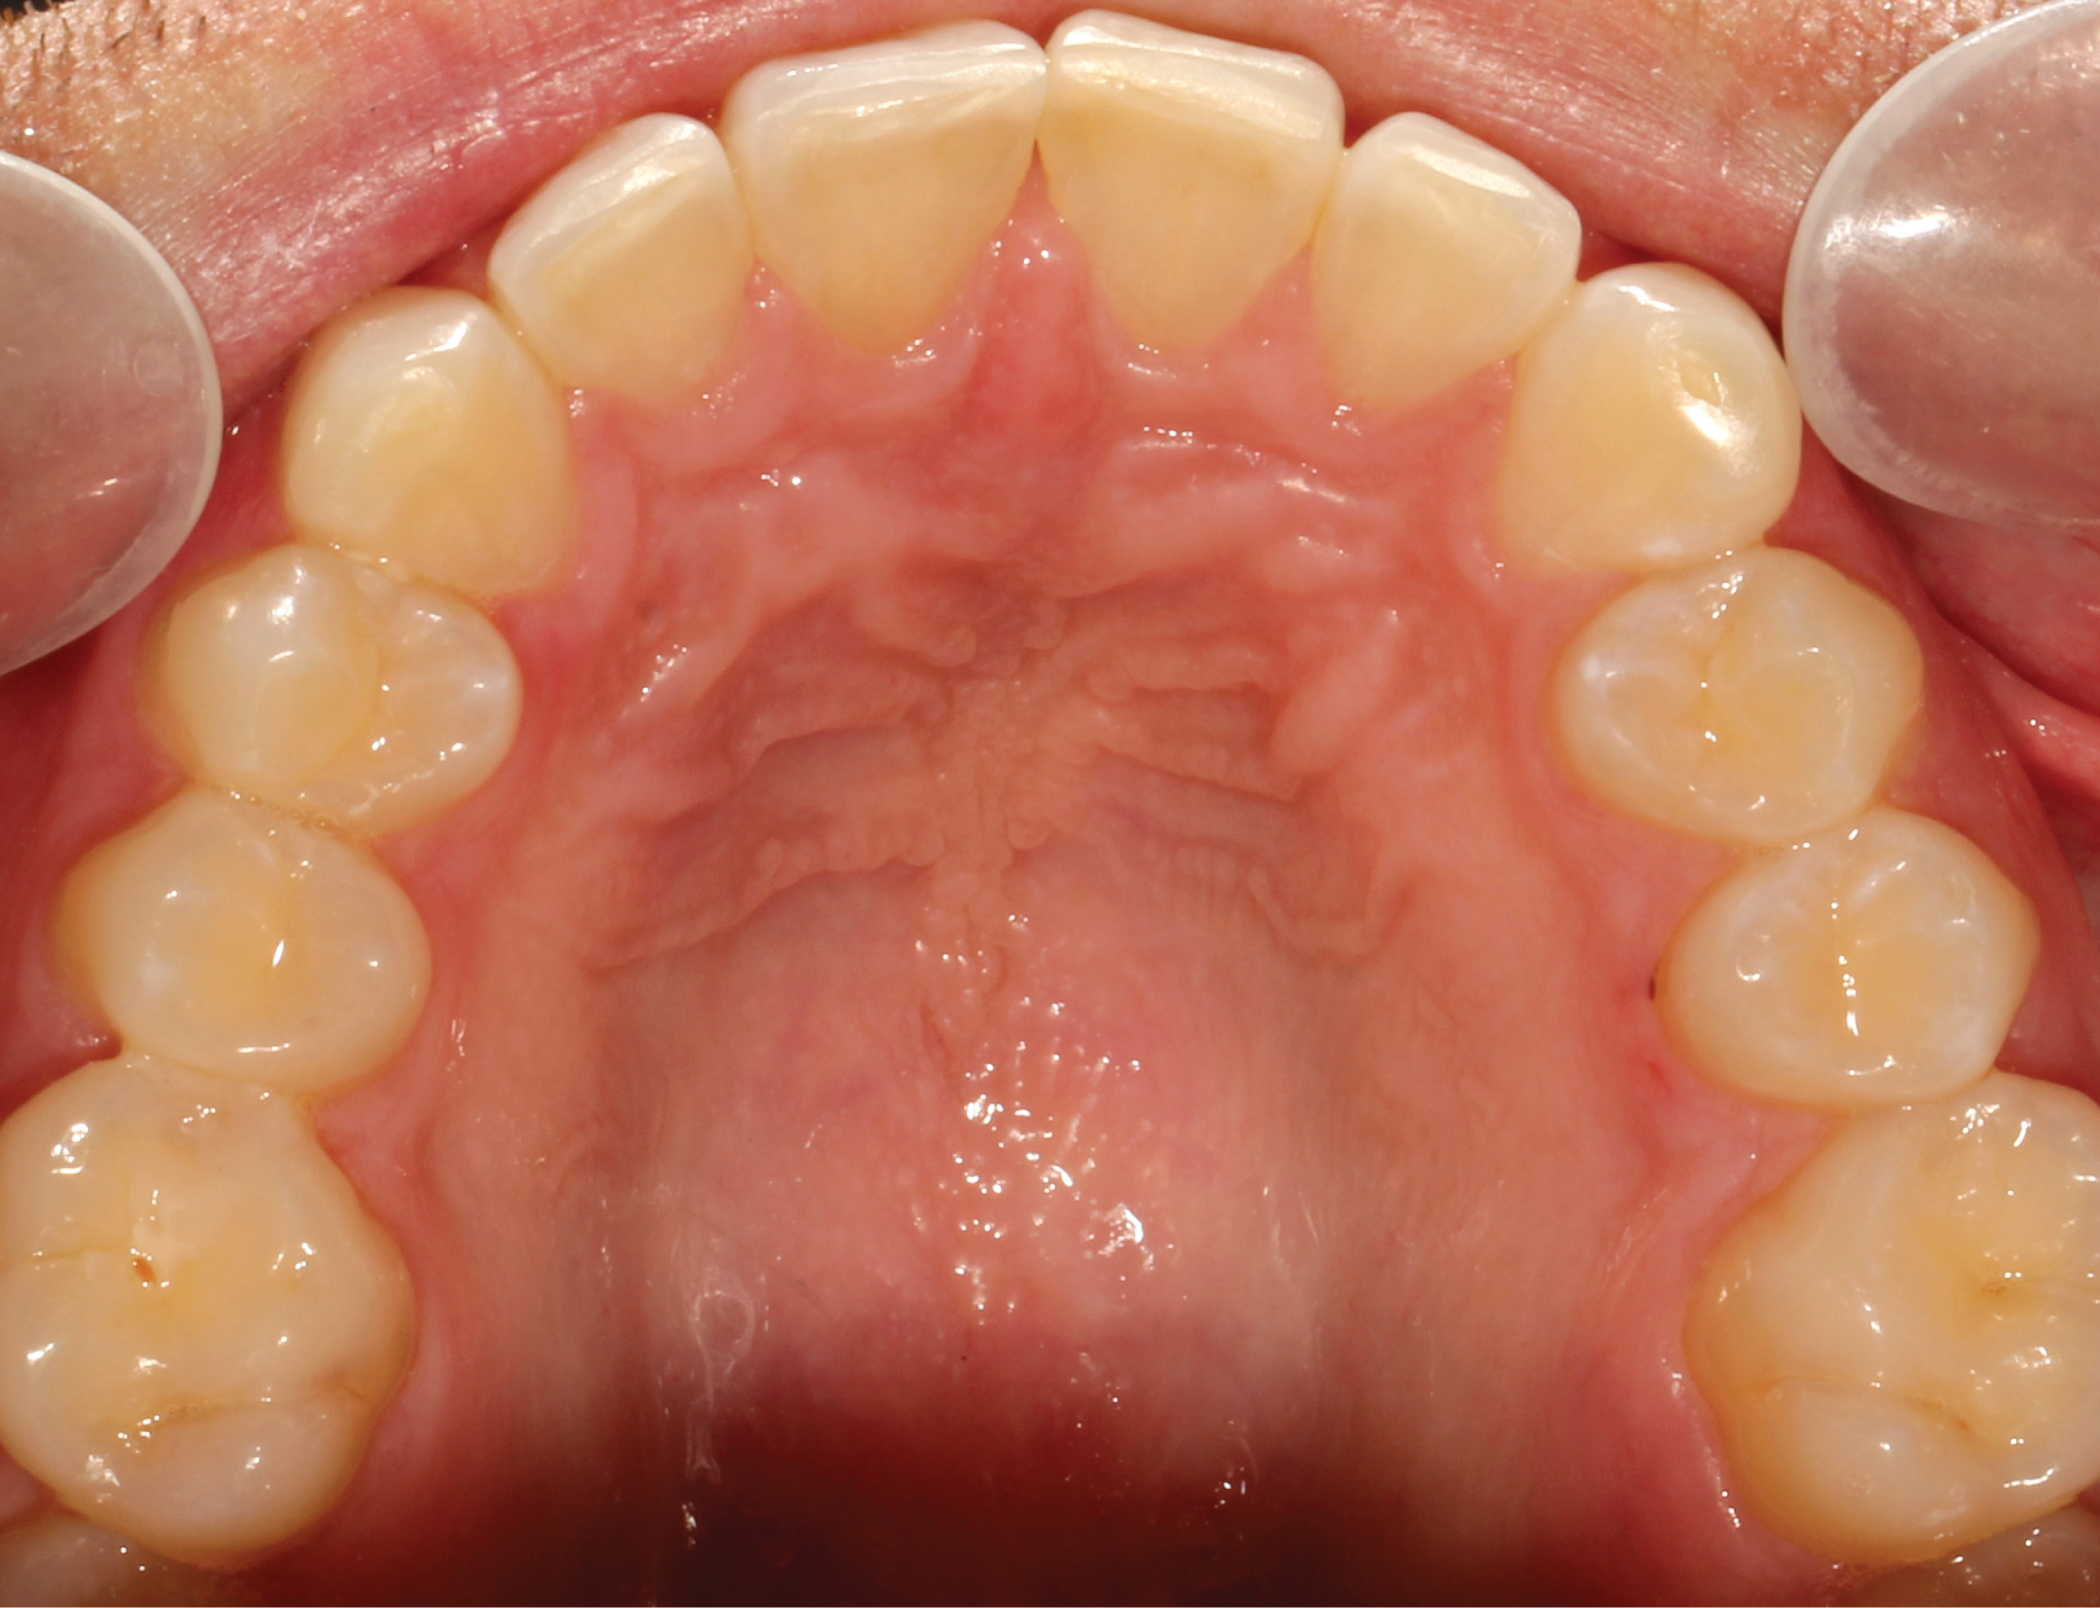
Fig. 9: Post-op (lower occlusal view) Fig. 10: Post-op (upper occlusal view)
Step eight
Treatment progressed smoothly; the patient was happy with the final result and wished to complete the treatment. Enameloplasty was completed on the maxillary anterior teeth. Additionally, all four engagers were removed and the teeth were polished. The patient was very pleased with the final outcome. (Figs. 9-15).


Conclusion

Fig. 13: Post-op (front view)
Extrusion with clear aligner therapy can be very difficult at times but, with the IPR and enameloplasty, the patient was happy with the gingival heights and appearance. ClearCorrect provided an excellent solution that effectively treated the patient’s chief complaint.
From a clinician’s point of view, the workflow with ClearCorrect was outstanding. This resulted in a happy patient and dentist-evidence of the efficacy of the aligners and quality of service that ClearCorrect provides.

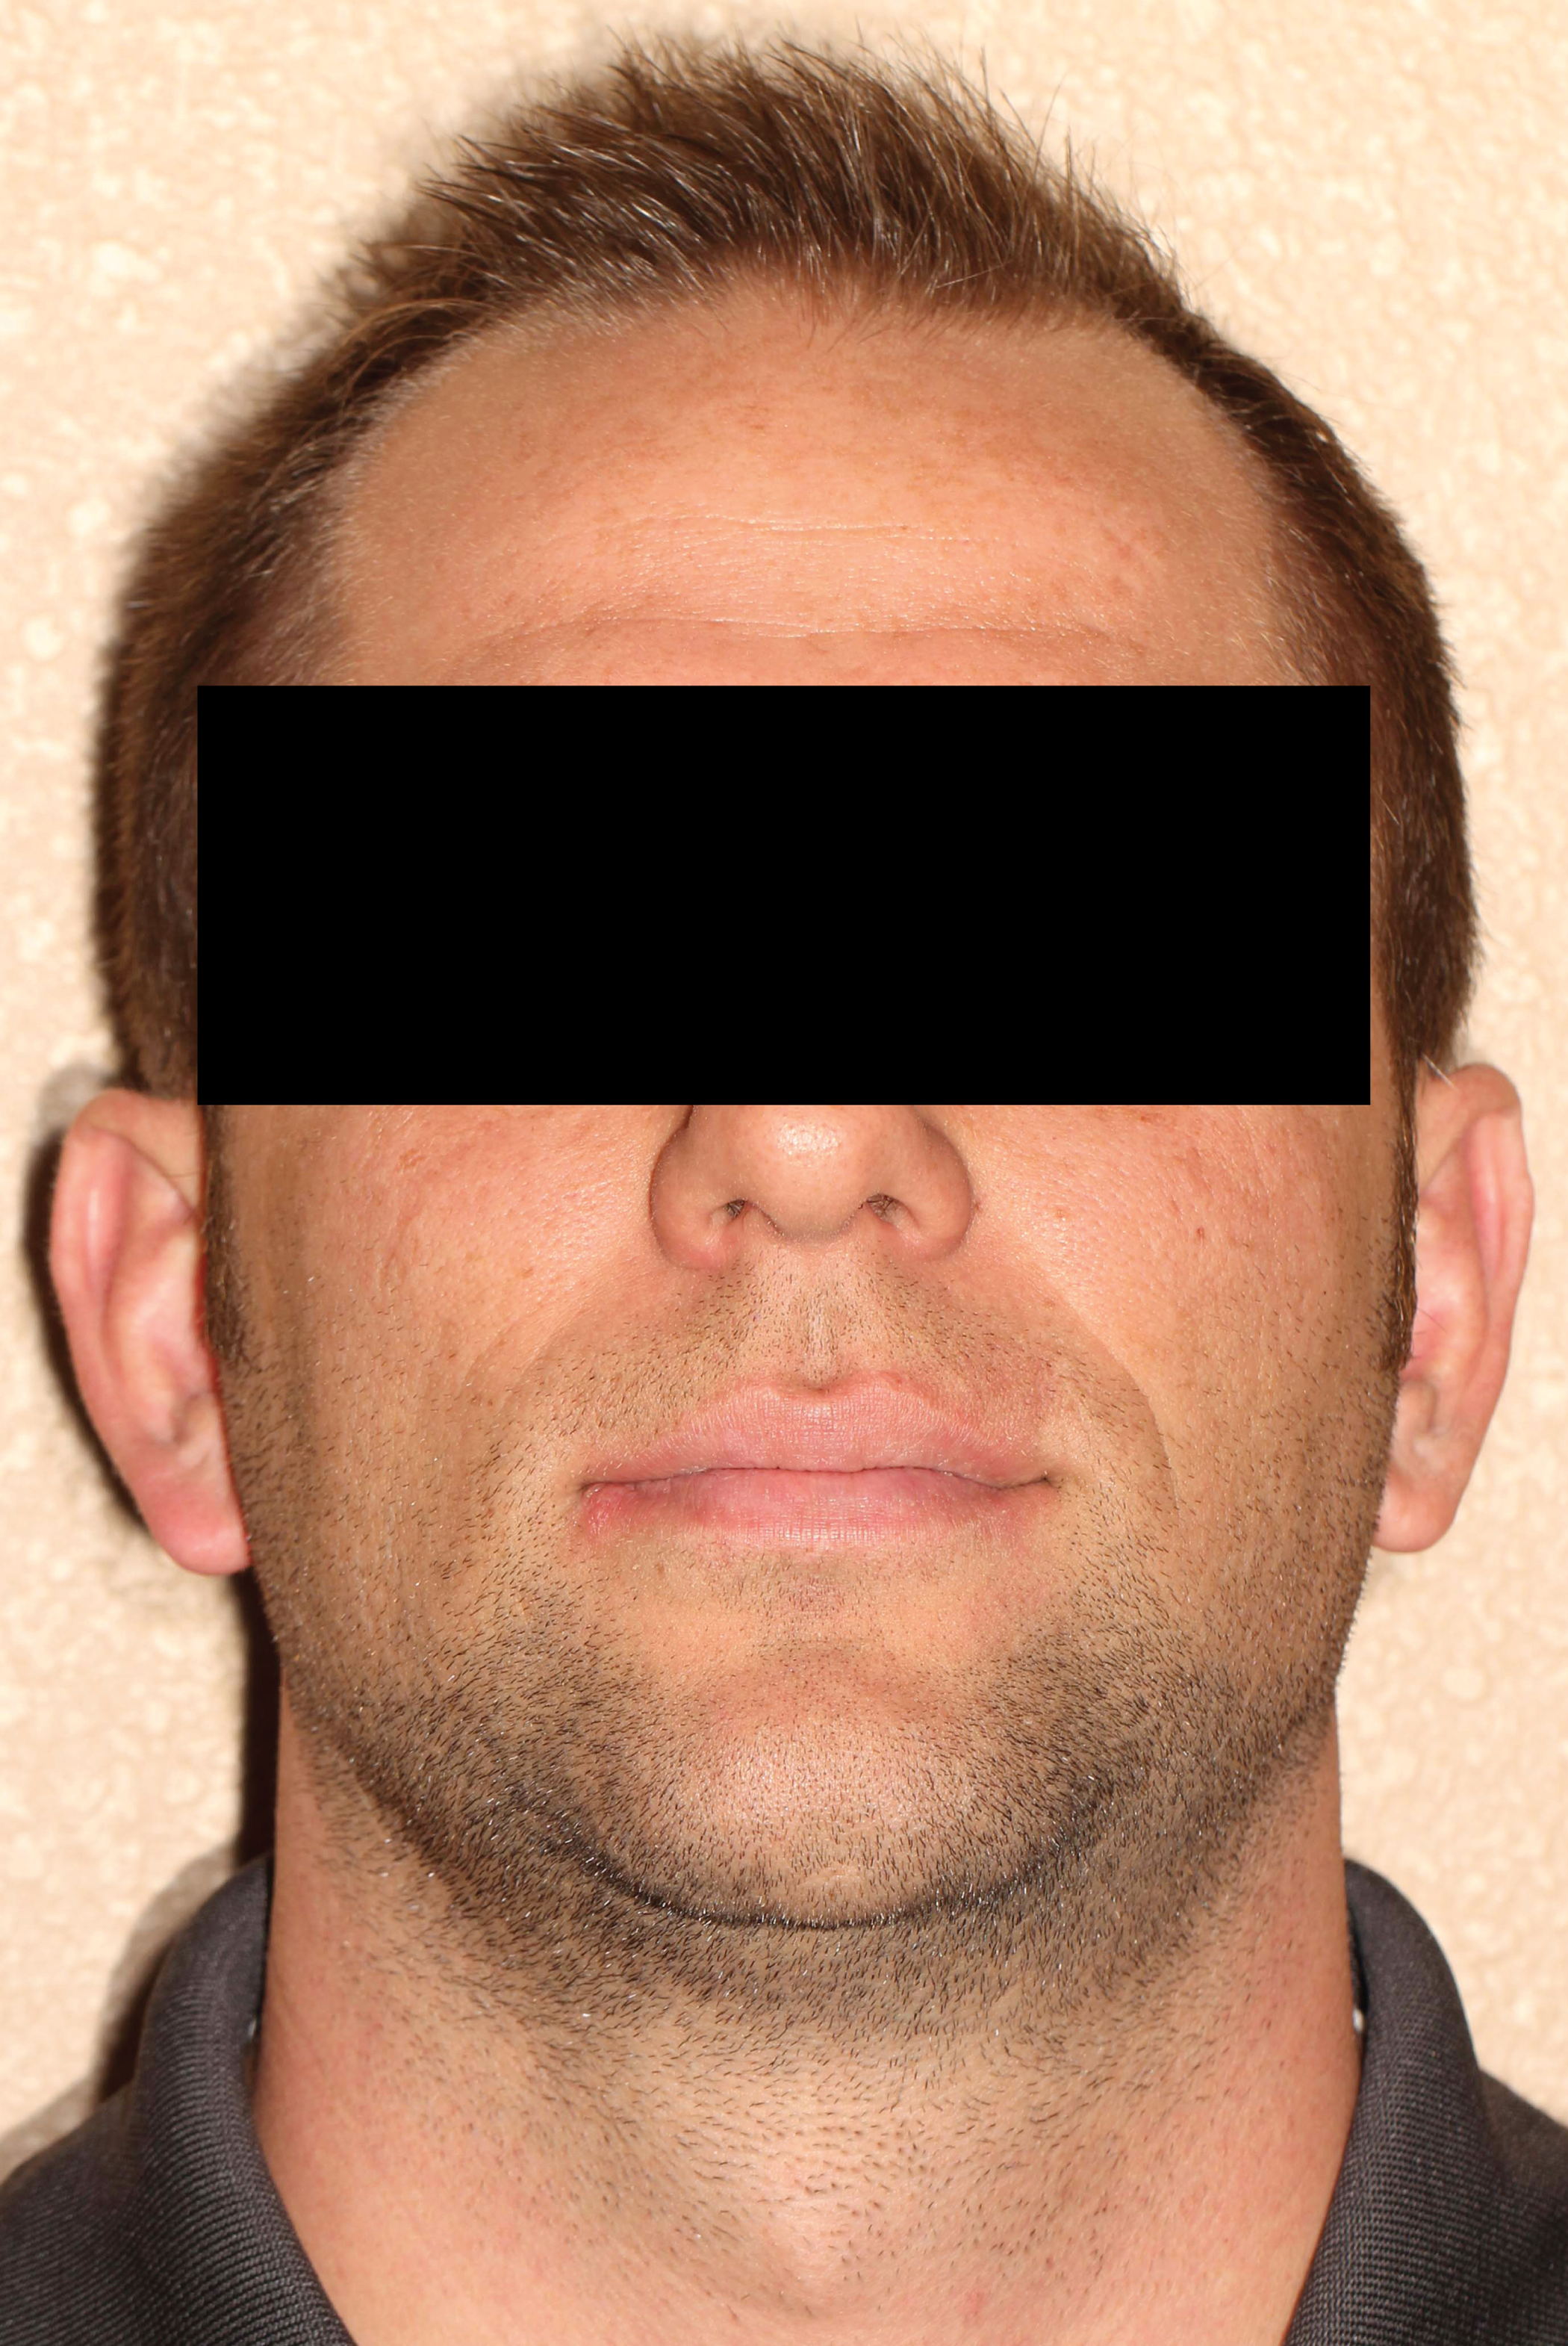

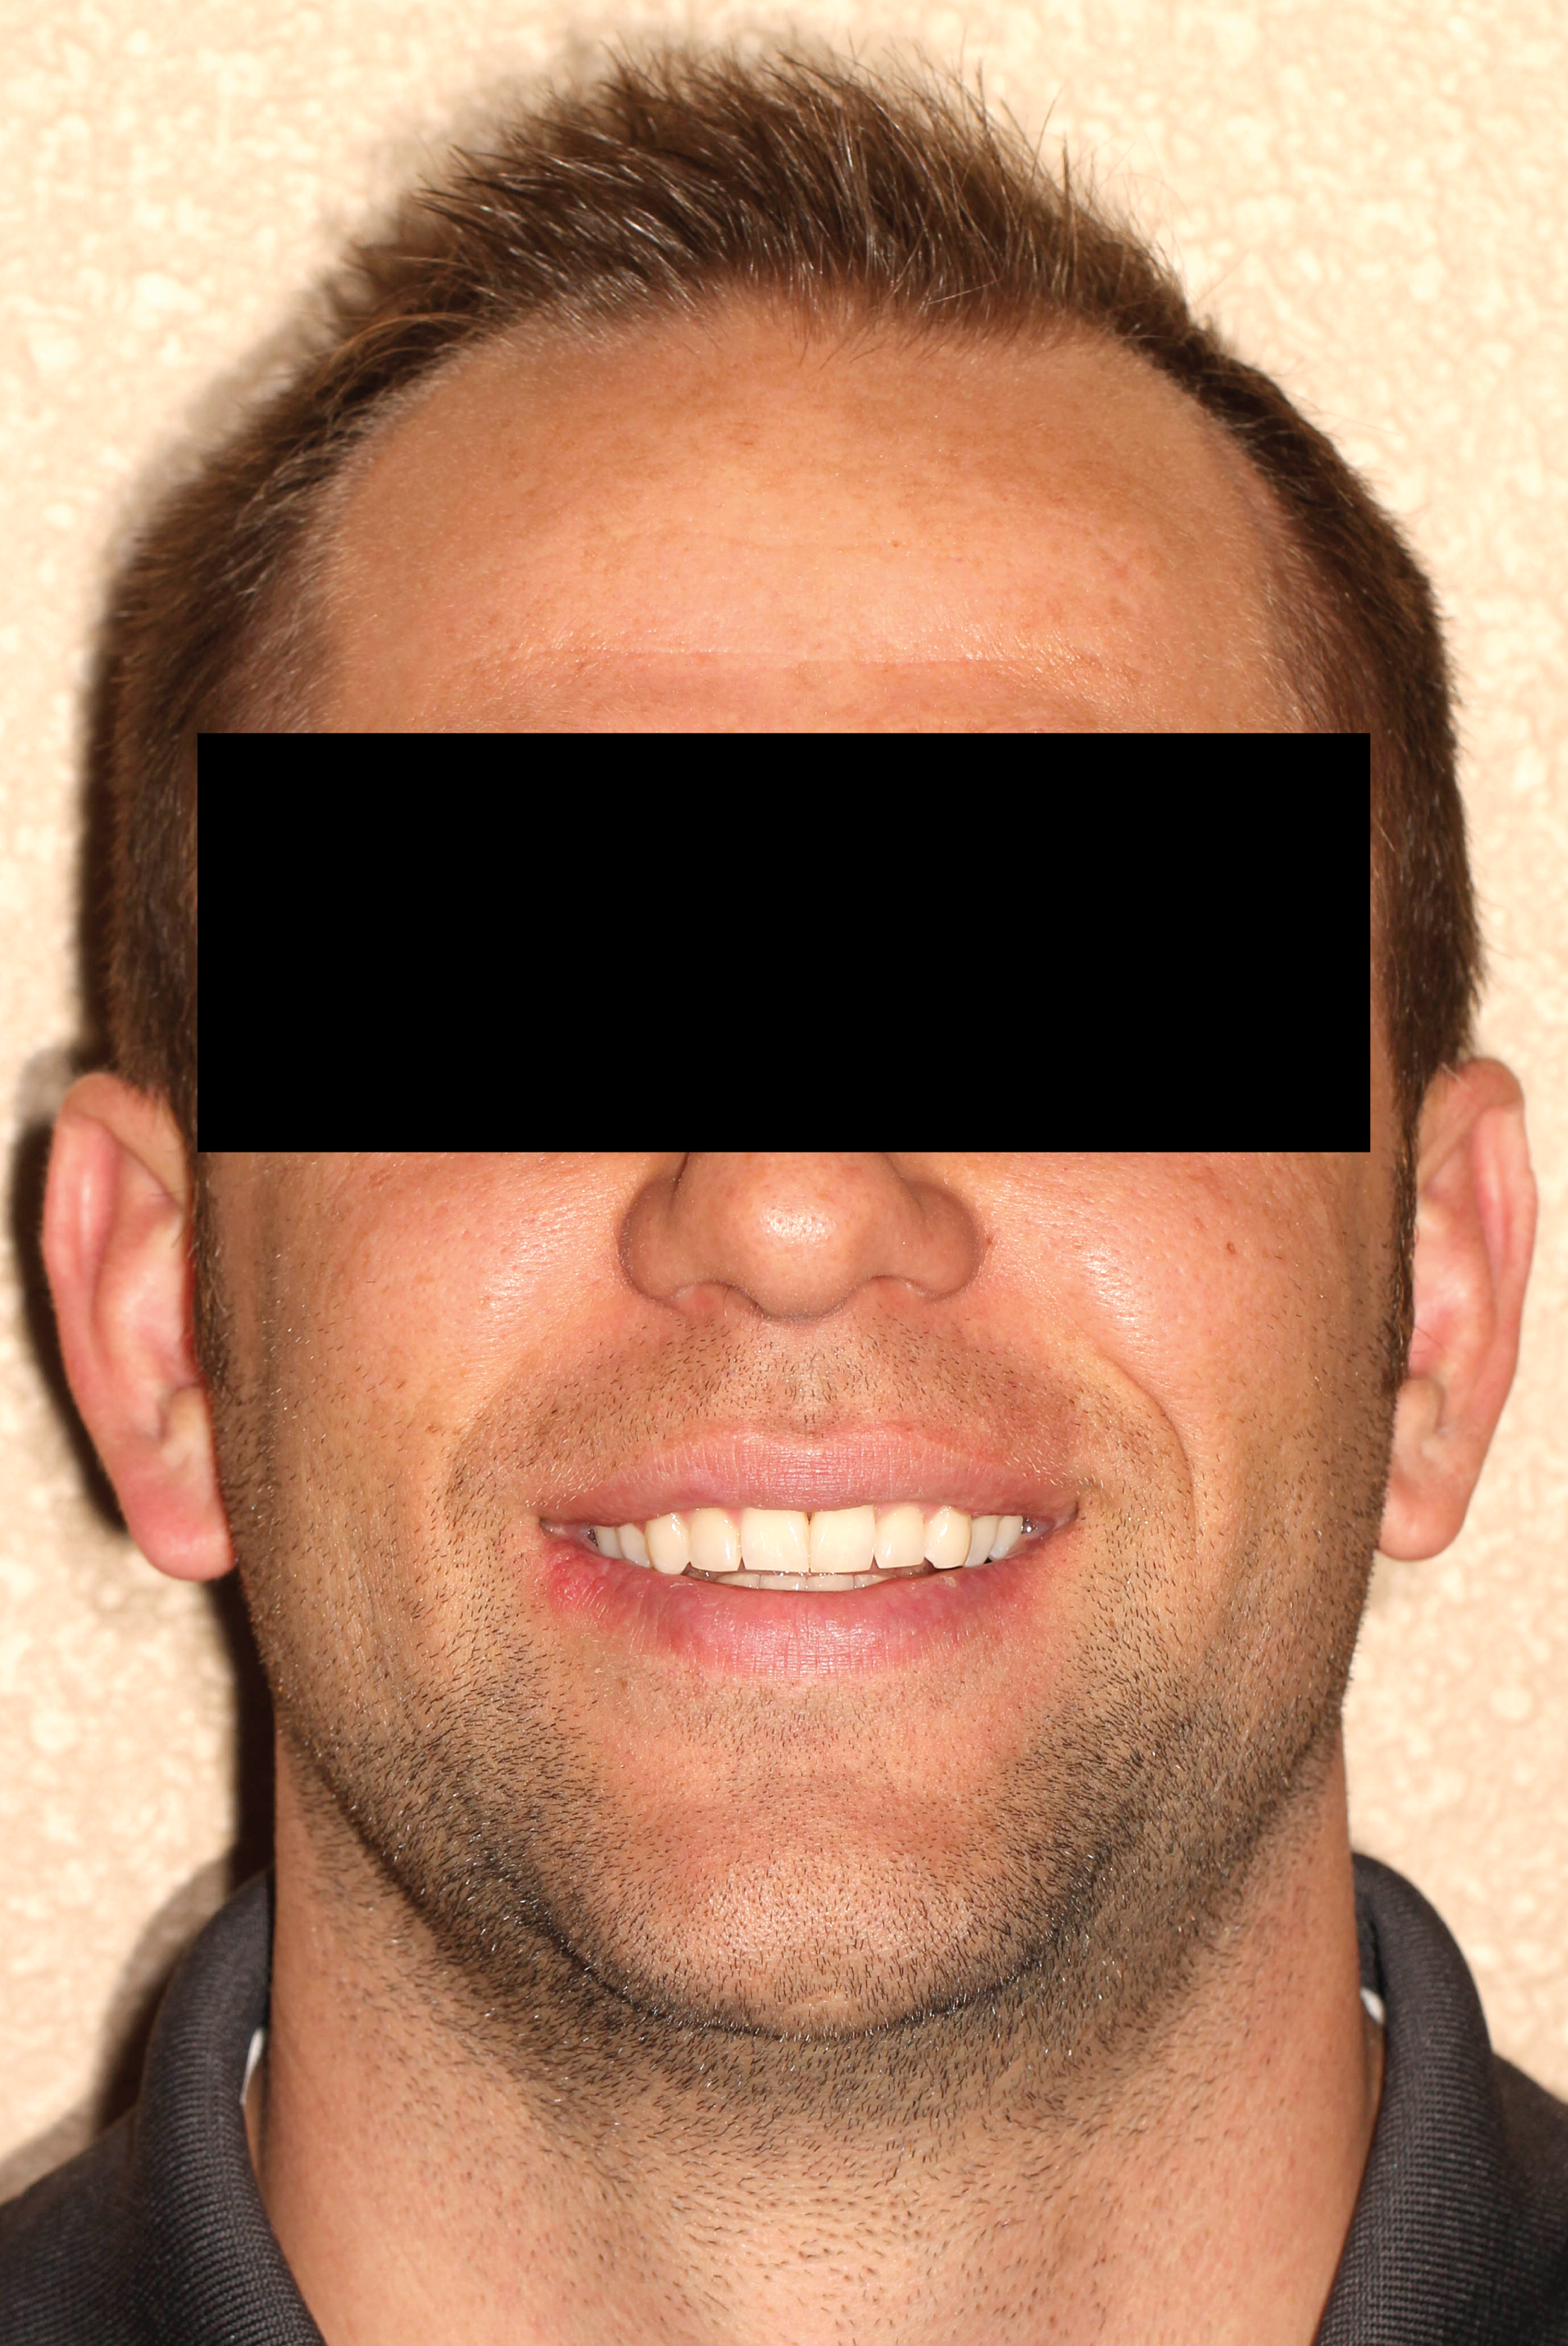
Fig. 13: Post-op (front view)


